Partition formatting brings a clean drive. Besides, users are able to set new file system to that partition for different purpose. MiniTool Partition Wizard tutorial here shows how to format partition with ease.
About Format Partition
With Format Partition feature, users can clear partition data and then reconfigure parameters for the specified partition so as to meet actual demands.
MiniTool Partition Wizard FreeClick to Download100%Clean & Safe
How to Format Partition
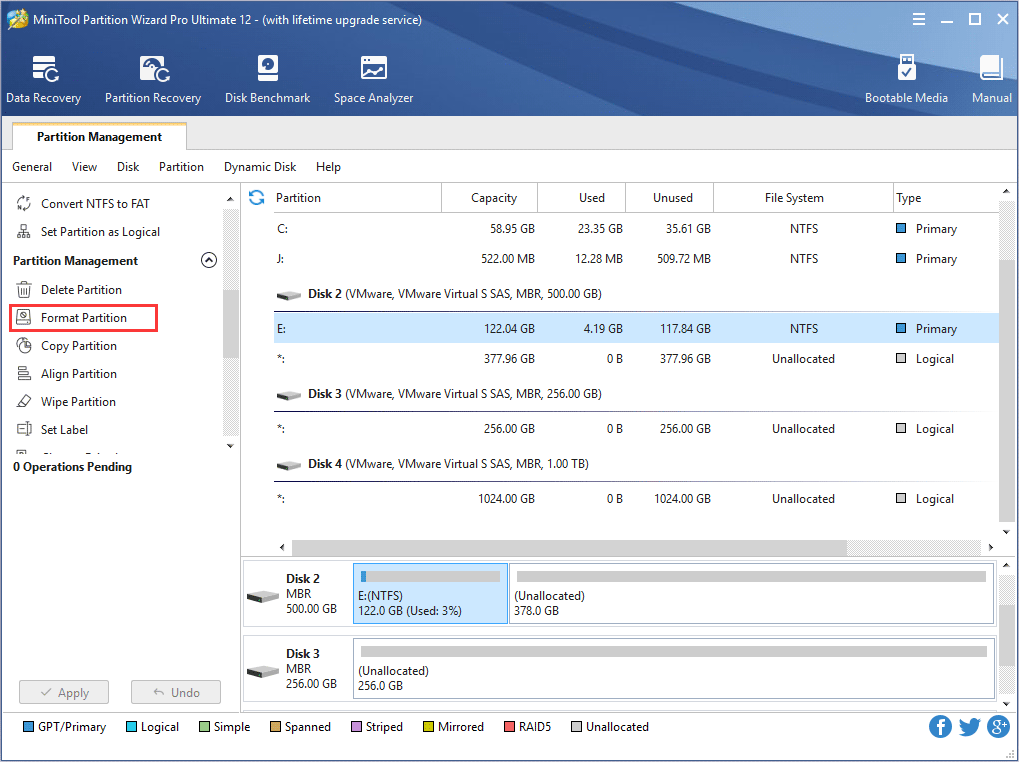
Step 1. Launch MiniTool Partition Wizard to get the following interface. Then, select the partition which needs formatting and choose Format Partition feature from the left panel.
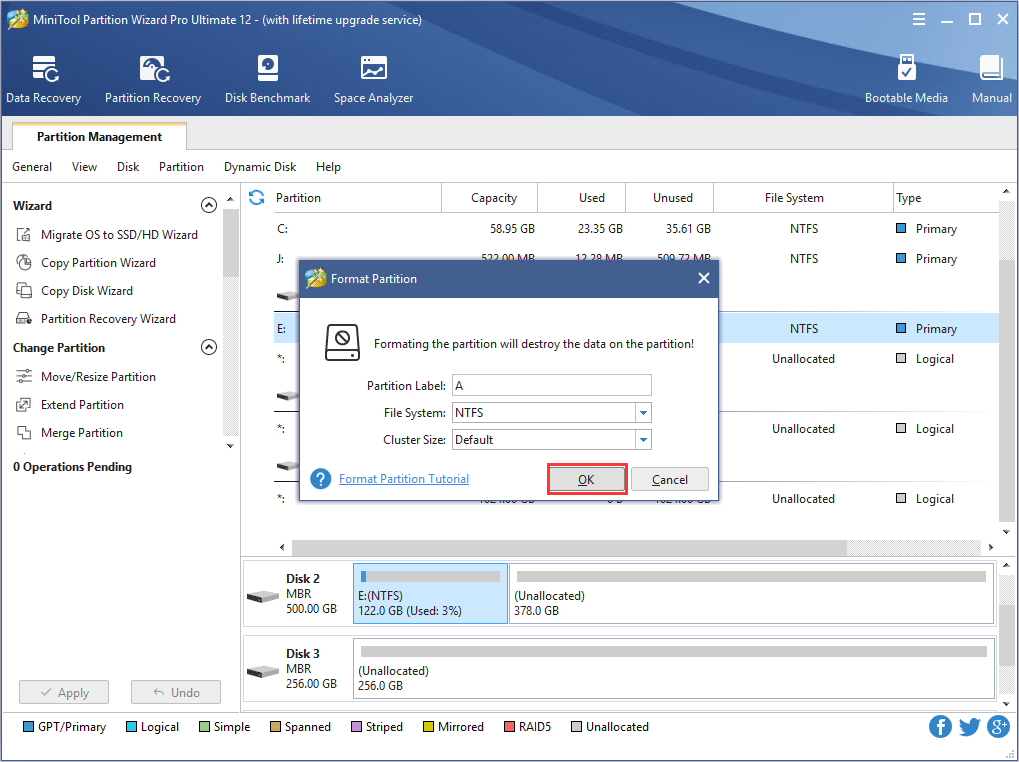
Step 2. Set partition label, file system and cluster size for the selected partition and click OK.
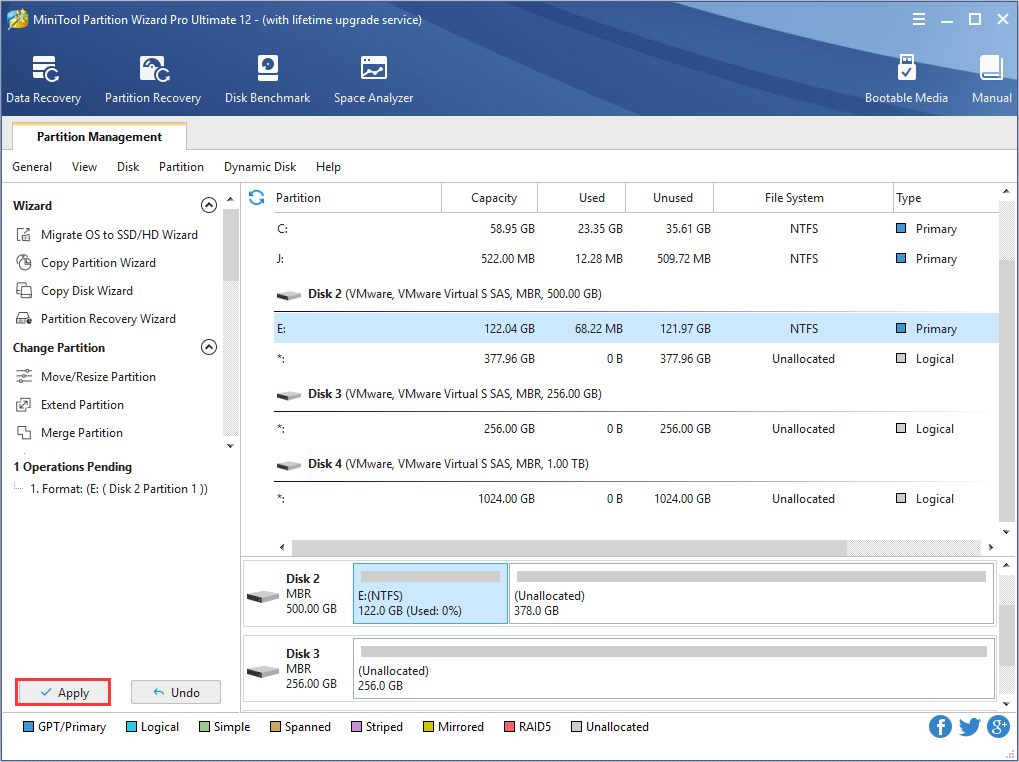
Step 3. Now users can preview the formatted partition. If it is satisfying, please click Apply button to apply the change.
Corresponding MiniTool Partition Wizard tutorial for partition reformatting is demonstrated as above.
About The Author

Position: Columnist
Rodin is an enthusiastic IT writer focusing on Windows trends, disk partition management and data recovery. She loves to write and share her idea about the useful tips and tricks on personal computers' maintenance. If you are looking for methods to improve your computer performance, manage hard drives and recover data from different devices, Rodin can provide reliable solutions for data management.
User Comments :