Do you know what is SQL Server Management Studio? Where to get the SQL Management Studio download? How to install and use it? Now, you come to the right place. This post of MiniTool will explain these questions in detail.
What Does SQL Server Management Studio Do
‘This part mainly introduces the definition, features, and system requirements of Microsoft SQL Server Management Studio.
What Is SQL Server Management Studio
SQL Server Management Studio, also called SSMS, is an Integrated Environment that can manage any SQL-based infrastructure from SQL Server to Azure SQL Database. It was a software application first introduced with Microsoft SQL Server 2005 that’s used for managing, configuring, and administering all components within the SQL Server. With the SSMS tool, you can query, manage, and design your database on a local PC or in the cloud.
Now, the latest version of SQL Server Management Studio (SSMS) 18.10 has been released on October 5, 2021. It provides many new features, improvements, and bug fixes like Analysis Services, Import Flat File, fixes for a narrator issue, etc. To know more details, you can click this hyperlink.
System Requirements of SSMS
Before you install the newest version of SSMS 18.10, make sure that you meet the following system requirements for 64-bit platforms. Here we list them as follows:
Operating Systems: Windows 11/8.1 (64 bit), Windows 10 version 1607 or later (64-bit), and Windows Server 2008 R2/2012/2012 R2/2016/2019/2022 (64-bit)
Processor: 1.8 GHz or faster x86 (AMD or Intel), Dual-core or better recommended
RAM: 4GB or more recommended, 2.5GB minimum on a virtual machine
Hard disk: 2GB to 10GB of available space
Further Reading: What can you do if there’s not enough space to install the SSMS tool? Don’t worry. MiniTool Partition Wizard can help you free up the hard disk easily.
MiniTool Partition Wizard FreeClick to Download100%Clean & Safe
SQL Server Management Studio Download and Install
Once your computer meets the system requirements of Microsoft SQL Management Studio v18.10, you can follow the guide below to download and install the tool. There are 2 ways to install the SSMS and you can choose one bases on what you prefer.
Way 1. Install SSMS Manually
Step 1. Click here to get the MS SQL Server Management Studio downloaded freely and select a location to save the download file.
Step 2. After you download SSMS successfully, you should get a .exe file named SSMS-Setup-ENU.exe. Double click the file and click on Yes in the UAC window to run it.
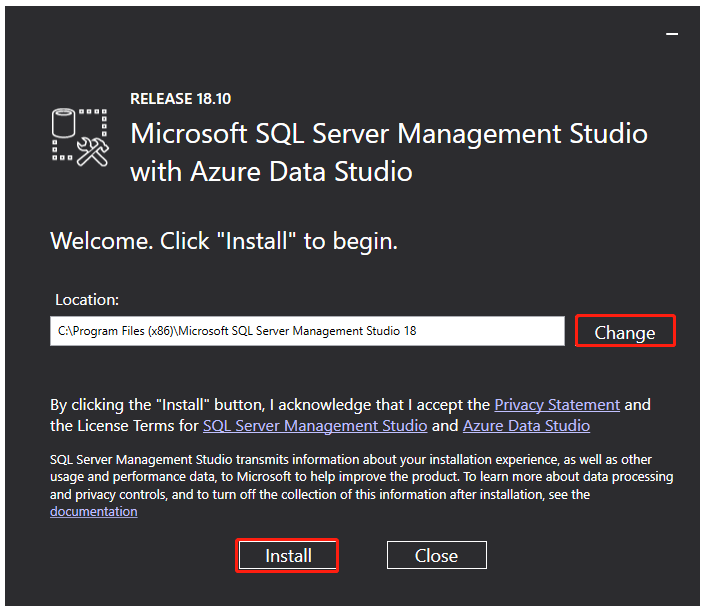
Step 3. If you want to change the installation location, you can click on Change and select another place. Here we take C drive for example. Once you confirmed the location, click on Install.
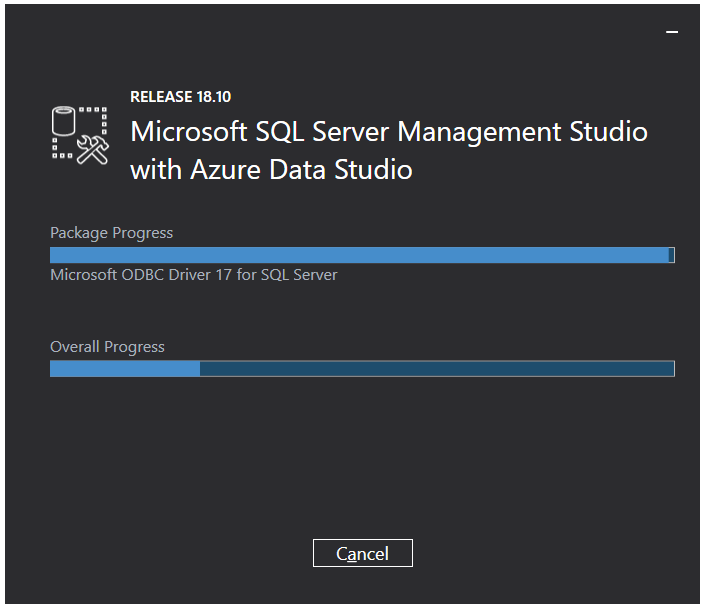
Step 4. Then you can see the Package Progress and Overall Progress as the picture shows below. Wait for the process to complete.
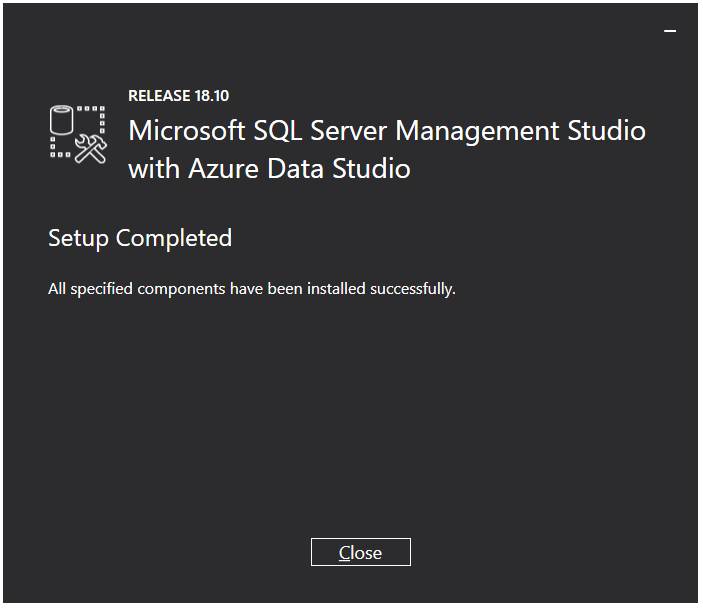
Step 5. Once you installed the SSMS successfully, you will see the “Setup Completed” message, and then you can start using the tool.
Way 2. Install SSMS Using CMD
If you want to install Microsoft SQL Management Studio in the background without any GUI prompts, you can try using a command prompt script.
Step 1. Type cmd in the search box on the taskbar. And then right-click the Command Prompt app and select Run as administrator. Click on Yes to grant admin rights to the Command Prompt window.
Step 2. In the elevated command prompt, copy and paste the following command and hit Enter. Make sure you replace the path with the location where you saved the SSMS package and you want to install it. For example, the command line is: start “” /w %systemdrive%SSMSfromSSMS-Setup-ENU.exe /Quiet SSMSInstallRoot=%systemdrive%SSMSto
start “” /w <path where SSMS-Setup-ENU.exe file is located> /Quiet SSMSInstallRoot=<path where you want to install SSMS>

Step 3. Then wait for the installation to complete.
How to Use SQL Server Management Studio
Now, you should get the MS SQL Server Management Studio downloaded and installed successfully. Here we will show you how to access Microsoft SQL Server Management Studio.
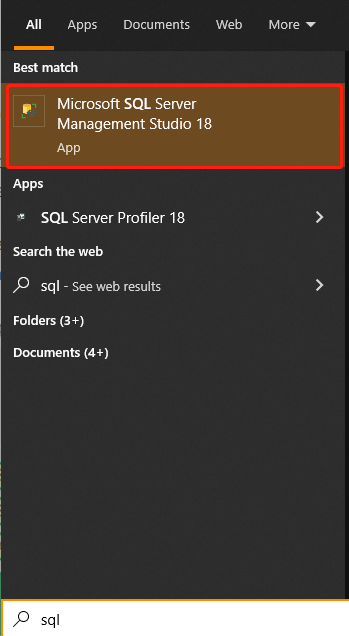
Step 1. Type SQL in the Search box and select Microsoft SQL Server Management Studio 18 from the top result.
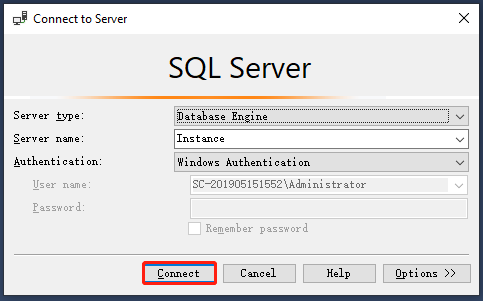
Step 2. In the main interface, you will see the pop-up Connect to Server screen. Here you need to select the Server type and enter the Server name, User name, and Password in the boxes.
- Server type: There are 5 server types that you can select, based on your demands, including Database Engine, Analysis Services, Reporting Services, Integration Services, and Azure-SSIS Integration Runtime.
- Server name: It refers to the Server’s name where MS SQL Server is installed. Usually, you can use the Server name as “Machine nameInstance”.
- Authentication: The default option is “Windows Authentication”.
- User namePassword: If you select the Authentication other than “Windows Authentication”, then you need to enter your user name and password in the fields.
Step 3. After you enter related information, click on Connect. Then you will be connected to SQL Server Data Management Studio.

User Comments :