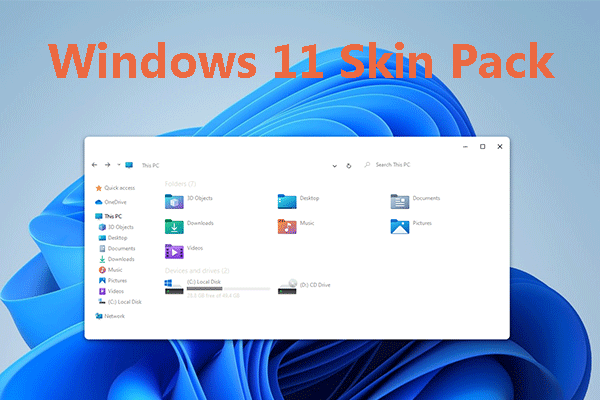
Windows 11 interface is very beautiful. But if you have used Windows 11 for a long time, you may be tired of the default Windows 11 icons. In this post, MiniTool Partition Wizard recommends you some free Windows 11 icon packs and shows you how to customize Windows 11 icons.
3 Free Windows 11 Icon Packs
Before changing the default Windows 11 icons, you need to download a Windows 11 icon pack that you like. In general, you can download a Windows 11 icon pack from websites like FlatIcon, Findicons, IconArchive, DeviantArt, or GraphicBurger.
Of course, you can also choose a Windows 11 icon pack from the followings:
- Simplus icons: It offers folder icons in different colors. Click here to download this pack.
- Kingdom icons: It uses swords, crowns, arrows, bows, castles, etc. to represent apps and features on PC. Click here to download this pack.
- Chibi Anime Drive icons: It uses female cartoon characters to represent apps and features on PC. Click here to download this pack.
How to Customize Windows 11 Icons
Change desktop icons:
- Press “Windows + I” keys to open the Settings window.
- Go to Personalization > Themes.
- Under the Related Settings section, select Desktop icon settings.
- On the Desktop Icon Settings window, select the desktop icon you’d like to change and click on Change Icon.
- On the new window, click Browse and navigate to a picture file in the Windows 11 icon pack. Then, click the OK button.
- Click the Apply button and then the OK button to save changes.
Change an app’s icon:
- Right-click on an app and choose Properties.
- On the Shortcut tab, click Change Icon to replace the icon file.
Change a folder’s icon:
- Right-click a folder and select Properties.
- On the Customize tab, hit Change Icon to replace the icon file.
How to Change Windows 11 Desktop Icon Spacing
If you like, you can change the spacing between Windows 11 icons. Windows 11 doesn’t offer apps to help you change the spacing, but you can do that via the Registry Editor. In addition, if you encounter the “Windows 11 desktop icons spaced out” issue, you can also use this method to solve the problem. Here is the guide:
- Press “Windows + R” to open the Run box.
- In the box, type “regedit” and press Enter to open Registry Editor.
- Go to Computer\HKEY_CURRENT_USER\Control Panel\Desktop\WindowMetrics.
- On the right pane, double-click IconSpacing and change the value data to customize the horizontal spacing for desktop icons. Note that the minus (-) sign should not be forgotten.
- Double-click IconVerticalSpacing and change its value data to customize the vertical icon spacing. The minus sign is also necessary.
- Click the OK button to save changes.
Bottom Line
Do you know other beautiful or useful Windows 11 icon packs? Do you know other ways to customize Windows 11 icons? You share them with us in the following comment zone. I will appreciate that very much.


User Comments :