Windows 10 is stuck in Airplane mode and you can't turn off the mode? If so, you can read this post to get 6 solutions to fix this problem. In addition, with MiniTool Partition Wizard, you can speed up Windows 10.
Some users have reported that their Windows 10 computers get stuck on Airplane mode and they are unable to deactivate the mode, which means that they are unable to use the internet.
I just upgraded my windows 7 to windows 10. When I was finished and restarted, the connection was stuck on airplane mode and I cannot turn it off because it is preventing the WiFi to connect. How can I fix this problem? — answers.microsoft.com
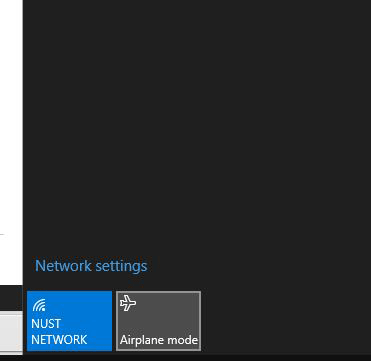
If you are facing the issue that your Windows 10 is stuck in Airplane mode, you can try the following methods to fix it.
Method 1. Turn off Airplane Mode Through System Settings
If you are unable to turn off the Airplane mode through the Taskbar, you can try turning off it in the system settings. Please refer to the following steps.
Step 1: Search for airplane mode in Windows search bar.
Step 2: Click on the option to open the Airplane mode settings.
Step 3: Turn the switch for the Airplane mode to OFF.
Method 2. Turn on the Physical Switch for Wireless Network
In general, computers come with a physical switch for wireless network. This switch may be a key on the keyboard, or a button at the edge of the computer. But it is always marked by an internet radio sign.
If you turned off the physical wireless network button, the Airplane mode will be activated and you can’t connect to the network. No matter what you try, you can’t turn on it unless you physically switch it on.
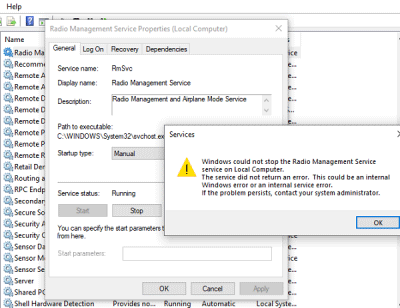
Method 3. Check the Status of Radio Management Service
Radio Management Service is a Windows startup program. It is enabled by default and can’t be disabled. There is a seemingly strange method to solve the Airplane mode problem, that is, try disabling the Radio Management Service.
Here is the tutorial.
Step 1: Press “Win+R” keys simultaneously to open the Run dialog box. Then, type “services.msc” in the Run box and hit Enter key to open the Services window.
Step 2: Right-click on the Radio Management Service and select Properties.
Step 3: Change the Startup type to Disabled and click on Apply.
Step 4: In general, Windows won’t let you disable the setting and give you a note. Please click OK button on the note window and restart the computer.
Method 4. Flush DNS Cache
When your IP configuration is reset as an incorrect IP address, which is not within the settings on your router, this error may also occur. If so, you can try the following steps.
Step 1: Follow the above steps to try disabling Radio Management Service, and then restart the computer.
Step 2: Type “cmd” in Windows search box and right-click on the Command Prompt icon to choose Run as administrator.
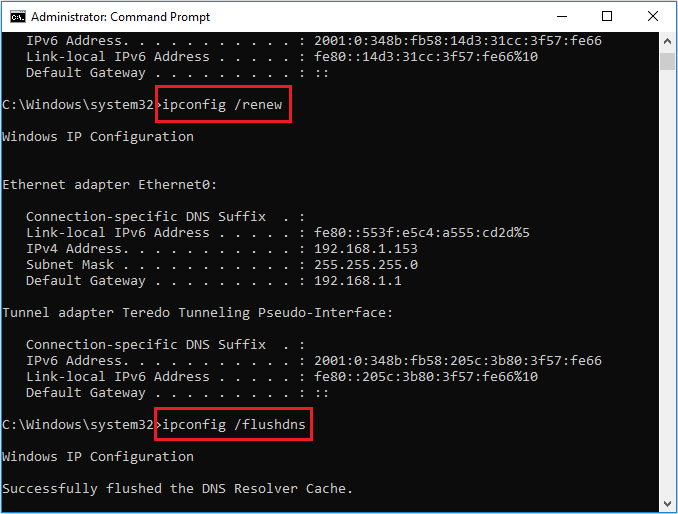
Step 3: Execute the following commands one by one.
- ipconfig /release
- ipconfig /renew
- ipconfig /flushdns
Method 5. Update the Network Drivers
It is also possible that this problem is caused by the outdated network drivers. If so, you should update them. Please refer to the following steps.
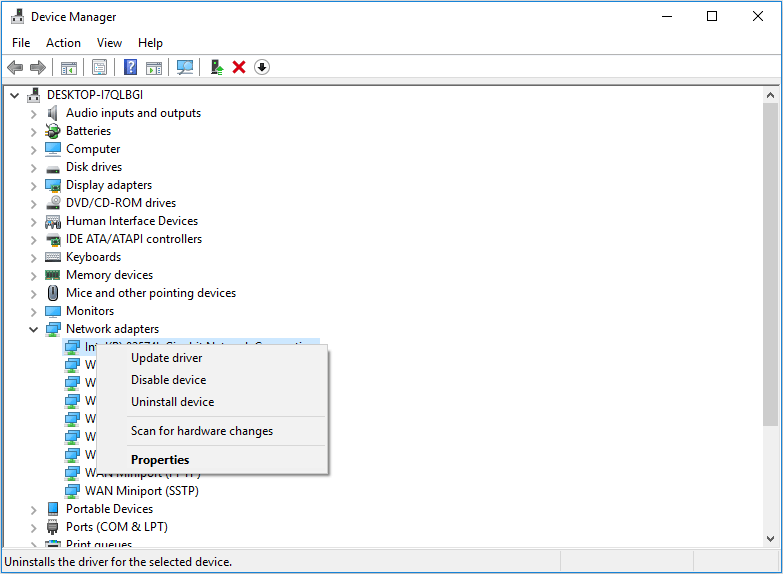
Step 1: Open the Run box and type “devmgmt.msc“. Then, hit Enter key to open the Device Manager.
Step 2: Expand the list of Network adapters. Then, right click on the network adapter and select Update Driver.
Method 6. Edit the Registry
The last method is to edit the Registry. You can follow the steps below:
Step 1: Open Registry Editor by typing “regedit” in the Run box and hitting Enter key.
Step 2: Navigate to this path: HKEY_LOCAL_MACHINESystemCurrentControlSetControlClass.
Step 3: Modify the value of RadioEnable to 1.

User Comments :