Do you have a Wii U console? Then, the storage may be insufficient now. In this post, MiniTool Partition Wizard shows you how to choose a proper Wii U external hard drive and use it to expand the Wii U storage.
About Wii U
Wii U is a home game console launched by Nintendo on December 8, 2012. It has 2GB of RAM, supports up to 1080P high-definition output, and has a brand-new touch screen controller. It provides two package options: the standard package with 8GB flash memory, and the deluxe package with 32GB flash memory.
On January 31, 2017, Nintendo announced the official discontinuation of Wii U worldwide, and Wii U has also become the home game console with the shortest life cycle in Nintendo’s history.
Nowadays, many people still use Wii U even though it has been discontinued. But the limited storage may be a problem as more and more games you want to install. If you don’t want to delete a game every time you need room for a new one, expanding Wii U storage with a Wii U external hard drive or a Wii U SD card may be a good choice.
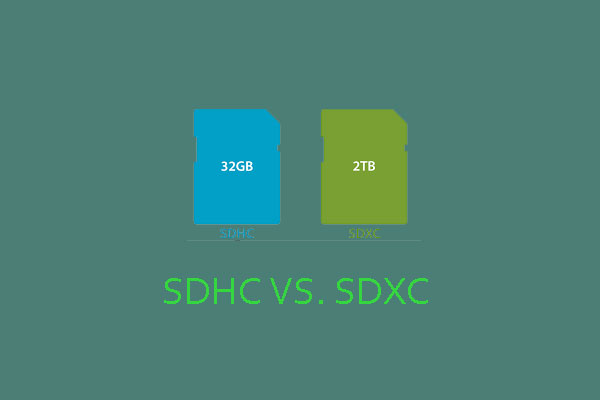
The Wii U includes an SD card slot at the front of the console, which supports SDHC memory cards up to 32GB, but does not support SDCX cards. However, SD cards can’t be used for storing Wii U games.
SD cards only work for storing pictures of your Miis, holding screenshots in Super Smash Bros. for Wii U, holding certain Wii game save data, and transferring data from a Wii to your Wii U. If you want to use SD cards to save games, you should connect the SD card into a USB slot using a USB card reader. In addition, when you use a USB card reader, you can use SD card exceeding 32 GB.
Expand Wii U Storage with External Hard Drives
Wii U offers 4 USB 2.0 connection ports (two at the front and two at the rear). If you want to get more storage to save games, using Wii U external hard drives is recommended. To expand Wii U storage with an external hard drive, you can refer to the following steps:
Step 1: Get an external hard drive. When you choose a proper Wii U external hard drive, you should take the following points into consideration.
- To ensure maximum performance between your Wii U and an external storage device, hard-disc drives (HDDs) with a dedicated power source (i.e., using an A/C adapter) is recommended.
- 2TB is the Wii U’s limit. Wii U can’t use more than 2TB.
- If you want to avoid using an externally powered external drive for some reason, you can purchase a USB Y cable that contains one plug on the external drive’s end and split into two on the Wii U’s end. Because the power and data transfer are separated into two USB ports, the Wii U should work more reliably with a portable drive this way.
- If you happen to have an old laptop that is dead or not used anymore, you can remove the hard drive from it and put it in a USB hard drive enclosure and use it like a portable hard drive. Then, use a USB Y cable to connect it to your system.
Step 2: Turn off your Wii U by holding down the Power button at the bottom-right corner of the gamepad for 1 second. The LED light of the console will turn red and the gamepad screen will turn off.
Step 3: Connect the external hard drive to the Wii U. Turn on the Wii U console and the console will detect the external device. Then, a dialogue will prompt you to format the hard drive. Select “Yes” to begin the formatting of the hard drive.
1. Before formatting the hard drive, please make sure the data on the drive has been backed up in advance.
2. Once a device has been configured for use with a Wii U console, it cannot be used with another Wii U console, PC, or MAC unless it is reformatted.


User Comments :