The printer is a great invention and it has become an essential part in today’s life. To print documents more quickly, you can set printer as default on Windows 10? How to do that? Please read the post in which MiniTool offers a detailed tutorial.
I have discussed how to change the default save location on Windows 10 and today I would like to take about how to change or set default printer Windows 10.
By default, Windows 10 sets a default printer to the one used most recently at the current location. However, you can manually set your printer to a preferred one and it doesn’t change every time you move.
How to set default printer in Windows 10? You can try one of the following ways.
Way 1: Set Default Printer Windows 10 via Settings
Step 1: Click the Windows icon on the toolbar and then select Settings.
Step 2: On the Settings window, please click Devices and Printers & scanners in order.
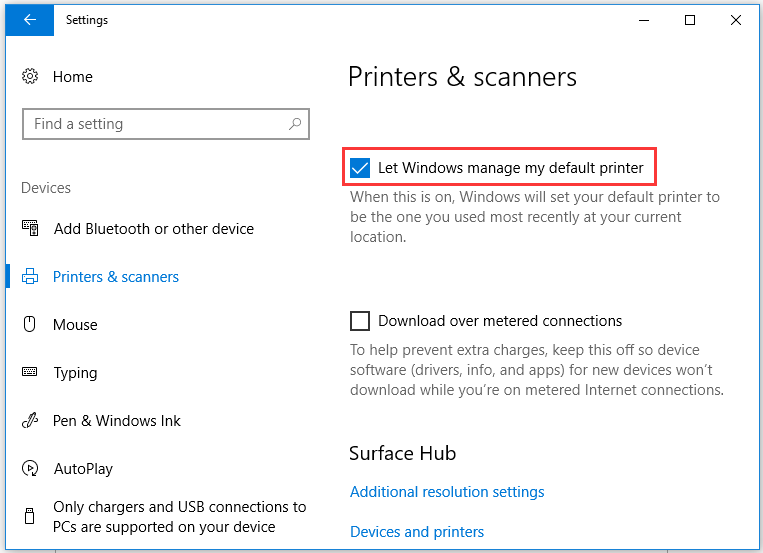
Step 3: Look at the right pane and then untick Let Windows 10 manage your default printer.
Step 4: Scroll up to Printers & scanners. Click a printer you want to set as default and then click the Manage button.
Step 5: On the new window, please click Set as default to set the selected printer as default Windows 10.
![How to Share a Printer in Windows 10 PC [Complete Guides]](https://images.minitool.com/partitionwizard.com/images/uploads/2020/02/share-printer-win10-thumbnail.jpg)
Way 2: Set Default Printer Windows 10 via Control Panel
Step 1: Open Control Panel by typing the function name in Cortana’s search bar and then clicking the result.
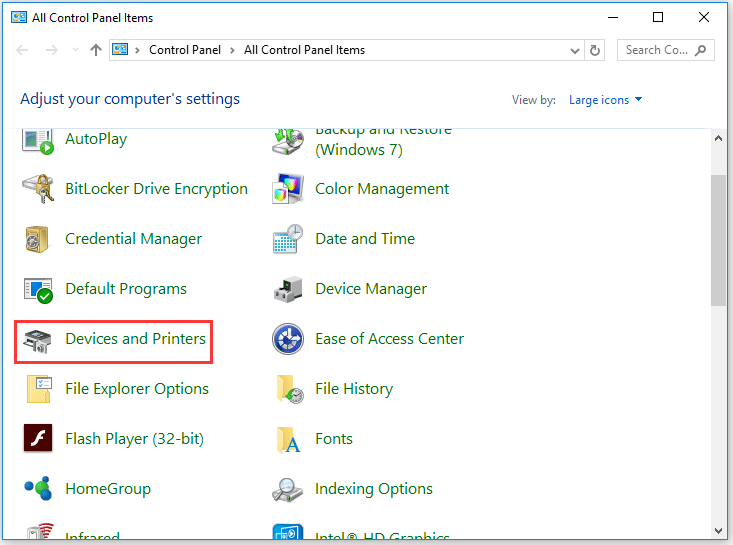
Step 2: Click Devices and Printers on the window of Control Panel.
Step 3: Under the Printers section, right-click the printer you want to set default on Windows 10 and then click Set as default printer.
Way 3: Set Default Printer Windows 10 via Print Dialog
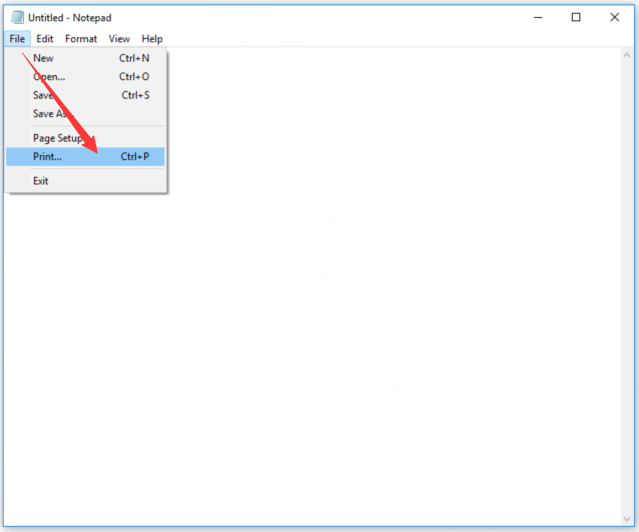
Step 1: Open your Notepad on Windows 10 and then click File > Print.
Step 2: On the new popping-up window, right-click the printer you want to set default on Windows 10 and then select Set as Default Printer from the menu.
After Step 2, you might receive a prompt—Setting this printer as the default means Windows 10 will stop manning your default printer. If you receive the message, click the OK button.
Way 4: Set Default Printer via Command Prompt
Compared with the first three ways, this way is a little bit complicated.
Step 1: Open Command Prompt as administrator.
- Type Command Prompt in Cortana’s search bar,
- Right-click the most-matched item and then choose Run as administrator from the menu.
Step 2: On the Command Prompt window, type the following command and then hit the Enter key to run this command.
RUNDLL32 PRINTUI.DLL,PrintUIEntry /y /n “Printer name”
Have you tried one of these ways? It is easy to set default printer on Windows 10 by following one of them, so have a try.
User Comments :