What Is SanDisk Secure Access?
In order to increase the value of products, manufacturers of U disks and branded mobile hard disks generally include value-added software and tools with various functions in their products. SanDisk Secure Access is such software. It is the official software that comes with the product of SanDisk USB flash drive. Its functions include U disk data encryption and online backup of data.
Available in both Mac and Windows flavors, SanDisk Secure Access software uses 128 bit AES encryption to create a password-protected folder—SanDiskSecureAccess Vault—on the flash drive. Any locked files are moved into the SanDiskSecureAccess Vault and can be accessed only with a password.
In addition, SanDisk Secure Access comes with a backup facility for up to 2 GB of data online. The online backup facility can be used to share personal pictures, documents, confidential business secrets or banking details safely via secure media. But to avail this facility, SanDisk Secure Access users need to complete a brief registration process with the service provider.
With Secure Access, users are assured that important data is secure and accessible even if the pen drive gets stolen or lost.
How to Use SanDisk Secure Access?
SanDisk Secure Access is not a necessary part of the SanDisk flash drive and it can be easily deleted. But fortunately, you can download and install it again easily. Here is the tutorial on how to install and use SanDisk Secure Access:
Step 1: Download SanDisk Secure Access from its official download page. Connect your SanDisk USB flash drive to your computer. Then, copy the previously downloaded Secure Access setup file into the USB drive.
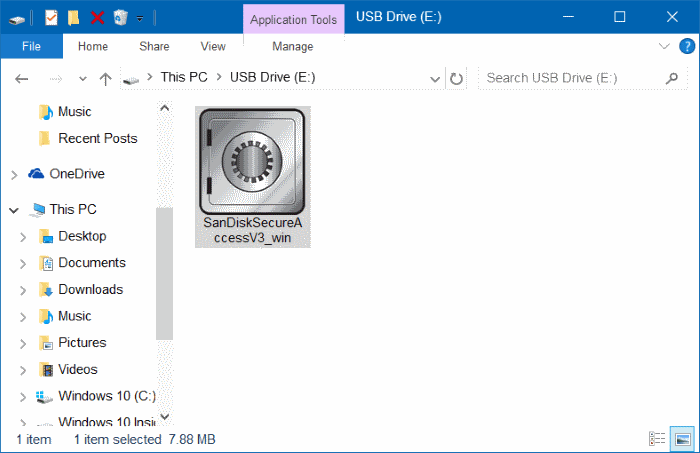
Step 2: Double-click on the SecureAccess setup file to start installing this software. Follow the wizard to accept the license terms and set up a strong password. The strong password should consist of at least six characters and SanDisk recommends you to create it by including both upper and lower case letters, numeric and alpha numeric numbers, and special characters.
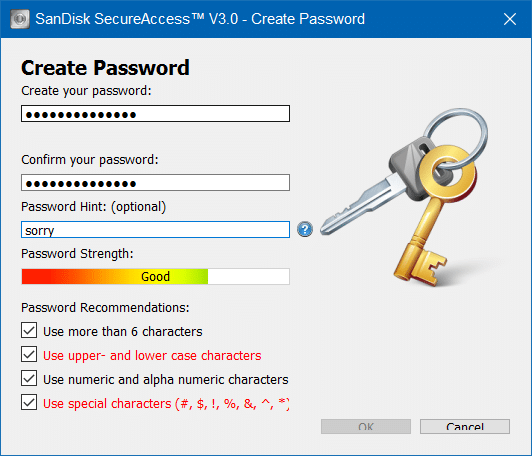
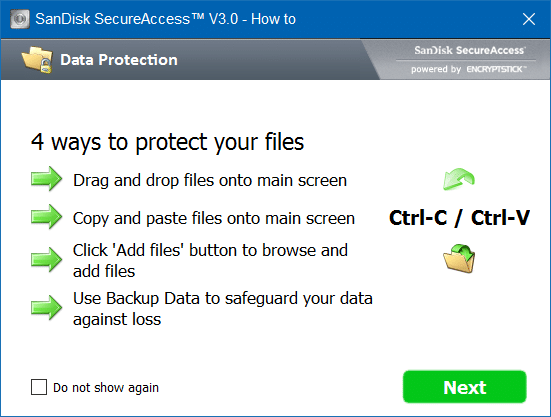
Step 3: After setting the password, click OK button to create a new vault on your USB drive. Then, a window pops up, which tells you how to use SanDisk SecureAccess. After reading the “How to” guide, please click Next button.
Step 4: When SanDisk SecureAccess opens, you can get the following window. To password protect a file or folder, you just need to drag or copy this file or folder to My Vault section.
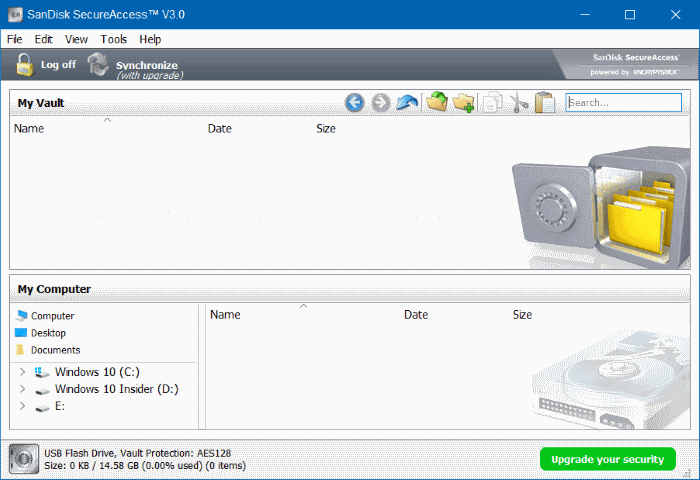
However, while the SecureAccess makes it easy for users to password protect files, anyone who has access to your USB drive can delete the password-protected SecureAccess vault with ease. In short, although no can view your sensitive file(s), they can delete your file(s).
To avoid such a case, you should backup your important files to a safe place before storing them on USB flash drive. Of course, you can also click Tools > Backup Data to back up your vault data online. Please note that you can only have one backup file at a time.
SanDisk Secure Access FAQ
If you have backed up vault data online, you can restore the data on another SanDisk USB flash drive when the old drive is damaged or lost. Please note that this operation will delete all files in the current vault. You should make sure your vault is empty or save all files from the current vault to another location before proceeding. Here are steps:
- Click Tools > Restore Data.
- Choose the location to be restored from the backup file using drop-down menu and click Next.
- Select the backup to be restored and click Next.
- Enter the Vault Password used when the backup was created.
- Click on Restorefor the restore operation to start.
- Wait until the restore operation is finished and then click Close.


User Comments :