If you have multiple OneDrive accounts, syncing them on one device will make them easy to manage. In this post, MiniTool shows you how to add and manage multiple OneDrive accounts in Windows 10.
Nowadays, most apps allow you to run multiple accounts, which make it easy to manage multiple accounts. OneDrive, Microsoft’s native cloud storage service embedded in the File Explorer of PC running the Windows 10 operating system, can also run multiple accounts.
If you have multiple OneDrive accounts (say personal & work account) that you frequently use, syncing them locally on the same device should make them easy to manage. You can easily manage files on those accounts without having to visit your browser. It’s convenient and saves time.
Please read the following content to know how to effectively add and manage multiple accounts on your Windows 10 PC.
Add the First Account
If you have no OneDrive account previously linked to your Windows PC, follow the steps below to do that. Otherwise, skip to the next section to add a second OneDrive account directly.
Step 1: You should make sure you have installed OneDrive on your PC. If not, you should install it first from the Microsoft Store app, the Microsoft website, or the official OneDrive website. After that, tap the Windows key on your keyboard and scroll through the list of apps to find OneDrive. Then, tap on this app to launch it.
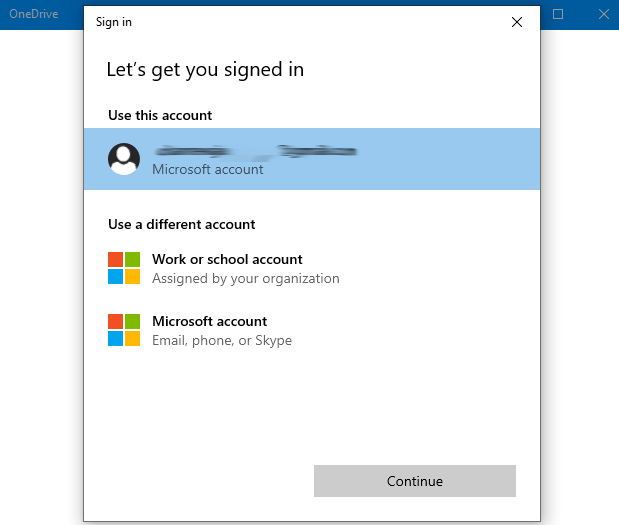
Step 2: On the One Drive window, click the Sign in button. Then, a new window will pop up. Click a preferred Microsoft account already connected to your PC or enter the credentials for a new account. Finally, click the Continue button to log in.

Once the OneDrive account is connected to your Windows computer, you can access and manage its content from your PC’s File Explorer.
9 Methods to Help You Fix OneDrive Sync Issues on Windows 10
Add a Second OneDrive Account
Step 1: At bottom-right corner of the Taskbar, right-click the OneDrive icon in the notification area of your PC’s system tray. If you cannot find the OneDrive icon there, tap the “Show hidden icons” upward-facing arrow button and you will see the OneDrive icon.
8 Solutions to OneDrive Icon Missing from Taskbar and File Explorer
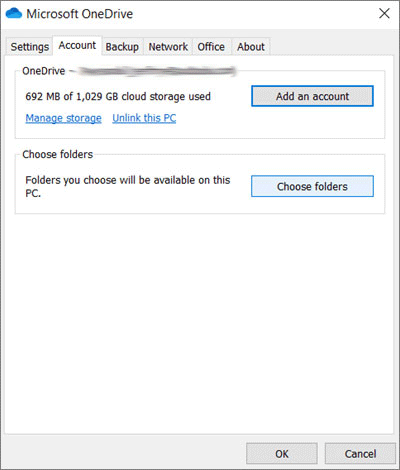
Step 2: Select Settings from the list of options on the OneDrive menu. Then, a new Microsoft OneDrive window will open. On this window, you can customize and make changes to the OneDrive account connected to your PC, and add new OneDrive accounts.
Step 3: Tab Accounts and click the Add an account button. This will open another window.

Step 4: Enter the email address of the second OneDrive account you want to link to your PC. Then, tap the Sign in button. Please note that the second OneDrive account must be a (paid) business account.
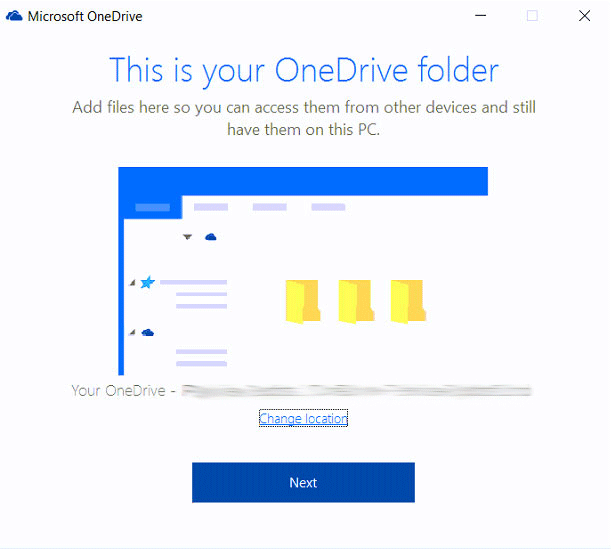
Step 5: Enter the password and log in to the second account. Then, Windows will show you the folder location of the new OneDrive account. You can tap the Change location button if you want to modify the default location. Otherwise, tap the Next button to link the second OneDrive account to your Windows PC.

Once the second OneDrive account is successfully linked to your Windows PC, syncing will begin instantly and you will find two visible changes on the computer:
- Multiple OneDrive icons: Your PC will display multiple OneDrive icons in the notification area of the Taskbar. The grey-colored icon is your personal OneDrive account, while the Blue-colored icon represents the (paid) business account.
- Multiple OneDrive folders: In the navigation pane of your PC’s File Explorer, two OneDrive folders are listed there. The personal OneDrive folder is labeled Personal while the second (business) account is labeled using the email address connected to the account.


User Comments :