If you want to install Surface Duo emulator to experience the dual-screen operation mode, this post may help you. MiniTool offers you a detailed guide on how to install the Surface Duo emulator on Windows 10 step by step.
Why to Install Surface Duo Emulator
Microsoft’s dual-screen devices, Surface Duo and Surface Neo, are coming soon. This company has recently made available its emulator for Surface Duo so that developers can start adding support to their apps.
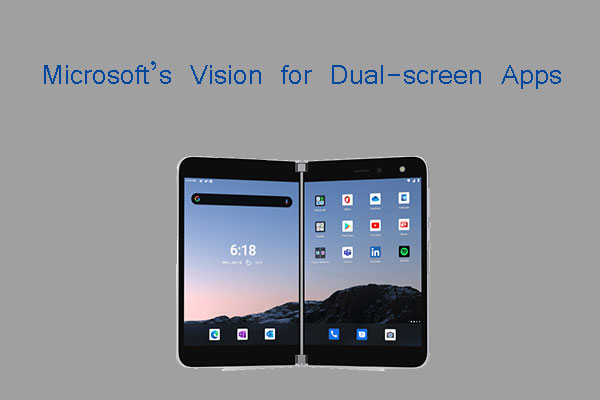
The Surface Duo OS is based on the Google Android OS and has two 5.6-inch displays, while the emulator is based on the Google emulator platform using the support for dual displays. With this emulator, you can have a glimpse of what to expect when the Surface Duo becomes available.
If you are a developer trying to get started adapting your apps for the new form factor, or just an enthusiast who wants to play around with the new OS, you can install the Surface Duo emulator on your Windows 10 device.
How to Install Surface Duo Emulator
In this part, I will show you how to install the emulator to start testing and get a feeling of Surface Duo step by step. Read on to get to know that:
First Move: Install Visual Studio 2019
To install the Surface Duo emulator, you should make sure you already have Visual Studio 2019 installed on your computer. If the Visual Studio 2019 is not installed on your PC, you should follow the steps below to install it first:
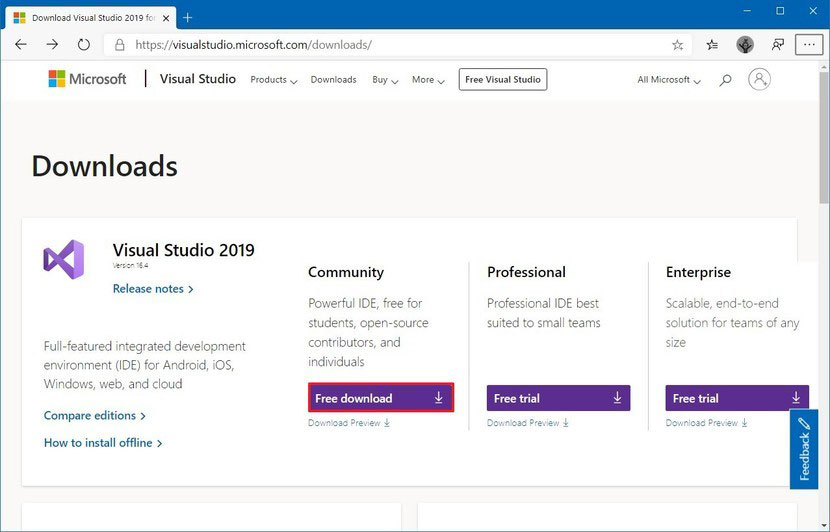
Step 1: Open the Visual Studio 2019 download page. Then, click the Free download button under the Community section.
Step 2: After saving the file on your computer, double-click the installer to launch the Visual Studio 2019 setup. Then, click the Continue button after learning about privacy and license terms.
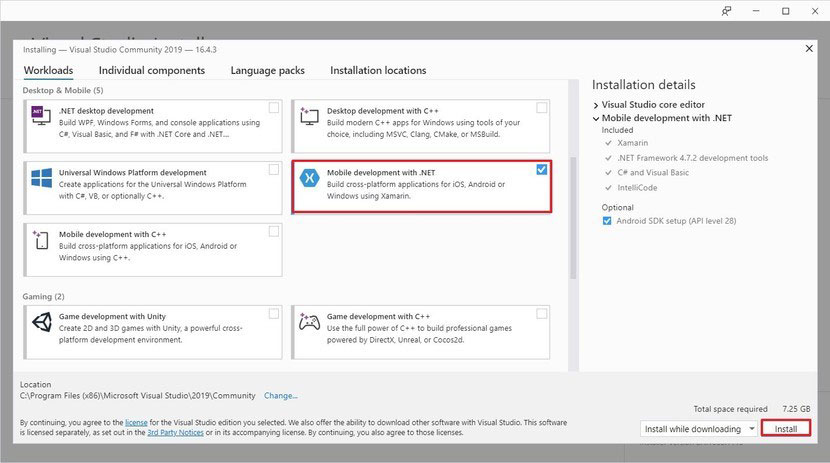
Step 3: Check the Mobile development with .NET package under the Workloads section. Then, click the Install button from the bottom-right corner.
Step 4: Click the Launch button and then click the Not now, maybe later option unless you have an account to sign in.
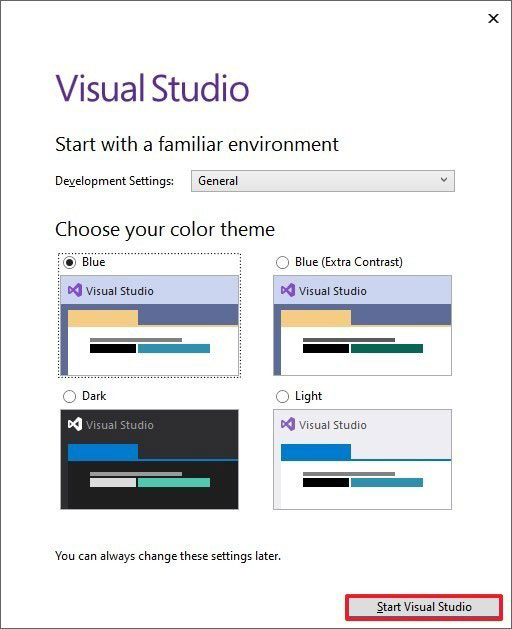
Step 5: On the Start with a familiar environment and Choose your color theme section, keep the default selections. Then, click the Start Visual Studio button. Then, click the Continue without code option under Get started section.
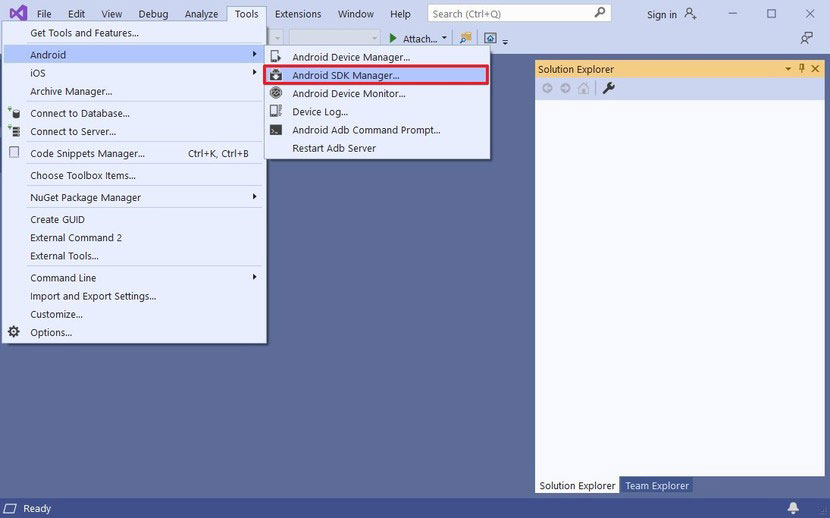
Step 6: Expand the Tools > Android menu and choose the Android SDK Manager option.
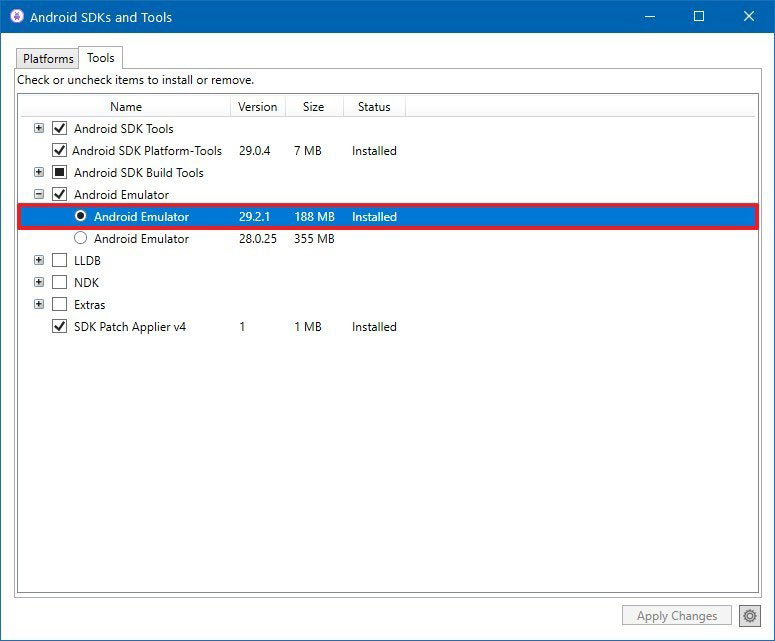
Step 7: On the new window, click the Tools tab. Then, click and expand the Android Emulator branch to confirm it is installed. After that, you can close all the Visual Studio related windows and proceed with the setup of the Surface Duo emulator.
Second Move: Install Surface Duo Emulator
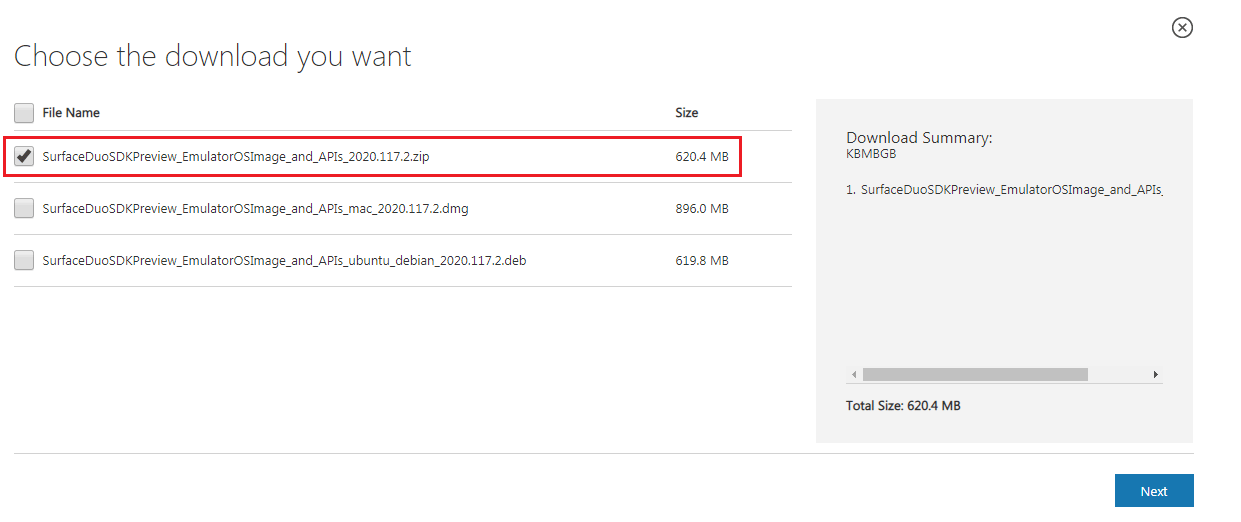
Step 1: Open Surface Duo SDK Preview download page and then click the Download button. Then, on the pop-up window, check the SurfaceDuoPreview_EmulatorOSImage_and_APIs_2020 item from the list and click the Next button.
Step 2: Extract the zip file you just downloaded on your computer and then open the folder and double-click SurfaceDuoEmulator_2020.117.2.exe file to launch the Surface Duo Emulator Setup Wizard.
Step 3: Follow the wizard and click the Next button all the time until the emulator is installed.
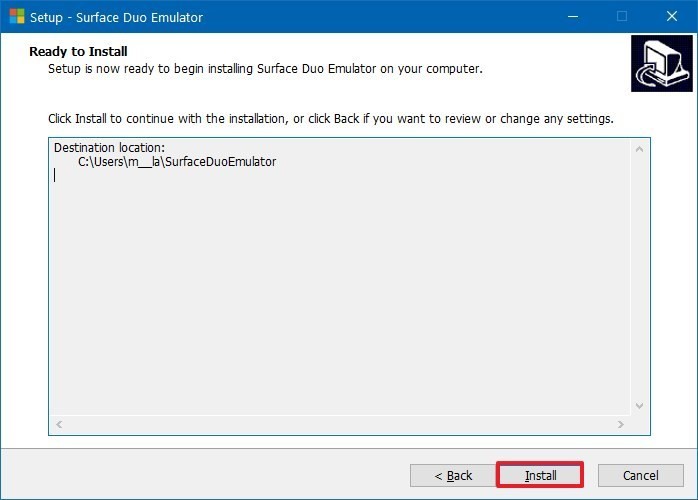
After the emulator is installed, you can then start it from the Start menu or desktop shortcut icon.


User Comments :