Are you using Microsoft Paint to editor images? Do you know how to make background transparent in Paint? Here is a step-by-step guide provided by MiniTool Partition Wizard and you can follow it to have a try.
Microsoft Paint is a simple raster graphics editor included in Microsoft Windows operating systems. It is totally free and comes with various features. Compared with tools like Photoshop, Microsoft Paint can do less things but it is easier to operate. In this post, I will show you how to make background transparent in Paint.
How to Make Background Transparent in Paint
To make background transparent in Paint, you need to cut out a foreground area in an image so that the rest of its surrounding background becomes transparent. And then you can paste the foreground over another picture. Let’s see the detailed steps now.
Step 1: Press Win + S to open Search utility. Then type paint in the search box and select Paint app from the search results.
Step 2: In Paint, click File tab and choose Open. In the pop-up window, find the target image where you want to make a transparent background. Then click Open to open it in Microsoft Paint.
Step 3: Click Select button and check Transparent selection option. Then click Free-form selection.
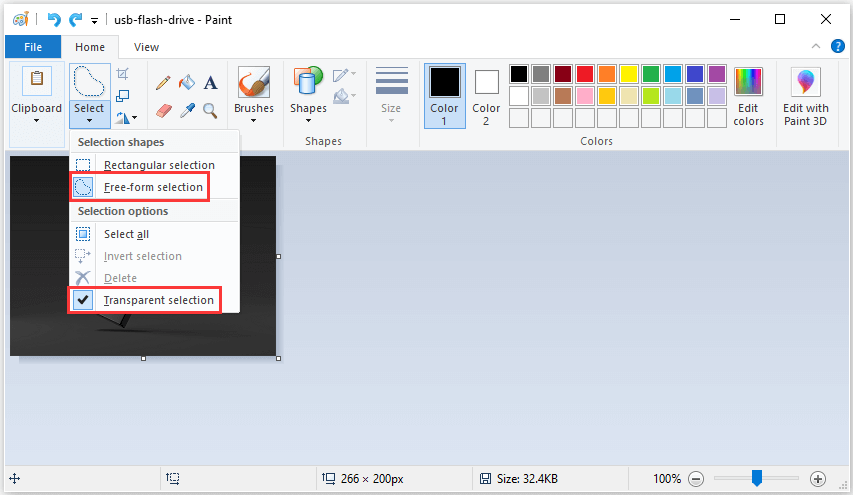
Step 4: Click and hold the left mouse button and trace around the target foreground area to preserve from the opened image. The rest part outside the traced area will be a transparent background.
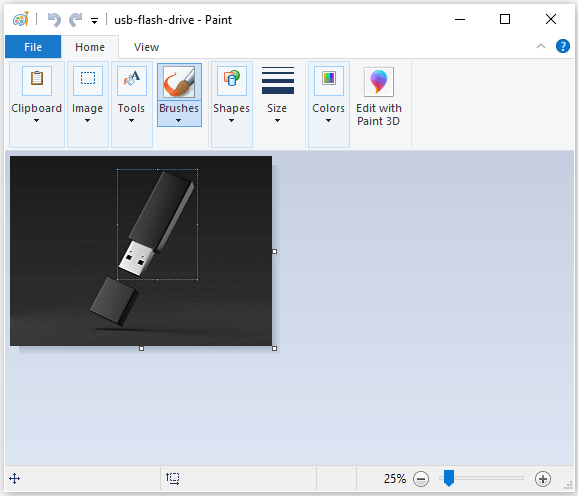
Step 5: Release your mouse and click Cut from the upper left corner of Paint. Then open a new picture in Paint and paste the foreground area you cut and move it to a proper location.
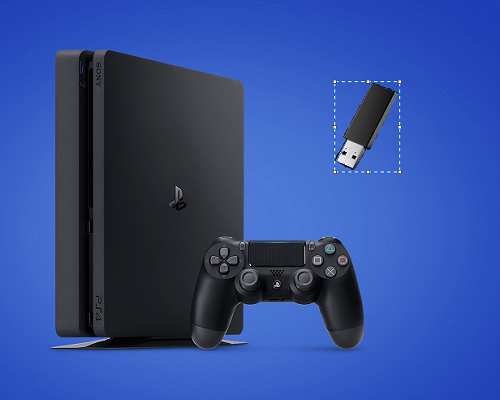
That’s how to make a transparent background in Paint. Here is another tool you can use to achieve the same goal. Let’s figure out it in the next part.
How to Make Background Transparent in Paint 3D
Alternatively, you can use Paint 3D to edit images. It’s another free application in Windows.
Step 1: Search for Paint 3D and open the program. Then click Menu > Open > Browse files to open your image. I choose the picture named test-01 here.
Step 2: Select Canvas tool from the toolbar and turn on Transparent canvas button from the right pane.
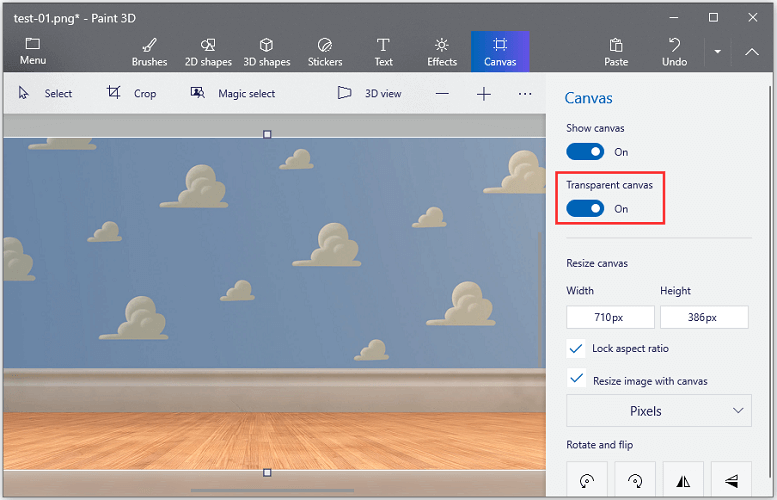
Step 3: Click Select and choose the area which you want to delete. Then press Win + X to cut the area, which leaves the picture with a blank transparent area that can be filled by another background layer.
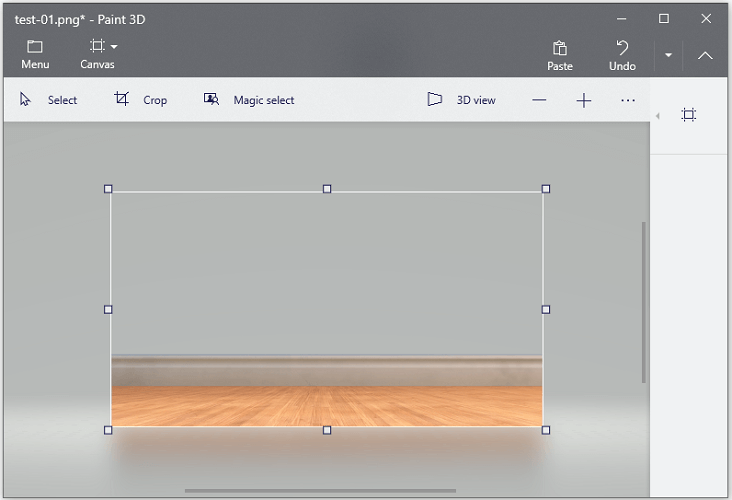
Step 4: Click Menu > Save as > Image. Then select a location to save it with a new name.
Step 5: Click Menu > New to open a new canvas, and then click Menu > Open > Browse files to open another image. I use test-02 here.
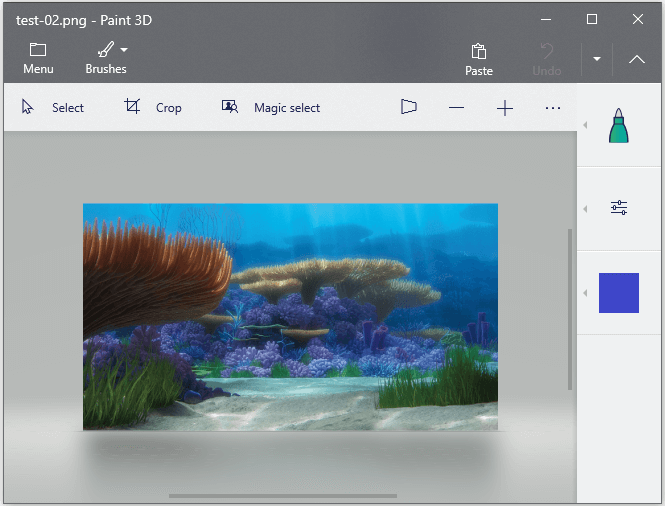
Step 6: Select Menu > Insert and select the saved picture with transparent background. It will show in the bottom of the canvas. You can move or rotate it according to your needs. Then save the picture.
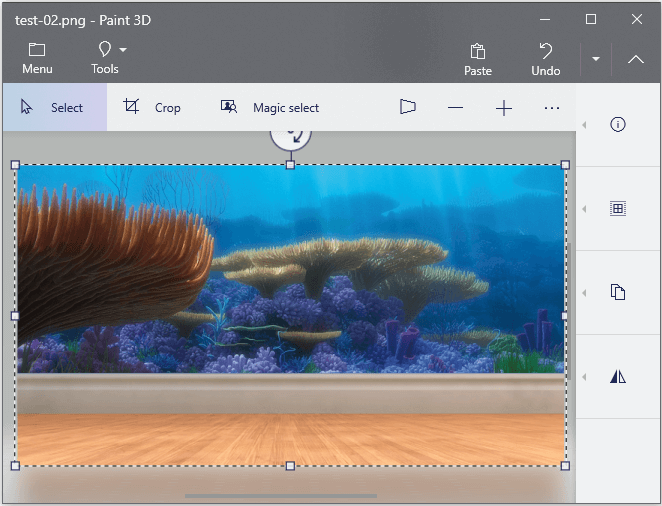
That’s how to make background transparent in Paint 3D and Paint. Now, it’s your turn to have a try.


User Comments :