Do you want to use GitHub Desktop on your PC? This post from MiniTool Partition Wizard offers you the GitHub Desktop download for free. You can get it and then install it on your PC. It also shows you how to use it.
Introduction to GitHub Desktop
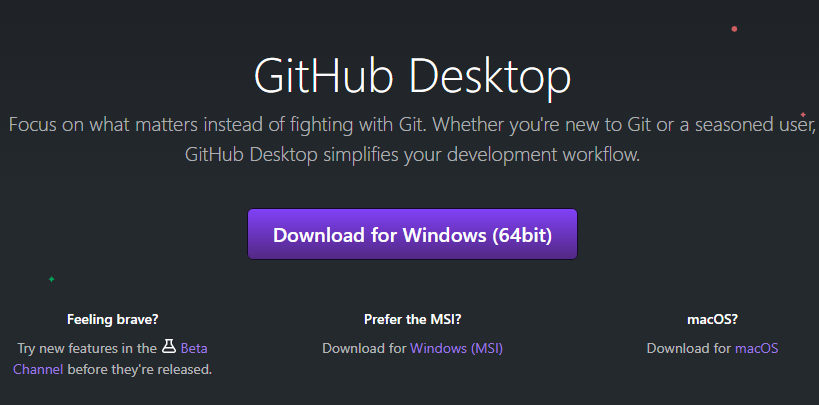
GitHub Desktop is an open-source application that lets you interact with GitHub through a graphical user interface (GUI), rather than relying on the command line or a web browser. Whether you’re new to Git or an experienced user, GitHub Desktop simplifies your development workflow.
GitHub Desktop enables developers to activate commands such as repository creation, pull requests, and commits with just one click. This extra convenience adds extra flexibility to using Git and collaborating with other developers.
How is GitHub Desktop different from GitHub? GitHub is a cloud-based hosting platform that enables developers to manage their Git repositories. GitHub Desktop is an application that allows users to better interact with GitHub through a GUI.
GitHub Desktop Download and Install
GitHub Desktop download and install for Windows requires Windows 7 64-bit or later. We recommend that the first step before performing a GitHub download is to create a GitHub account (if you don’t already have one). The process is very simple using the prompts on the GitHub Desktop website. Here is the guide:
You must have a 64-bit operating system to run GitHub Desktop successfully.
Step 1. Open Google and search for GitHub Desktop. Click the Download for Windows (64-bit) button.

Step 2. The download will start automatically and the file will be saved in the specified folder.
Step 3. Go to your Downloads folder and double-click the downloaded GitHub Desktop installation file. GitHub Desktop will launch after the installation completes on your system.
Step 4. Then verify your account. Click on File on the navigation bar, go down to Options, select Accounts and authenticate.
How to Use GitHub Desktop
Once you’ve successfully passed the GitHub Desktop installation phase, you’ll find it easy to clone a repository using GitHub.
1. In the GitHub Desktop window, click File > Clone Repository to clone the repository.
2. You can log in to your GitHub account via the popup to Clone a repository and easily use your own repository.
3. Go to the URL tab, enter your remote repository details with your GitHub Username/repository, and click Clone.
4. Now that you have cloned the remote repository to your local device, you can use Command Prompt or Explorer to open the contents and change the desired files.
5. Make changes to the file and save it.
6. Return to GitHub Desktop. You’ll see any deleted or added lines marked in red.
7. Add co-authors and an abstract, if desired, and click commit to master.
8. Now push the changes to the GitHub remote repository by clicking the Push origin button.
How to Upload Projects to GitHub Desktop
Here’s how to upload your project to GitHub Desktop.
1. Create a new repository on GitHub by clicking New and giving it a name. Then click Set up in Desktop.
2. Clone the repository in the project folder or an empty folder which will contain the content we want to upload and give a specific path.
3. After uploading the file to the folder, we upload the file to GitHub by writing a First Commit message and click Commit to master.
4. Click Publish Branch and the files will be uploaded on GitHub.
After that, check your GitHub repository again to verify that the files were uploaded.


![Do You Need Xbox Live to Play Sea of Thieves on PC? [Answered]](https://images.minitool.com/partitionwizard.com/images/uploads/2022/11/do-you-need-xbox-live-to-play-sea-of-thieves-on-pc-thumbnail.png)
User Comments :