Do you have encountered GfxUI application errors when using the Intel HD Graphics Control Panel? This post from MiniTool Partition Wizard offers you 3 ways to solve these problems. Please have a try.
What Is GfxUI Application Error?
The GfxUI application error has many error messages such as, “GfxUI has stopped working”, “GfxUIEx has stopped working”, and “GfxUI.exe this application could not be started”. These GfxUI application errors are related to GfxUI.exe/GfxUIEx.exe, a software component of Intel onboard HD graphics by Intel Corporation.
These errors may occur when your try to open the Intel HD Graphics Control Panel or just after you upgrade your OS.
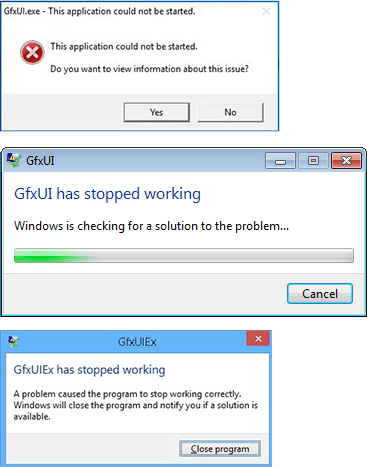
The reasons for these errors include:
- Outdated display drivers.
- Broken or missing Microsoft Visual C++ Redistributable and Microsoft .NET Framework.
How to Fix GfxUI Application Errors
According to the above reasons, you can take corresponding measures to solve these problems.
Method 1. Update Microsoft Visual C++ Redistributable Package and Reinstall Microsoft .NET Framework
Running the GfxUI.exe or GfxUIEx.exe requires the Microsoft .NET Framework 3.x or higher. You should check whether a proper Microsoft .NET Framework version is installed through the following steps:
Step 1: Check the Microsoft .NET Framework version.
- Open Control Panel.
- Set View by to Large icons.
- Go to Program & Features.
- Click Turn Windows features on or off.
- Please check whether there is .NET Framework 3.5 (includes .NET 2.0 and 3.0). If this item doesn’t appear, you can go to the next step. If this item is displayed here, you should uninstall this item by unselecting it. Then, go to the next step.
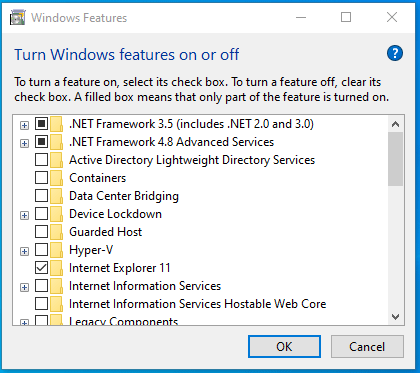
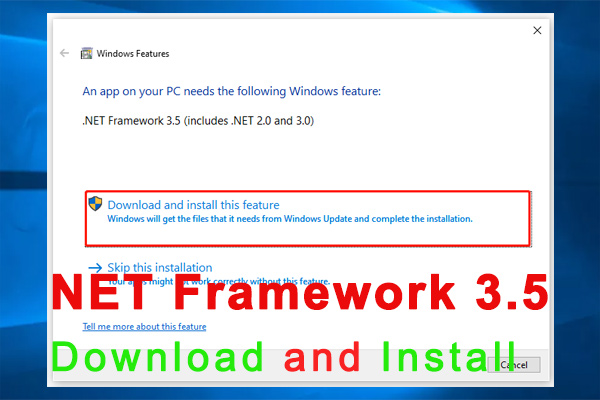
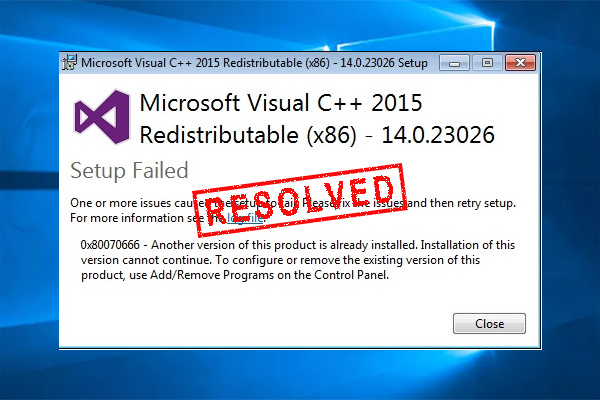
Step 2: Install the latest Microsoft Visual C++ Redistributable Package and the Microsoft .NET Framework 3.5. The Microsoft Visual C++ Redistributable Package contains various DLL files needed for running the Microsoft .NET Framework. You should install this package before you start installing the Microsoft .NET Framework 3.5.
- Go to the Microsoft website to download the latest Microsoft Visual C++ Redistributable Package. In this step, please choose the x86.exe version. This version is used for PCs.
- Go to Program & Features and uninstall old Microsoft Visual C++ Redistributable Packages.
- Double-click the Microsoft Visual C++ Redistributable Package you just downloaded to run it. Then, follow the wizard to install the Microsoft Visual C++ Redistributable Package and .NET Framework.
- Now, navigate back to Turn Windows features on or off and re-enable Microsoft .NET Framework 3.5.
Now, you can check whether the GfxUI application error is solved. If the issue persists, you can try the second method.
Method 2. Update or Reinstall the Graphics Driver
- Press Windows key + R. Type “msc” and press Enter key to open the Device Manager tool.
- Expand Display adapters.
- Right-click Intel HD Graphics and choose Update driver. Then, follow the wizard to update the driver.
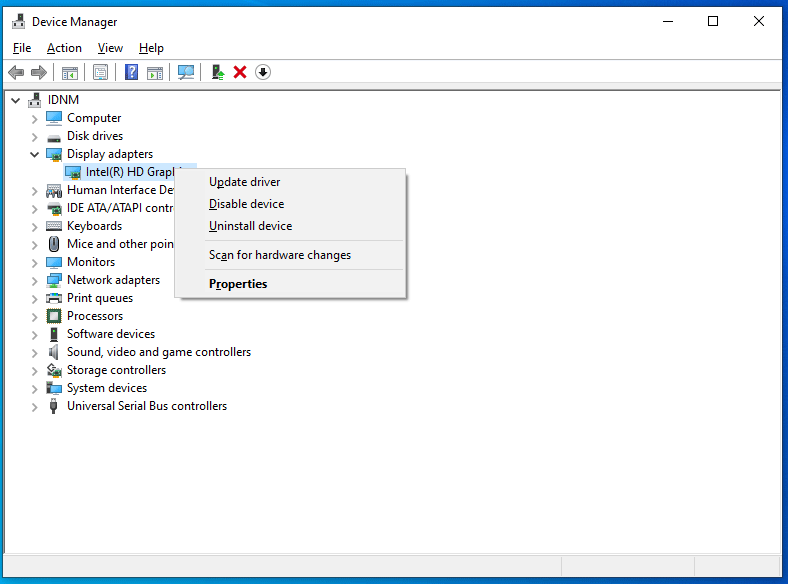
If you want to reinstall the driver, please download the latest version of Intel Graphics Driver from the Intel website first. Then, you should go to the Device Manager to uninstall the device. After that, you can double-click the latest driver setup file to install it.
Method 3. Replace the GfxUIEx.exe
Many people report this method works and you can have a try. First, please searcher for “Gfx” in the C:WindowsSystem32 folder. Then, you will see the GfxUI.exe/ GfxUIEx.exe file and the Gfxv2_0.exe/Gfxv4_0.exe file.
Now, please a copy of the GfxUI.exe/ GfxUIEx.exe file and save the copy to a safe place so that you can restore it in case something goes wrong. Then, delete the original GfxUI.exe/ GfxUIEx.exe file and rename the Gfxv2_0.exe/Gfxv4_0.exe file to GfxUI.exe/ GfxUIEx.exe.
Now, you can check whether the “GfxUI.exe has stopped working” issue and other GfxUI application errors disappear.

User Comments :