There are many cases in which you should flush DNS resolver Cache. In this post, MiniTool Solution provides you with instruction of how to flush DNS cache. Other operations about DNS cache you may be interested in are also displayed.
About DNS Resolver Cache
DNS is the abbreviation of Domain Name System. It translates website names that users can understand into IP addresses which computers can understand. When you visit a website using its domain name, your browser will be directed to a DNS server and learn the IP address of that website here.
Then, a record of the IP address will be created within your Windows so that you can access information faster if you visit the same website again. These records make up the DNS cache, which is also known as DNS resolver cache.
If you can no longer access a certain website which you have visited before, you might need to flush DNS resolver cache to remove the old records. Here are some reasons:
- The IP address of a certain site changes. If the old IP address is still recorded in DNS cache, your computer might not be able to access the site.
- Bad results are cached. Because of DNS cache poisoning and spoofing, some bad results might be cached and you cannot visit the site again.
- DNS cache is corrupted or broken. Although the page exists on the internet, you cannot access this page if DNS cache is corrupted or broken.
Now, let’s see how to flush DNS resolver cache.
How to Flush DNS Resolver Cache
It is an easy job to flush DNS cache. You can perform this operation in Run, PowerShell or Command Prompt.
#1. Use Run
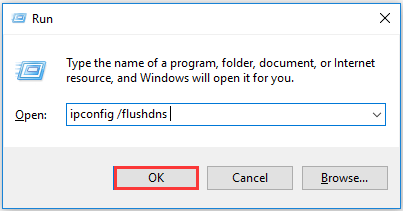
At first, Press Windows key and R at the same time to invoke Run window.
Then, Input ipconfig /flushdns in the empty box and click OK.

After that, a command box will appear on the screen and the DNS cache will be cleared.
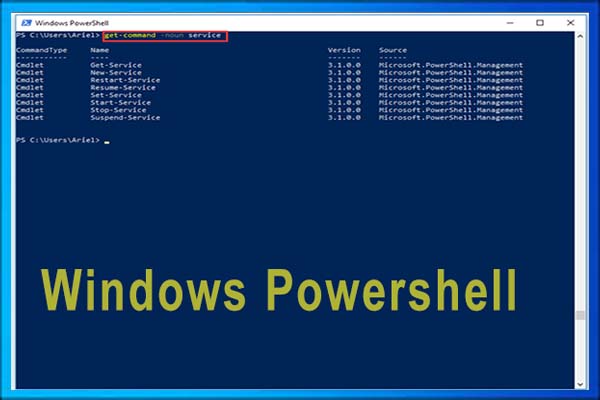
#2. Use PowerShell
Step 1: Right-click Start button the open the menu.
Step 2: Choose Windows PowerShell (Admin) to run PowerShell as administrator.
Step 3: Type the command clear-dnsclientcache and press Enter.
#3. Use Command Prompt
After opening Command Prompt as administrator, type ipconfig /flushdns and press Enter key. Then, the DNS cache should be flushed.
In addition, there are some other related commands that you might be interested in:
- ipconfig /displaydns: To see your current DNS cache under Windows IP configuration.
- ipconfig /registerdns: To register your DNS cache recorded in Hosts file.
- ipconfig /release: To release the current IP address settings.
- ipconfig /renew: To reset and request new IP address.
What to Do If You Cannot Flush DNS Resolver Cache
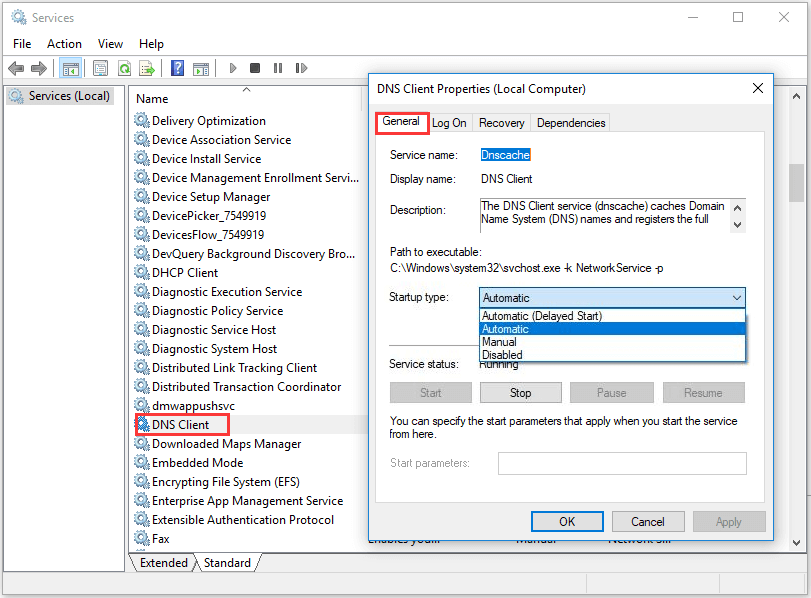
Sometimes, you may fail to flush DNS resolver cache as DNS Client service is disabled. If you are facing this problem, just fix it by enabling it in Services.
Step 1: Open Run window, and input services.msc and click OK.
Step 2: Locate the DNS Client service. Right-click it and choose Properties from the context menu.
Step 3: In the Properties window of the service, set the Startup type as Automatic under General tab. Then click Start to start up the service, and click OK the save the change.

Now, you can run ipconfig /flushdns command again. You should be able to flush DNS resolver cache successfully.
How to Turn Off /On DNS Cache
You might want to turn off or turn on your DNS cache for certain reasons. There is a method available.
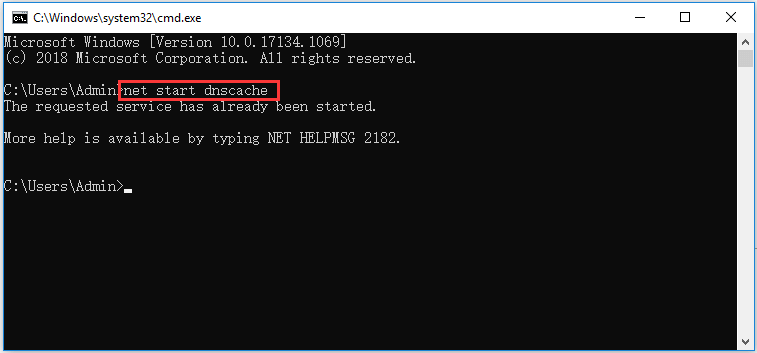
This operation should be complete in Command Prompt:
- To turn off DNS cache, type command net stop dnscache and press Enter
- To turn on DNS cache, type command net start dnscache and press Enter.

That’s all about DNS resolver cache and how to flush it. Hope this post will be helpful when you need to flush DNS cache.


![10 Reasons and 10 Fixes for Computer Running Slow [New Updated]](https://images.minitool.com/partitionwizard.com/images/uploads/2019/08/my-computer-runs-slow-thumbnail.jpg)
User Comments :