The mfplat.dll missing error has been reported by plenty of users. If you are one of them, this article should be helpful for you. Here, MiniTool Partition Wizard puts together several workarounds that may help you get rid of the mfplat.dll missing issue.
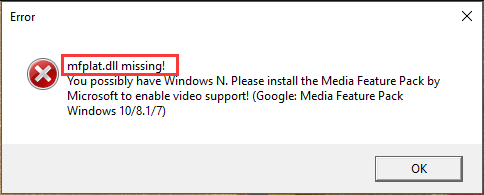
Recently, some Windows users have reported the mfplat.dll missing issue which commonly appears with the following error message:
mfplat.dll missing!
You possibly have Windows N. Please install the Media Feature Pack by Microsoft to enable video support! (Google: Media Feature Pack Windows 10/8.1/7)

Besides, there are some other error message related to the mfplat.dll issue, as follows:
- The program can’t start because mfplat.dll is missing from your computer.
- This application failed to start because mfplat.dll was not found.
The mfplat.dll not found or missing error might come up when you are trying to run PLEX or some other similar streaming services, or playing certain games that actively use the Media Feature Pack mentioned in the error message. Generally speaking,
The reasons for the problem could be various, but you are able to fix it by yourself. In the following contents, several possible solutions to the issue are listed and you can have a try. Let’s check them out one by one.
Fix 1: Install the Media Feature Pack for Windows 10 N Version
In most cases, the Media Feature Pack will be automatically installed by the Windows Update. If you come across the mfplat.dll missing issue, chances you are using Windows 10 N version which doesn’t include the Media Feature Pack by default. This means that the Media Feature Pack won’t be installed by default or updated through the Windows Update.
In this case, you need to install the Media Feature Pack for Windows 10 N manually. But before that, you had better check the Windows version you are using at first. If you are sure you are using Windows 10 N, you need to visit the Microsoft website to download the Media Feature Pack of N version of Windows 10 and install it properly.
After that, restart your computer and check if you can run the specific application or game without the mfplat.dll error.
Fix 2: Enable Media Playback in Command Prompt
Even if the Media Feature Pack is installed on your computer, you might also receive mfplat.dll not found or missing issue due to the disabled Media Playback service. To get rid of the problem, you can enable Media Playback with certain commands. Here’s how to do that:
Step 1: Press Windows + R to invoke Run window.
Step 2: Input cmd and press Ctrl + Shift + Enter to open Command Prompt as administrator.
Step 3: Input the command line dism /online /enable-feature /featurename:MediaPlayback in the console and press Enter key to execute it.
Then, close the tool and try opening the problematic program again to check if the problem is fixed. If the mfplat.dll missing error appears again, just move on to the next solution.
Fix 3: Extract A Copy of Mfplat.Dll File from Windows.old
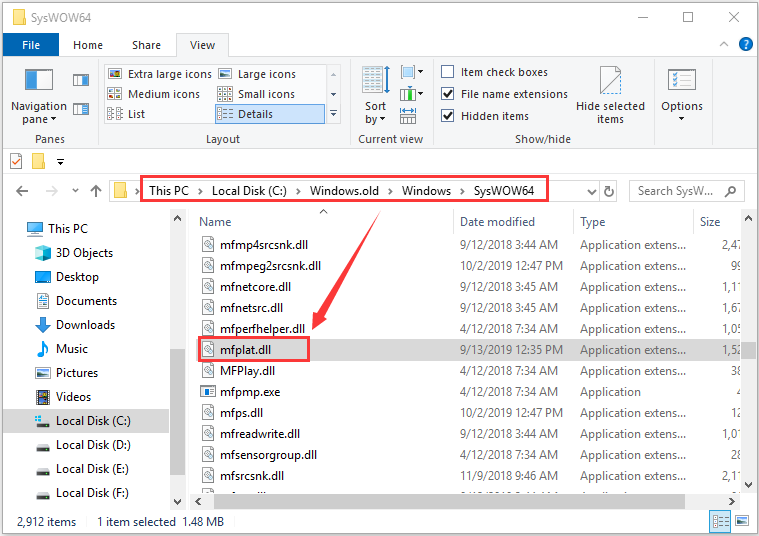
If you receive mfplat.dll missing issue after you upgraded to Windows 10, you can try extracting a copy of the mfplat.dll file from the Windows.old folder to fix the issue. To achieve that, you just need to:
Step 1: Press Windows + E to open File Explore.
Step 2: Open the system drive and go to Windows.old > Windows > SysWOW64.
Step 3: In the SysWOW64 folder, copy the mfplat.dll file and then paste it to the path C:WindowsSysWOW64.

Now, restart your computer and the mfplat.dll missing issue should be removed.
Fix 4: Use System File Checker
As for any issue related to the system files, running the SFC scan is always a great solution. The built-in Windows tool System File Checker will help you find the problematic system files and replace them with a cached copy.
You just need to run Command Prompt as administrator, input sfc /scannow and press Enter to start scanning your system. Wait until the verification process is 100% completed, restart your computer to check if the mfplat.dll not found or missing issue is fixed.
Fix 5: Perform System Restore
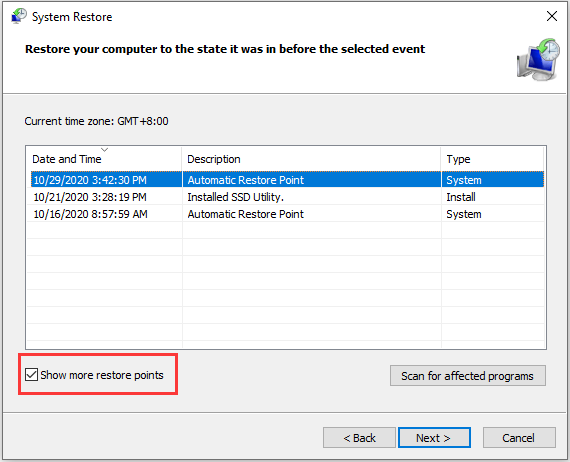
Finally, if all above methods fail to resolve the problem for you, you can try performing a system restore to bring your system back to an earlier date. Here’s a simple guide for you.
Step 1: Invoke Run window, input sysdm.cpl and click OK to open System Properties.
Stop 2: Switch to the System Protection tab and click System Restore.
Step 3: Skip the welcome page. In the following page, select a restore point and click Next button.

Step 4: Confirm your restore point and then click Finish button to execute the operation.

User Comments :