Are you looking for some methods to fix the ERROR_FILE_NOT_FOUND issue? If you are, you can take a look at this post of MiniTool Partition Wizard. It gives you a detailed step-by-step guide on how to troubleshoot the ERROR_FILE_NOT_FOUND error.
As a Windows system error, the ERROR_FILE_NOT_FOUND issue mostly occurs when users try to open a file in a particular app. Besides, it may also show up on system startup or shutdown. How to fix the ERROR_FILE_NOT_FOUND error? You can try the methods given below to fix this problem.
Method 1. Run System File Checker
First, you can try running System File Checker (SFC) to repair the corrupted system files. Follow the detailed steps below.
Step 1. Press the Win + R keys to open the Run dialog box. Then type cmd in the box and press Ctrl + Shift + Enter to run Command Prompt as administrator.
Step 2. In the pop-up window, type sfc /scannow in the window and press Enter.
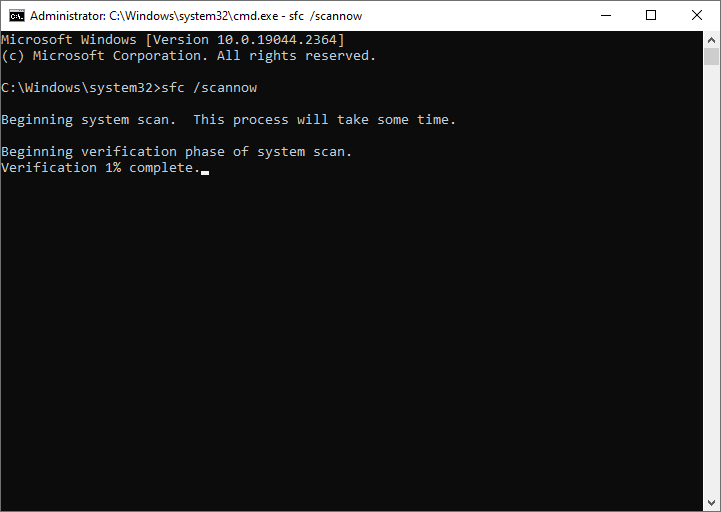
Step 3. Once done, reboot your computer. If the ERROR_FILE_NOT_FOUND error still exists, run Command Prompt as administrator again.
Step 4. Once launched, type the following commands in the window and press Enter after each command.
DISM /Online /Cleanup-Image /CheckHealth
DISM /Online /Cleanup-Image /ScanHealth
DISM /Online /Cleanup-Image /RestoreHealth
Step 5. Once done, restart your system and check if your issue is repaired.
Method 2. Perform Disk Cleanup
Sometimes, the ERROR_FILE_NOT_FOUND issue can be caused by system junk. You can try cleaning your temporary files and folders with the following steps.
Step 1. Open Disk Cleanup by searching it in the Windows Search tool.
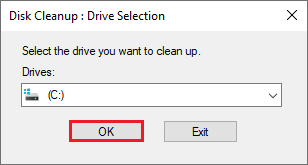
Step 2. In the prompted window, select your drive to run Disk Cleanup. Then click OK.
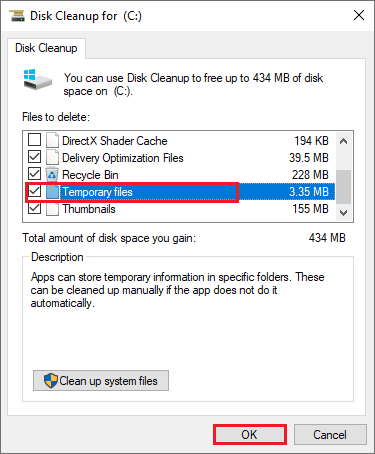
Step 3. In the next window, check Temporary files and other file types you want to delete. Then click OK.
Step 4. In the prompted window, click Delete Files.
Method 3. Check Disk
If the ERROR_FILE_NOT_FOUND error still exists, you can follow the steps below to run CHKDSK
Step 1. Run Command Prompt as administrator.
Step 2. In the pop-up window, type chkdsk /f X: and replace X with the letter of your partition.
Step 3. Press Enter to execute the command. Once done, check if the error disappears.
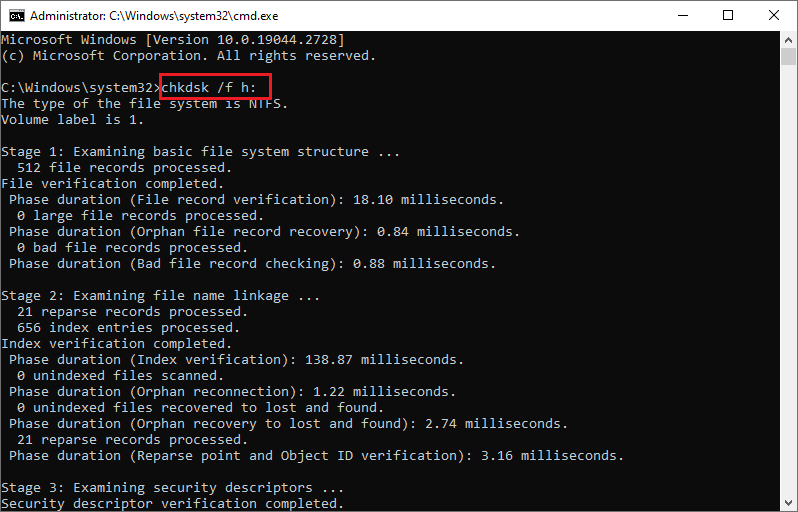
Sometimes, you may encounter some issues while using the CHKDSK utility, such as CHKDSK not working. Thus, we recommend you use a CHKDSK alternative – MiniTool Partition Wizard when the CHKDSK command does not work.
Download and install MiniTool Partition Wizard, then launch it to get its main interface. Right-click the partition that you want to check and select Check File System or Surface Test. Then follow the on-screen wizard to finish the process. For more specific information, you can refer to the following guide.
MiniTool Partition Wizard FreeClick to Download100%Clean & Safe
Method 4. Update Windows
In addition to the above methods, you can try updating your system operating to solve the ERROR_FILE_NOT_FOUND issue. Here are the steps.
Step 1. Right-click the Windows icon and select Settings.
Step 2. Then go to Update & Security > Windows Update.
Step 3. Click Check for updates to check if there are any updates available for your system.
Then follow the on-screen instructions to install the available updates. Besides, you can try downloading the updates manually.
Conclusion
Now, this post comes to an end. We have learned 4 ways to fix the ERROR_FILE_NOT_FOUND issue in this post. Getting your problem solved successfully? You can feel free to try the fixes one by one. If you have any suggestions or better ideas, you can leave a message in the comment part below.

![How to Repair Windows Update Error 0x80240016 [Full Guide]](https://images.minitool.com/partitionwizard.com/images/uploads/2023/03/0x80240016-thumbnail.png)

![[Tutorial] How to Download & Install Windows 10 Updates Manually](https://images.minitool.com/partitionwizard.com/images/uploads/2022/01/download-windows-10-updates-manually-thumbnail.jpg)
User Comments :