Recently, some Windows 10 users report that they have some problems with disabling fast startup. If you are one of them, don’t miss this post where MiniTool displays 4 methods to help you disable fast startup Windows 10.
Fast startup is a feature that helps start your computer faster after shutdown. Some users would like to enable this feature for faster boot, but some problems occur when they want to disable it.
According to the reports from users, this feature will be re-enabled automatically with a new Windows update, even if they have disabled it before. Even worse, the fast startup feature gets missing in the Shutdown settings and thus users cannot enable or disable the feature in Windows 10.
If you can’t disable fast startup windows 10 or the feature is missing, you can try the following methods. Let’s dive in.
Solution 1: Edit Local Group Policy
You can configure the Local Group Policy Editor to manage the fast startup feature. But note that this utility only available in Windows 10 Pro and Enterprise versions). To disable fast boot Windows 10, just follow the steps below:
Step 1: Press Windows + R to open Run window.
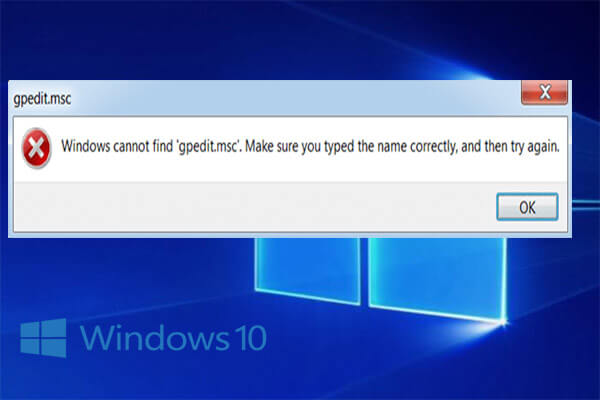
Step 2: Input gpedit.msc in the empty box and click OK to open Local Group Policy Editor.
Step 3: Go to the following path: Computer Configuration > Administrative Templates > System > Shutdown.
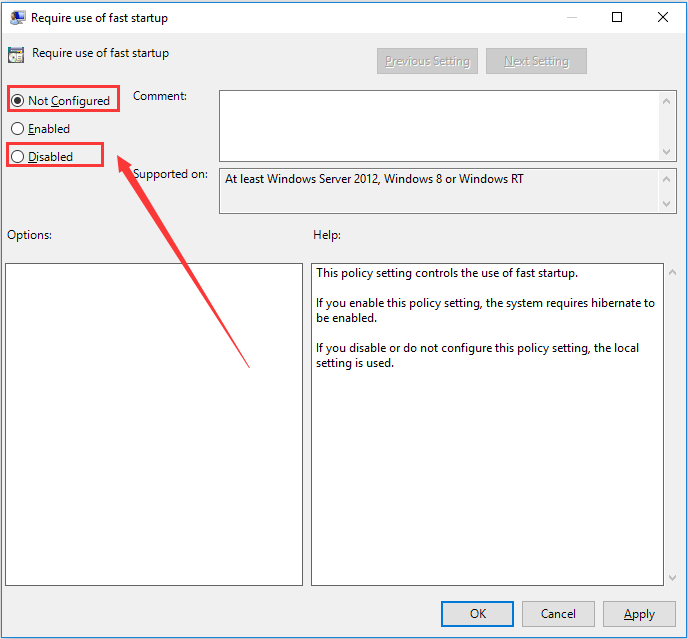
Step 4: In the right pane, double-click Require use of fast startup to edit the setting.
Step 5: In the pop-up window, choose Not Configured or disabled to make the fast startup feature available in local settings. Click Apply and OK to save the change.

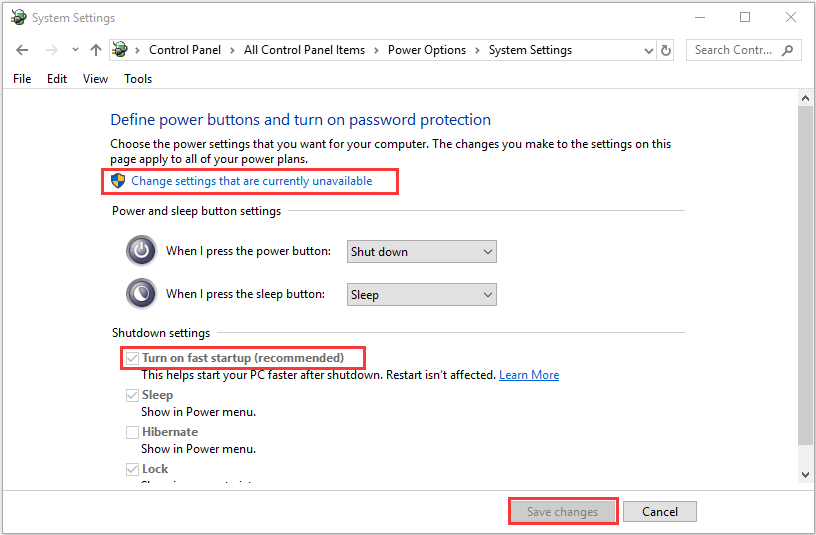
Once it’s done, you can open Control Panel and go to disable fast startup again. Just navigate to System and Security > Power Options > Choose what power buttons do. Click Change settings that are currently unavailable, uncheck Turn on fast startup option and hit Save changes.

Solution 2: Make Sure Hibernation Is Enabled
As you can see in last part, if the Require use of fast startup policy setting is enabled, the system will require hibernate to be enabled. In this case, you might need to check whether hibernation is enabled if you want to manage the fast startup feature in the local settings.
To make sure hibernation is enabled, you can simply run Command Prompt as administrator, input the command powercfg.exe /hibernate on and press Enter to execute it. After that, you can go to Shutdown settings to disable fast startup feature now with the steps mentioned in the previous contents.
Solution 3: Disable Fast Startup Using Registry Editor
In addition, you can also disable fast start by edit Windows Registry, but you are recommended to back up the current registry before making any changes. The detailed steps are provided below:
Step 1: Invoke Run dialog, input regedit and press Enter to open Registry Editor.
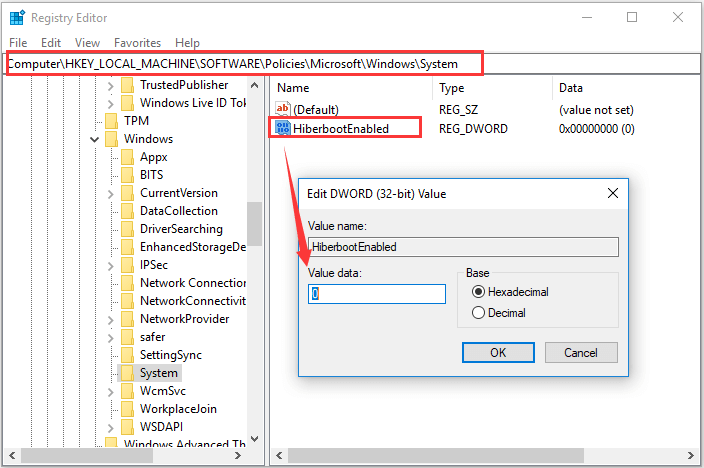
Step 2: Copy and paste the following path to the address bar and press Enter key: ComputerHKEY_LOCAL_MACHINESOFTWAREPoliciesMicrosoftWindowsSystem
Step 3: Right-click the System folder and choose New > DWORD (32-bit) Value and name it HiberbootEnabled.
Step 4: Double-click the DWORD and set its Value data to 0. Click OK button to save the change.

Solution 4: Run SFC Scan
If some system files get corrupted, some power settings like fast startup might also become unavailable. So, it is worthwhile to run SFC scan to repair your system files.
To do that, you need to open Command Prompt as administrator and execute sfc /scannow command. After the process is completed, restart your computer and try disabling fast startup feature again. If sfc scannow doesn’t work, you can try running DISM command and disabling the feature again:
- DISM /online /Cleanup-Image / ScanHealth
- DISM /Online /Cleanup-Image /RestoreHealth


User Comments :