In this article developed by MiniTool Partition Wizard, you will learn about how to customize Nintendo Switch user interface to make it in line with your aesthetics and preferences.
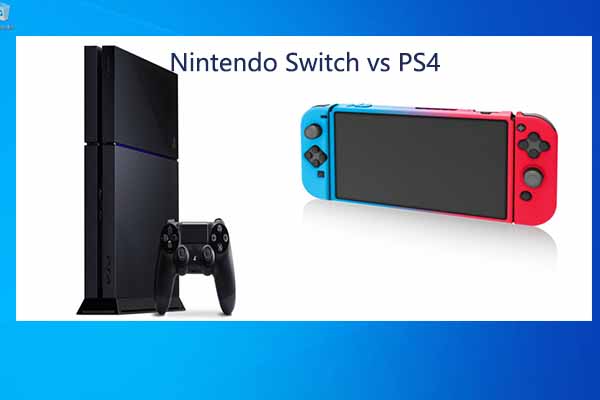
The Nintendo Switch is a video game console that can be used as either a home console or a portable device, competing with Microsoft’s Xbox One and Sony’s PlayStation 4. It is very popular among game lovers.
The design of Nintendo Switch was aimed to bridge the polarization of the gaming market at the time, as some people want to play video games leisurely while others want to play deeply, which can also apply to the cultural lifestyle and gaming differences between Japanese and Western players.
Sometimes, you might want to change the user interface for your Nintendo Switch. Actually, it doesn’t have much customization options, but here are some things you can do to make it more organized and to fit for your preference. Just keep reading to get the detailed information.
Customize Nintendo Switch Themes and Background
Different from Xbox and PlayStation consoles, Nintendo Switch doesn’t pay much attention to the themes. You are able to change the Nintendo Switch themes but the change won’t be so impressing.
To change background on a Nintendo Switch, you just need to:
Step 1: In the home screen of your Switch, select System Settings at the bottom.
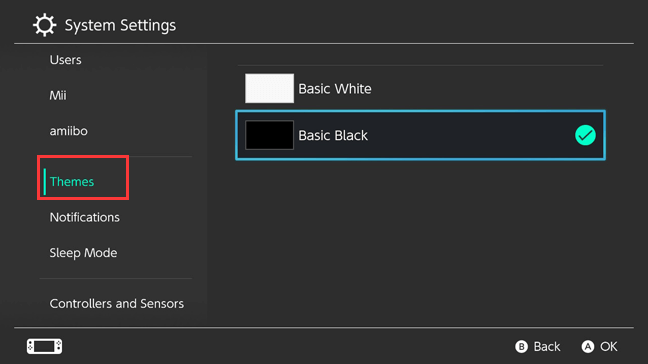
Step 2: choose Themes option from the left pane.
Step 3: In the right pane, you will see two available Nintendo Switch themes: Basic White and Basic Black. Just choose one as you like.

By doing this, the primary color of the interface across the whole system will change. If you want to change the display colors, you can also choose System from the System Settings menu and find the Change Display Colors option in the right pane. Here, you can switch between Default, Invert Colors, and Greyscale.
Organize Game Library
Nintendo Switch can display up to 12 games on the home screen, and these games are that you played, installed, or inserted into the Switch most recently. You are not allowed to arrange these games manually. You can only push a game to the start of the screen by opening it, but it will get unseated after you launch another game.
If you have more than 12 games, you will see an All Software button in the right of the home screen. Click the button, and you will see all your owned and downloaded games in the menu. Besides, you are provided several options here to sort all the games in the library.
You can sort your games by:
- Most Recently Played: This option is similar to the default sorting way in home screen, and the games you’ve never played will be at the bottom.
- Longest Play Time: The order of the games determined by the time you’ve played them, from the longest to the shortest.
- Title: This option sort all your games in the alphabetical order, from 0 to 9, then A to Z.
- Publisher: It sorts your titles by the name of the publisher, in the alphabetical order as well.
Remove Rarely Played Games
Nintendo Switch doesn’t provide much internal storage for users. Although you can expand Nintendo Switch storage, you might be frustrated with the messy home screen and game library after having installed many games. So, to declutter your games list, you can choose to remove some games you have completed or don’t play anymore from the console.
Step 1: Go to the home screen or the All Software menu to select the game you want to remove.
Step 2: Press the + button on your right joy-con.
Step 3: Choose Manage Software from the left pane and then select Delete Software in the right pane.
This will remove the game from your library and home screen, but it still exists in your account because your purchases are still linked to your Nintendo profile.


![[Solved] Nintendo Switch Not Connecting to WiFi](https://images.minitool.com/partitionwizard.com/images/uploads/2020/10/nintendo-switch-not-connecting-to-wifi-thumbnail.jpg)
User Comments :