Are you bored with the default Windows 10 boot logo? Do you want to change Windows 10 boot screen for further UI customization? In this post, MiniTool Partition Wizard shows you how to do that step by step.
Requirements for Changing Windows 10 Boot Screen
When you boot up a Windows 10 PC, it will show the default Windows 10 boot screen like the following picture:

Do you know you can change Windows 10 boot screen as your will. You don’t need to watch the same screen again and again.
The Windows 10 boot screen is composed of three parts: the Boot Logo (the Windows logo), the Boot Status Indicator (the circle), and the Boot Status Message. The boot status message occurs only when your PC run into problems. And its location is right under the circle.
You can suppress these Windows elements via the Windows Unbranded Boot feature (this feature requires Windows 10 Enterprise, Windows 10 Professional, or Windows 10 Education). After suppressing these elements, you will get a totally black boot screen.
Many people may don’t like this method. They just want to replace the startup logo with a custom logo. In this case, you should use another tool to modify the Boot Graphics Resource Table (BGRT).
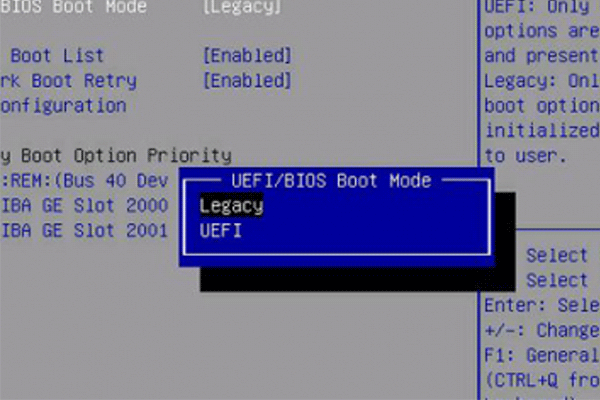
Please note that you can modify the BGRT only on devices that use UEFI as the firmware interface. If your PC uses the BIOS firmware, you can’t modify the BGRT.
How to Change Windows 10 Boot Screen
To change Windows 10 boot logo, you can refer to the following steps:
- Back up important data in advance lest anything goes wrong and your data is lost.
- Boot into UEFI firmware to disable the Secure Boot
- Make an image no bigger than 300px x 300px. This image will be set as the boot logo later. Please note that this image should not be GIF or transparent. If you want to add a transparent logo, you should change the background color of your transparent image to black in advance.
- Download a third-party free and open-source tool called HackBGRT from GitHub platform, since Windows doesn’t offer options to change Windows boot logo.
- Extract the folder and then run the “exe” program as an administrator. This will launch the application’s command-line tool.
- Press the “i” key on your keyboard and this will open the the program’s config file in the Notepad.
- Close the Notepad by clicking on the “X” icon on the top-right corner. Then, the HackBGRT will open the Paint application with its own default boot logo.
- Click on the “Paste” drop-down button and select the “Paste from” option.
- Select the “File > Save” option to save the file.
Through the above steps, you have replaced the Windows 10 boot logo and then you can close the software.
If you want to change Windows 10 boot screen back to the original one later, you can refer to the following steps:
- Open the HackBGRT folder, right-click on the “exe” file and select the “Run as administrator” option.
- Press “R” key to completely remove HackBGRT and restore the original boot logo, or press “D” key to just disable this software and restore the original boot logo.
- Reboot the system and you will see the original Windows boot logo.


User Comments :