Are you encountering WMIADAP.exe error in Windows 10? Do you know what WMIADAP stands for? So, this article from MiniTool Partition Wizard shows you what WMIADAP exe error is and how to fix it in Windows 10.
What Is WMIADAP.exe in Windows 10?
WMIADAP is short for Windows Management Instrumentation Auto Discovery Auto Purge. When it adds the .exe, it become an executable file that eventually become an essential part of Microsoft Corporation’s WMI (Windows Management Instrumentation).
In most operating systems, WMIADAP.exe is present and the correct location for the file is C:WindowsSystem32wbemfiles. If some other files are the location, then it may be malware.
If this file is malware, then your computer will freeze from time to time, Internet connection is unstable, the WMIADAP.exe file takes up more CPU memory, system performance is very slow, annoying ads pop up, etc.
Well, how to fix WMIADAP exe errors in Windows 10? There are 4 ways to fix it.
How to Fix WMIADAP.exe Errors in Windows 10?
Fix 1: Restore Your PC
Here is a simple way to restore your computer, and the steps are as follows:
Step 1: Type system restore in the search box on the taskbar and click Create a restore point.
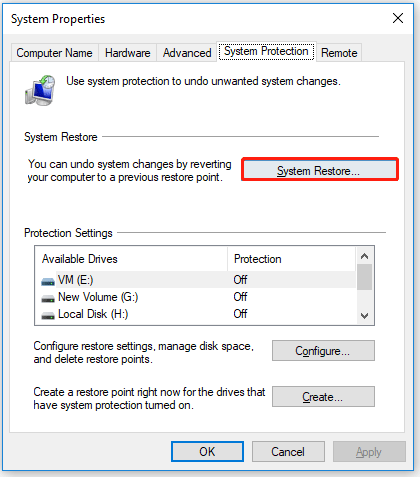
Step 2: In the System Properties dialog box, click System Restore to begin system restore. Then click Next button.

Step 6: Select the latest restore point and click Next to continue.
Step 7: Finally, click Finish to let start this process.
Fix 2: Run SFC
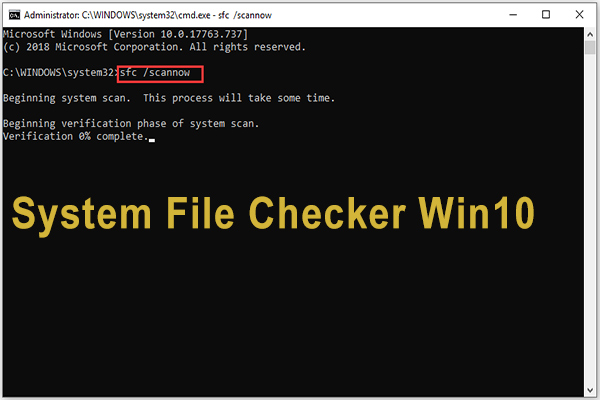
Running SFC (System File Checker) can help restore a faulty wbem WMIADAP.exe file. Proceed as follows:
Step 1: Press Windows + S key and type cmd in the search of the box. Then right click it and select Run as administrator.
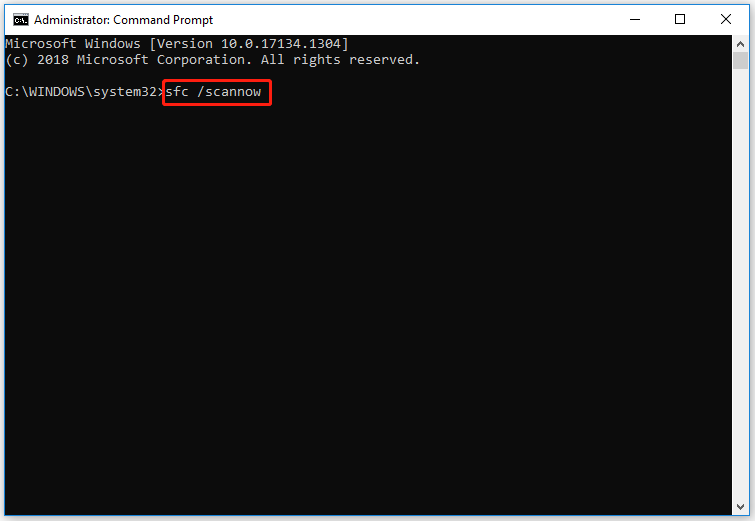
Step 2: In the Command Prompt window, type sfc /scannow and press Enter.

Step 3: The SFC tool will scan system files and attempt to recover lost files and repair the damaged files.
Step 4: Restart your computer and then check if the WMIADAP.exe error exists.
Fix 3: Update Windows 10
If the above methods fail to solve this WMIADAP exe error, you should try to update Windows 10 to fix this error. The steps are as follows:
Step 1: Press the Win + I key to open Windows Settings.
Step 2: Navigate to Update & Security > Windows Update.
Step 3: In the right window, click the Check for updates button. And Windows will automatically check for Windows updates to download and install them on your PC.
Fix 4: Uninstall and Re-install Microsoft Office Access 2010
Here is the guide to help you uninstall and re-install Microsoft Office Access 2010.
Step 1: Press the Win + I key to open Windows Settings.
Step 2: Navigate to the Apps > Apps & features option.
Step 3: In the right panel of the window, find Microsoft Office Access 2010 in the list and click it. Then click the Uninstall button.
Step 4: Follow the installation wizard until Microsoft Office Access 2010 is uninstalled.
After completely uninstalling the software, restart the PC and reinstall the Microsoft Office Access 2010 software.
Bottom Line
There are 4 ways to fix the WMIADAP exe error in Windows 10 in this article. Try them one by one until the error gets solved. Or, if you have other solutions, you can share them in the following comment zone.


User Comments :