Windows Defender Blank Screen Error
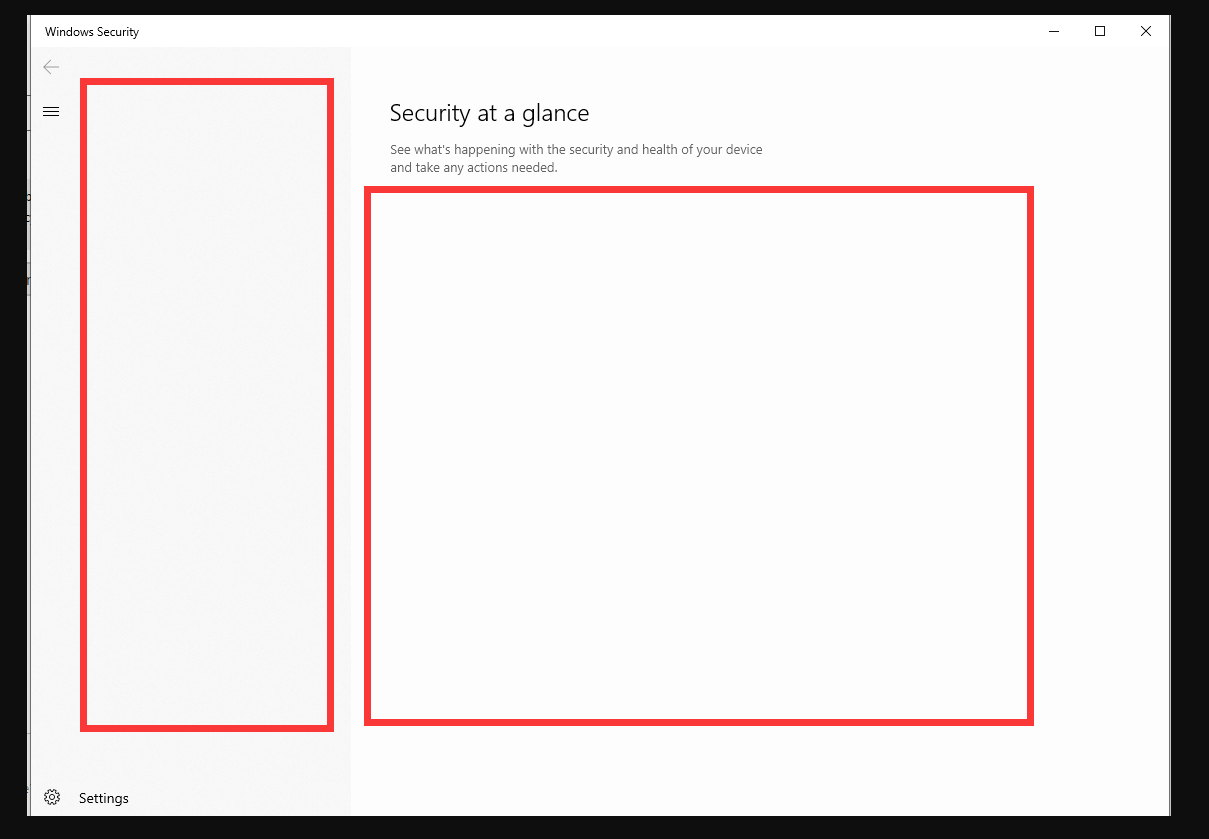
Sometimes, when you are going to do a full scan of your system, you may get Windows Defender blank screen issue. The Windows Defender just gives you a blank screen like the following picture.

Then, how to solve this problem? Please refer to the following methods.
Fix 1. Restart Windows Security Center Service
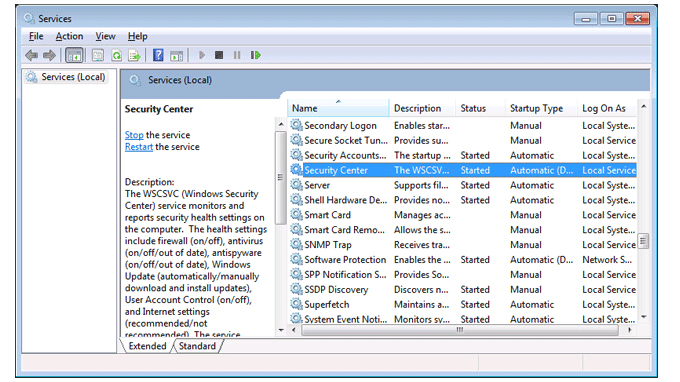
The Windows Security Center service monitors and reports security health settings on the system. You can check whether the problem is caused by closed Windows Security Center service. You can restart this service and see whether the problem is solved. Please refer to the following steps:
Step 1: Press “Windows + R” keys to call out the Run dialog box, then type “services.msc” and click OK button to open Windows Services.
Step 2: In the Services window, find Security Center service and right-click on it. Select Restart from the drop-down menu. After that, run Windows Defender again to see whether the problem is solved.

[SOLVED] Windows Defender Not Turning on in Windows 10/8/7
Fix 2. Repair System Files
This method will help you check whether the problem is caused by corrupt system files. Please follow the steps below:
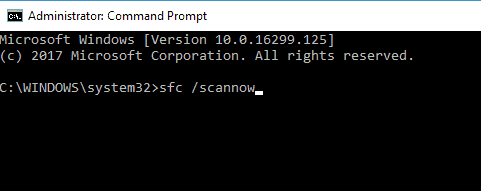
Step 1: Type “command prompt” in Windows search box. Then, right click the Command Prompt icon and select Run as administrator.
Step 2: Type “sfc /scannow” and press Enter key.

This command will detect corrupt files and replace them with backup files automatically. But if this command fails, you can try DISM. This command should be run when your computer is connected to network. The DISM command lines are as follows:
- Dism.exe /Online /Cleanup-image /Scanhealth
- Dism.exe /Online /Cleanup-image /Restorehealth
Fix 3. Update Windows
If the above methods fail to solve the Windows Defender blank screen issue, you can try updating Windows. Sometimes, Windows update can fix some errors related to system. You can try that method to see whether it can help you. Please refer to the following steps:
Step 1: Click Start button and choose Settings. Then, choose Update & Security.
Step 2: Click Check for updates. Then, you can get the latest version of Windows 10.
If there is no newer Windows 10 version, or the problem still exists after you update Windows 10, you can try the next method.
7 Solutions to Fix Windows 10 Won’t Update.
Fix 4. Reset PC
This method is most likely to solve the problem, but it’s also the most complicated. Please follow the steps below:
Step 1: Move your important files to data partition like D and E, because this method may modify files in C drive.
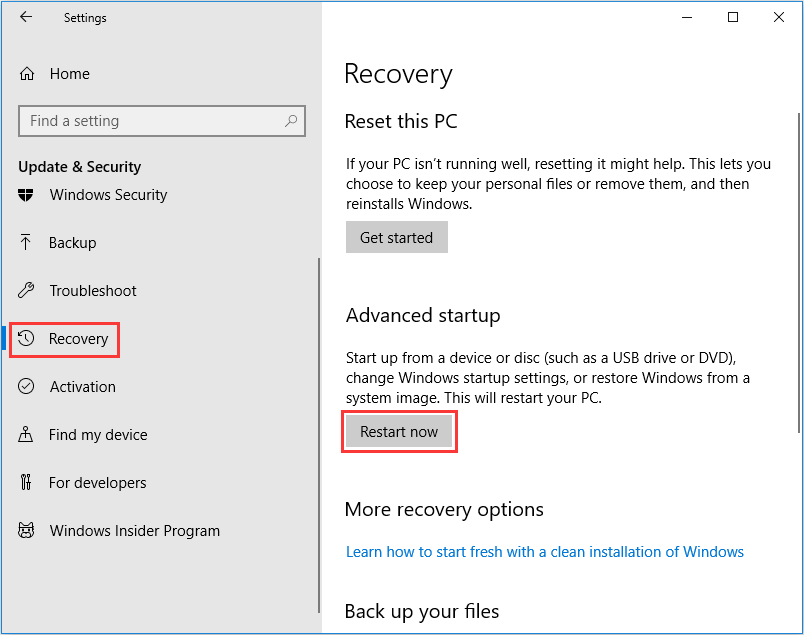
Step 2: Boot into WinRE.
- Click the Start button and then select Settings.
- Scroll down to the bottom of the pop-up interface and then select Update & Security.
- Select Recovery and click Restart now, and then you can enter WinRE after the restart.

Step 3: After booting into WinRE, click Troubleshoot and then Reset This PC. This option will quickly restore Windows to its factory default configuration.
Step 4: Choose Keep my files. This option allows you to keep your personal files while reinstalling Windows. If you choose incorrectly, your important files may be removed.

Then, what you need to do is just to wait until the reinstallation process is completed. When you open Windows again, the problem is likely to be solved.
How to Use Recovery Options on Windows 10 [Premise and Steps]


User Comments :