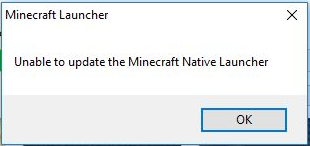
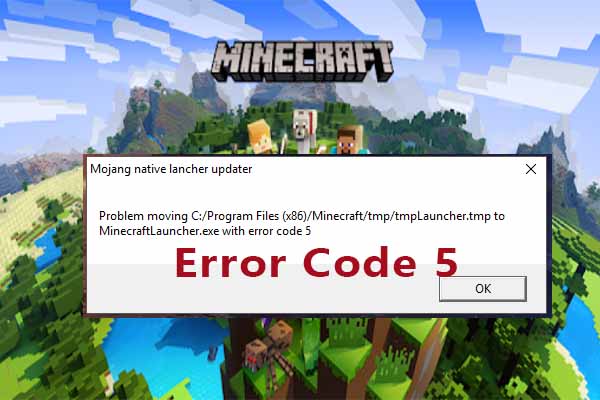
The “unable to update the Minecraft native launcher” issue usually occurs when updating your Minecraft or playing the game. What causes the error? How to fix it? Now, read the post of MiniTool, in which you will learn several effective troubleshooting methods.
Possible Causes for the Unable to Update the Minecraft Native Launcher Error
The “unable to update the Minecraft native launcher” error will prevent you from installing the latest Minecraft updates via the Minecraft launcher. What causes the error? According to the report, here are 2 major factors that may lead to the error.
- New native launcher: A great many users complain that it is hard to install the updates via the new launcher. This is because a bug in the launcher prevents it from downloading the files.
- Antivirus programs: Antivirus programs also prevent the launcher from installing the update. For that, you can disable it temporarily or add the Minecraft game to the exception list.
Now, let’s see how to update Minecraft Windows 10 without the error.
Solution 1. Repair the Minecraft Game
The first and simplest method is to repair the Minecraft game via Programs and Features (App and Features). This tool can help you fix some corrupted and broken files. Here’s how to do that:
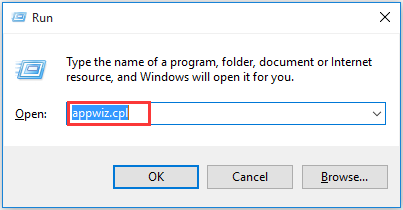
Step 1. Press Win + R keys to open the Run box, and then type appwiz.cpl in it and hit Enter.
Step 2. In the list of programs and features, right-click the Minecraft Launcher and select Repair.

Step 3. Follow the on-screen prompts to complete the repair process. After that, you can try installing the update and check if the unable to update the Minecraft native launcher if fixed.
Solution 2. Download a New Minecraft Client from the Minecraft.net
In addition to downloading the update files via Minecraft launcher, you can also manually download the Minecraft.exe update file from the client website.
Step 1. Click here to download the latest Minecraft update files.
Step 2. In the Minecraft.net’s download page, click the Try an alternative download option under the big Download button.
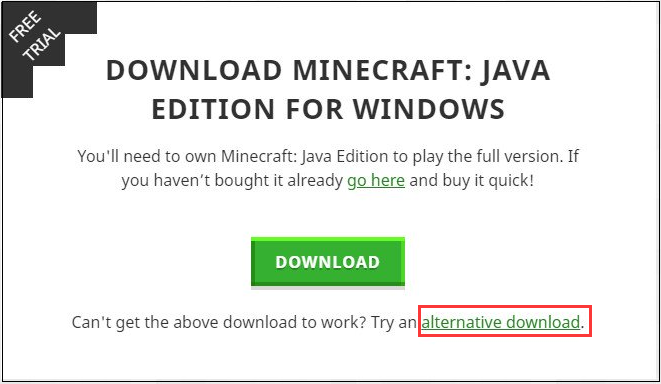
Step 3. Download the minecraft.exe from this page and run this file to see if the “unable to update Minecraft native launcher” issue is resolved or not.

Solution 3. Delete the Previous Minecraft-related Files
If the above method fails to fix your problem, you should manually delete the previous Minecraft-related files. Here’s a quick guide.
Step 1. Press Win + E keys to open the File Explorer window, and then type the %Appdata% in the address bar and hit Enter.
Step 2. Navigate to the Minecraft folder and press the Delete key to delete the old folder.
Step 3. Run the downloaded file that you just downloaded from the given steps above and see if the unable to update the Minecraft native launcher error is fixed.
Solution 4. Add the Minecraft Game to the Exception List of Your Antivirus Program
As mentioned above, the antivirus also may prevent the native launcher from installing. So, you can add the Minecraft game to the exception list or disable it temporarily. This operation may vary depending on the antivirus program that you are using.
You can refer to the quick guide below.
Step 1. Launch the antivirus program to get its dashboard.
Step 2. Navigate to the Exceptions list or any other similar options.
Step 3. In the Exceptions window, click Add Exception and select the Minecraft folder to the exception list.
After that, you can check if the Minecraft launcher not working still persists. Alternatively, you can try disabling the antivirus program temporarily while updating or playing Minecraft.

User Comments :