One of the shines of Windows operating system is that it allows you to customize and tweak it. But according to some users’ reports, the Start, taskbar, and action center option was greyed out when they tried to make changes to the Color settings in Windows 10. MiniTool shows you solutions to this issue.
Start, Taskbar, and Action Center Greyed out
It seems wired that the Start, taskbar, and action center option is greyed out in Windows 10. Whys does this happen? One of the possible reasons is that you are using the Light theme in Windows 10.
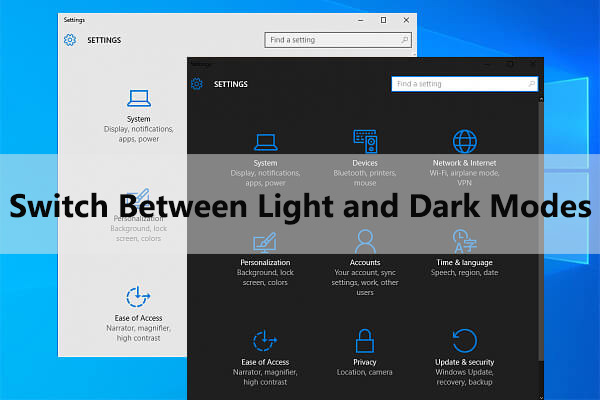
The Light mode starts with Windows 10 version 1903, bringing lighter colors for all the visual elements. This new theme affects parts of Windows like the taskbar, Start menu, notification popups, and context menus, not including third-party Windows applications.
If you activate the Light mode, this mode does not support colorization. So, your Windows operating system will disable the Start, taskbar, and action center option. This also prevents you from applying any color to the Start menu and taskbar.
Changing the Light mode to the Dark mode can be able to make the Start, taskbar, and action center option available again.
Let’s see how to change the Light mode to the Dark mode.
Step 1: Hit the Windows icon on the keyboard and then select Settings in the Start menu.
Step 2: In the Settings window, please click Personalization and then select Colors.
Step 3: Scroll down the right pane until you see Change your color. Choose Dark for Choose your Windows mode and Choose your default app mode.
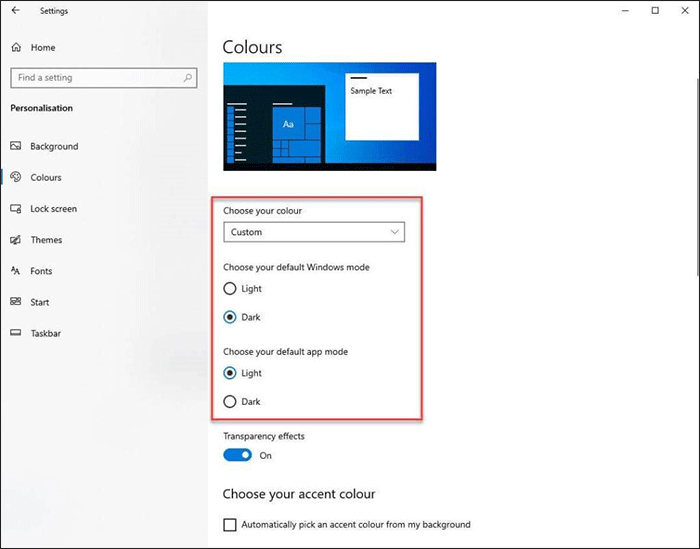
Now, the Start, taskbar, and action center option will be available again and you can go on your previous work.
Indeed, the above workaround can make the Start, taskbar, and action center available again, but it is not the resolution to Start, taskbar, and action center greyed out. The following content shows you how to get rid off this odd issue.
Fix 1: Run SFC Scan
Start, taskbar, and action center greyed out can be ascribed to the corrupt or missing files. To replace such files, you can run SFC scan to tackle this issue.
To run SFC scan to fix this issue, you can refer to the following tutorial.
Step 1: Launch Command Prompt as administrator.
- Type Command Prompt in the Cortana’s search bar.
- Right-click the best-matched result and select Run as administrator from the menu.
Step 2: Type sfc/scannow on the Command Prompt window and then hit the Enter key to run this command.
When the scanning process completes, check whether the issue has been solved.
Fix 2: Update the Graphics Card Driver
Some Windows users reported that they ran into this issue after a Windows update. Therefore, the outdated Graphics Card driver is the culprit of this issue.
In this case, you can try updating your Graphics Card driver to resolve this issue.
Step 1: Press Windows + R to call out the Run window.
Step 2: On the Run window, type devmgmt.msc and then click OK to launch Device Manager.
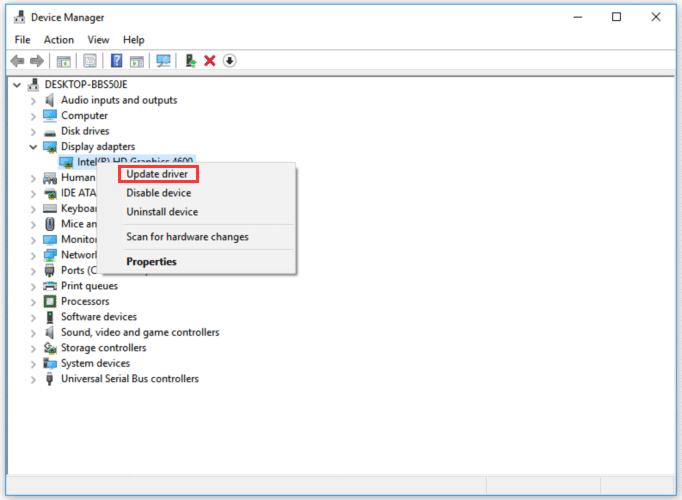
Step 3: On the window of Device Manager, double-click the Display Adapters.
Step 4: Right-click the listed Graphics card driver and select Update driver.
If the above method failed to update drivers, you can use a professional third-party program to do that. Driver Easy Pro can detect all outdated drivers and update them with just one click. Here is the guide:
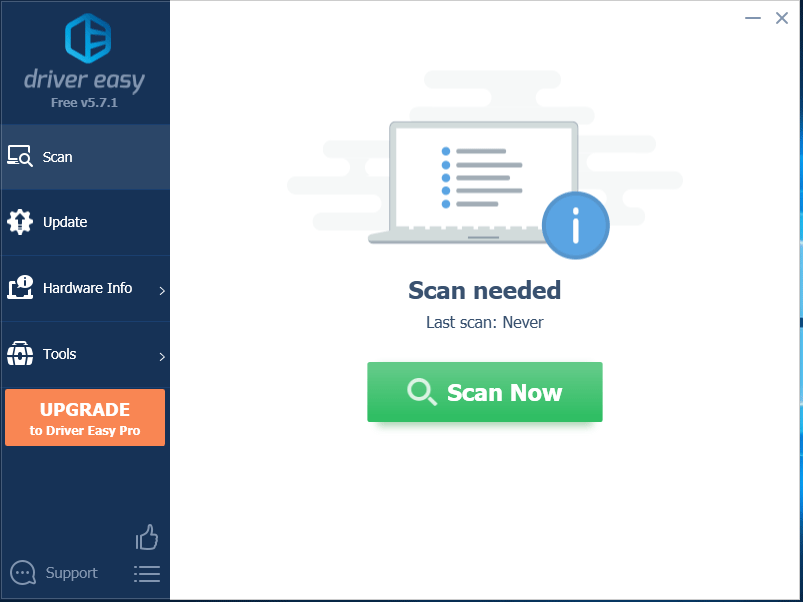
Step 1: Install Driver Easy and launch it. Click the Scan Now button.
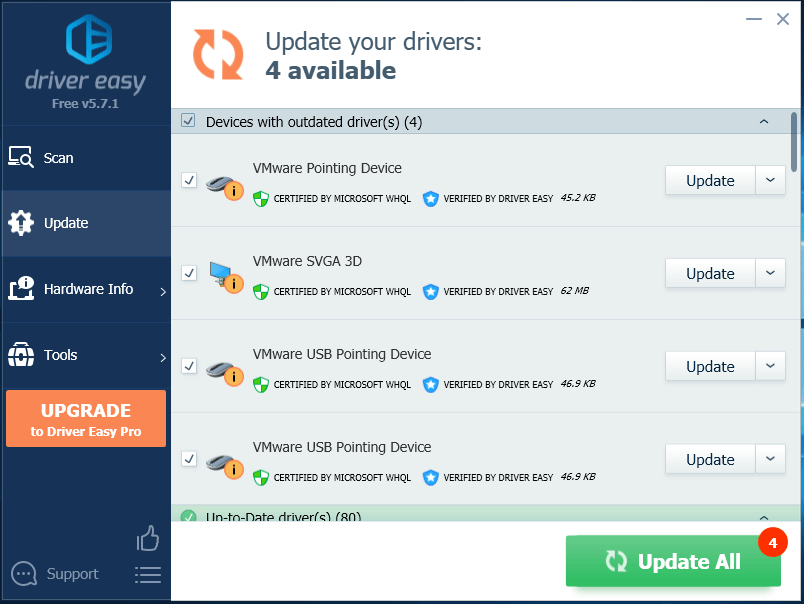
Step 2: After the scanning process is completed, click the Update All button to download and install the latest drivers for all devices with outdated drivers.

User Comments :