When you try to boot your PC on LAN, you may get the start PXE over IPv4 error message on Windows startup. How to fix the start PXE over IPv4 error on Windows 10? Don't worry. This post from MiniTool will show you some effective solutions with detailed steps.
PXE, also known as Pre-Boot Execution Environment, is an industry standard client server interface that allows networked computers to start an operating system using a network. When your PC is trying to boot from PXE, it means that other boot devices such as your hard drives are unable to load the operating system at the time.
You may be interested in this post: How to Use the PXE (Preboot Execution Environment) Boot?
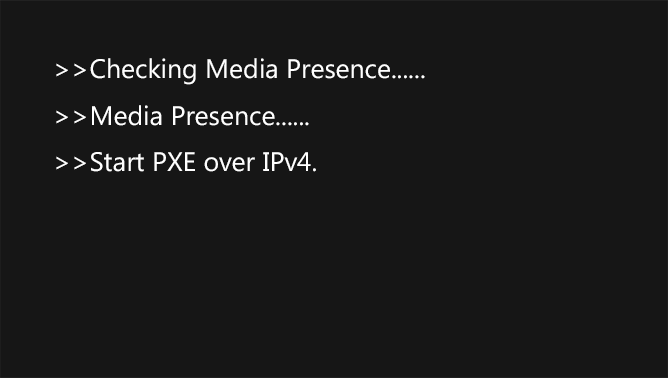
Sometimes, when you boots your PC up but the devices gives you the following message:
Checking Media Presence……
Media Present……
Start PXE over IPv4……

Are you troubled by the same problem? How to fix start PXE over IPv4 error message? How to boot from your local hard drive instead of PXE?
After analyzing several posts on how to fix start PXE over IPv4 issue on your computer, here I have summarized some top solutions. If you don’t know how to fix start PXE over IPv4 error message and boot from your own hard drive, try the following solutions one by one.
Solution 1. Disable Secure Boot
Disabling secure boot is an effective way to get rid of the start PXE over IPv4 Windows 10 error, according to some users who have successfully fixed the start PXE over IPv4. If you get the same error, try the workaround first.
Step 1. Restart your PC and press a specific key (like F2, Del and Esc) to enter the BIOS setting menu.
You may be interested in this post: How to Enter BIOS Windows 10/8/7 (HP/Asus/Dell/Lenovo, any PC)
Step 2. Go to the Security tab. Select the Secure Boot Configuration option and hit Enter.
Step 3. Then use the right arrow key to set the secure boot to Disabled.
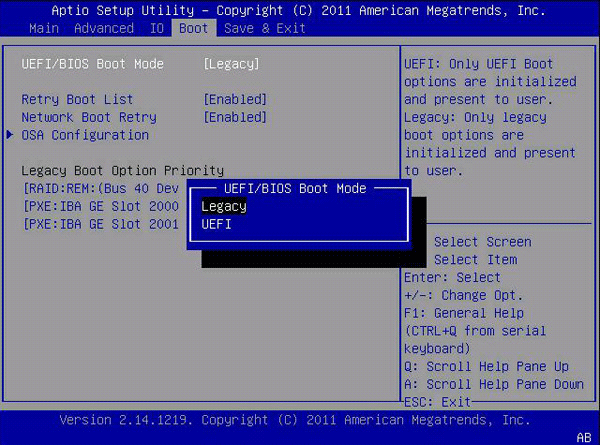
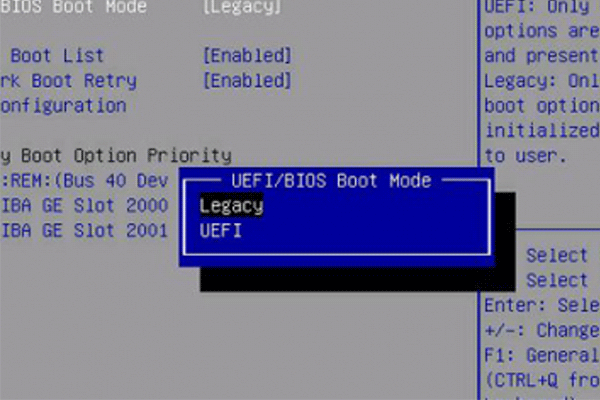
Step 4. Then go to the Boot Mode or UEFI Boot Mode in the menu and change the boot mode to Legacy BIOS.

Step 5. At last press F10 to save all the changes and exit the BIOS settings menu.
Solution 2. Change BIOS Boot Order
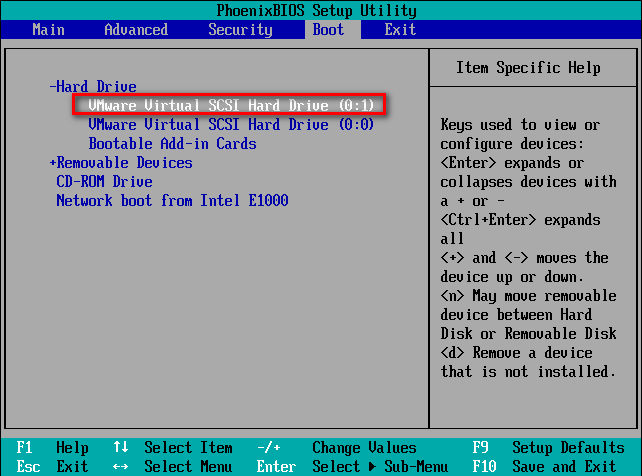
If your boot order lists LAN on the top list, you may come across the Start PXE over IPv4 error. If this is the case, you can follow the steps below to correct the BIOS boot sequence and set the system disk as the first boot option.
Step 1. Restart you PC and press a specific key to enter BIOS.
Step 2. Go the Boot tab in the BIOS menu. Use the up and down arrow keys to move the drive that you want to boot from to the top of the list.

Step 3. Press F10 to save the change and restart the computer with the new boot order.
After changing the boot order, the Start PXE over IPv4 error message should get fixed.
Solution 3. Disable the Wake-On-LAN in BIOS
If the above two solutions don’t work for you, you should try disabling Wake-On-LAN in BIOS.
Step 1. Restart you PC and enter BIOS setting menu.
Step 2. Locate to the Power or Advanced settings tab, but it might also be found in the advanced options of some motherboards’ BIOS.
Step 3. Find the Wake-On-LAN option from the list and set it to Disabled.
Step 4. Press F10 to save the change and restart your computer.
When you start the computer and it displays “checking media presence, media present, start PXE over IPv4” message, you can try the above solutions to fix it.
Conclusion
After reading this post, now you should know how to fix start PXE over IPv4 error message. Which method works for you? Do you have a better solution? We are glad to have you share it with us.


User Comments :