A scrolling screenshot enables you to share the target content with others quickly. But many people don’t know how to take a scrolling screenshot. In this post, MiniTool offers a full page screen capture guide for Windows and Android users.
Why Do You Need to Take a Scrolling Screenshot
If you want to share something with your friends, you can take a screenshot. This is a simple and effective way. You don’t have to show other information to others. However, screenshot can’t completely fulfill your demand.
For instance, screenshot doesn’t enable you to capture a scrolling window of webpage, document, or other content that’s beyond the viewable area. A simple screen can just capture the content within the screen’s viewing area, while a scrolling screenshot allows you to capture the full content of the webpage, documents, etc.
That’s the difference between screenshot and scrolling screenshot in function. Certainly, the way of taking screenshots is different from that of scrolling screenshots. Here comes the question – how to take a scrolling screenshot. This post provides you methods for taking scrolling screenshots on both Windows 10 and Android.
How to Take a Scrolling Screenshot on Windows 10
As Windows 10 doesn’t contain utilizes to take scrolling screenshots, you need to utilize third-party programs like ShareX and PicPick to do that. How to take a scrolling screenshot Windows? Read the following content to get detailed information.
Read the following content to get detailed information.
Method 1: Use ShareX
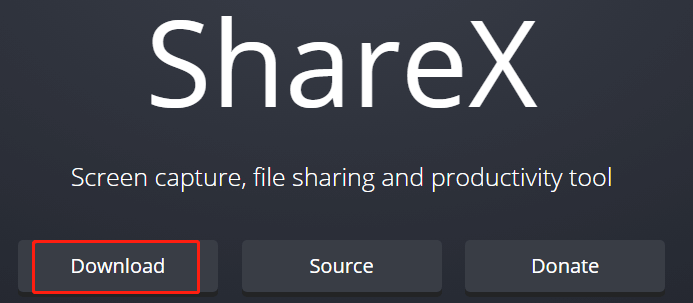
Step 1: Click here to move to the official website of ShareX and then click the Download button to download the program.
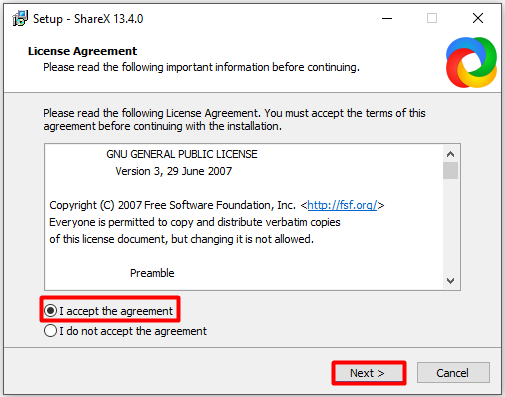
Step 2: After downloading, open the downloaded file. In the pop-up window, highlight the I accept the agreement option and click Next.
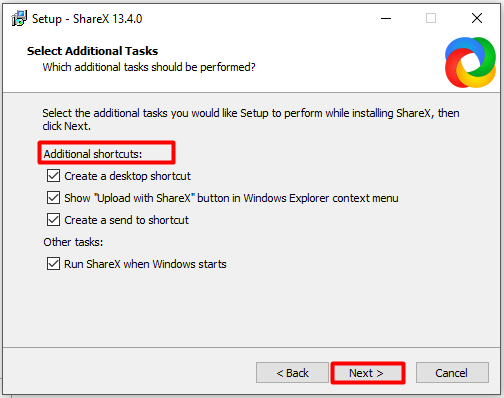
Step 3: Configure the install location based on your demand and click Next. As shown in the picture below, you can configure the settings according to your need. If you don’t want these additional shortcuts, just uncheck them. After that, click Next.
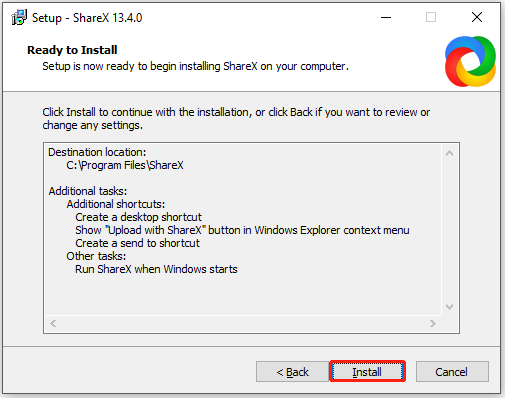
Step 4: Click Install to finish the installation.
Step 5: When the installation process ends, the program will launch automatically. Click the Capture option in the left pane, and then click Scrolling capture to start the operation.
Method 2: Use PicPick
Step 1: Click here to download PicPick.
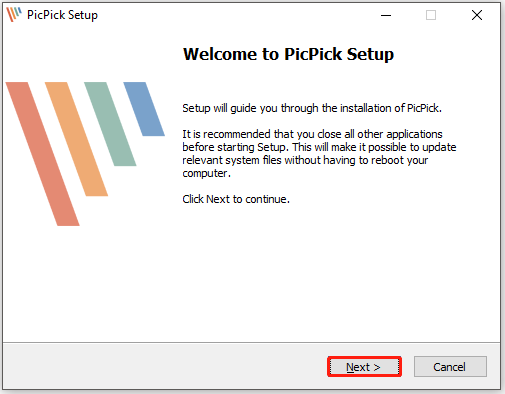
Step 2: When the download process finishes, open the setup file. In the elevated window, click Next to continue.
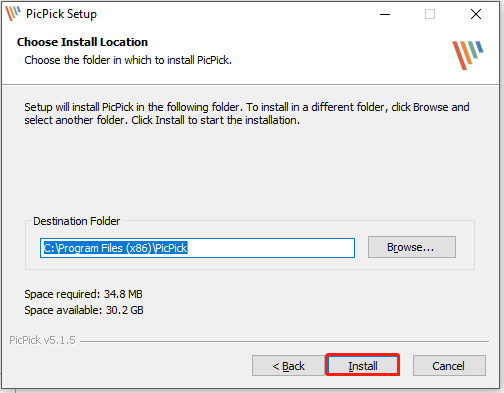
Step 3: Agree the items of use and move to the install window. Configure the location for the program and click Install.
Step 4: You will launch the program after installation.
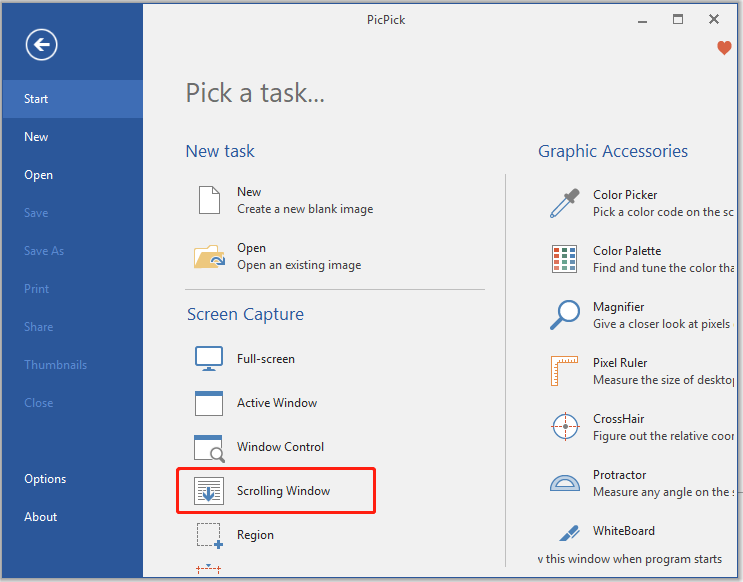
Step 5: Take a scrolling screenshot with the following steps.
- Press and hold Ctrl + Alt + Print Screen keys.
- Press and hold the left mouse button, and then scroll down the content to record.
- After capturing the target content, release the mouse click.
How to Take a Scrolling Screenshot on Android
Android devices like Samsung, Huawei, LG, Motorola have built-in scrolling screenshot feature. Here, we will show you how to take a scrolling screenshot on Android devices. Alternatively, you can also use a third-party utility to do that.
Method 1: Take Scrolling Screenshots via Embedded Feature
Steps for Samsung Users
- Open the webpage, app, or picture to screenshot.
- Press the Volume down and Power buttons simultaneously.
- Click on the Scroll Capture option at the bottom of the pop-up panel.
- Continue scrolling down the page until you captured the full content.
Steps for Huawei Users
- Open the screen to capture.
- Press Volume down and Power buttons at the same time.
- Click on the Scrollshot option to start the process.
- Click on the screen when you want to stop the process.
Method 2: Take Scrolling Screenshots via LongShot
Some Android device doesn’t have built-in scrolling screenshot feature. In this case, you can make use of third-party programs like LongShot.
Step 1: Download and install LongShot by clicking here.
Step 2: Click on the blue button to the right of the Capture Screenshot button. Then turn on the Allow permission option.
Step 3: Then a window will show up telling you that the LongShot will beginning capturing content on the content.
Step 4: Click Start Now to begin and then click the floating Done (red) button to stop.


User Comments :