To share what happens on your Toshiba laptop screen with your friends, you can take a screenshot. But how to screenshot on Toshiba laptop? This post from MiniTool Partition Wizard details how to take a screenshot on Toshiba and shows how to find the screenshot. Start reading!
How to take a screenshot on Toshiba laptop? You can adopt the following two ways, pressing the Print Screen key, and using Snipping Tool.
Press the Print Screen Key
Using the Print Screen key is the simplest way to take a screenshot on a Toshiba laptop. There are two tricks to use the key.
Trick One: Use the Print Screen Key
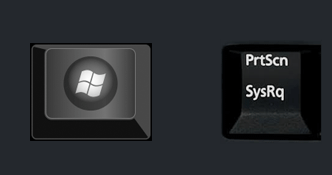
Press the Windows key and the Print Screen key (abbreviated to PrtScn) at the same time.

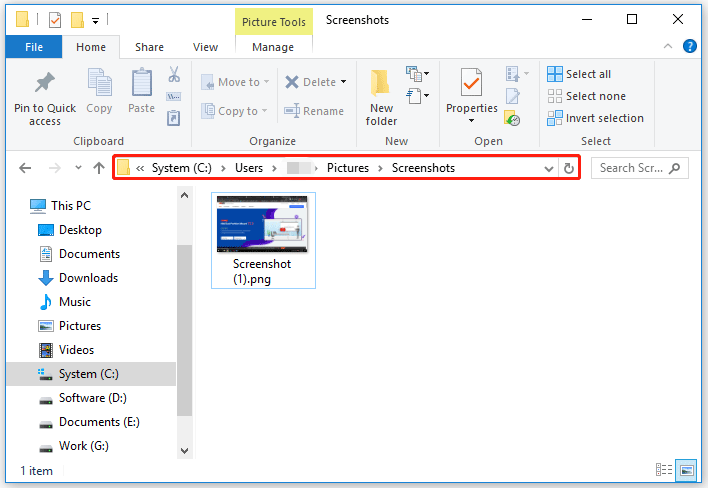
Once you press the two keys, your computer screen will become dim and return to normal quickly. Then, you can go to the path C:UsersusernamePicturesScreenshots to find the screenshot.

Trick Two: Use the Print Screen Key
Alternatively, you can press the Print Screen key only to take a screenshot of your Toshiba laptop screen. But note that the screenshot won’t be automatically saved on your computer, so it is suggested that you open Paint before pressing the Print Screen key.
Here is a detailed tutorial.
Step 1: Open Paint.
- Press Windows + R to launch the Run dialog box.
- Type mspaint on the Run dialog box and then hit the Enter
Step 2: Go back to the window to be screenshot and then press the Print Screen key.
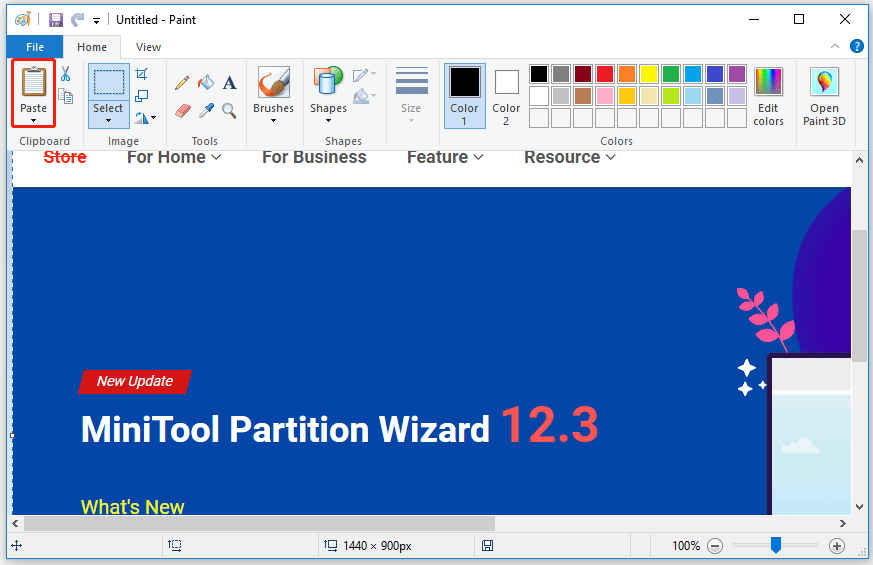
Step 3: Go back to the Paint window, click Paste, or press Ctrl + V to paste the screenshot on the Paint window.

Step 4: Click the Save icon at the top of the window to save the screenshot on your Toshiba laptop.
Use Snipping Tool
Sometimes, the Print Screen key may not work. How to screenshot on a Toshiba laptop without a Print Screen button? In this case, you can use the Snipping Tool.
Snipping Tool is a Windows screenshot utility that can help you take a screenshot on your Toshiba laptop easily.
How to use the screenshot utility? Follow the guide below.
Step 1: Type snipping tool into the Windows search bar and hit the Enter key to open the screenshot utility.
Step 2: Click Mode to choose how to snip and then click New to screenshot your Toshiba laptop.

Step 3: Draw a range on your Toshiba laptop screen, and then you will see your screenshot. If you are satisfied with it, you can press Ctrl + S to save it. But if you think it could be better, you can click New to snip again.
Bottom Line
That’s all about how to screenshot on Toshiba. Whether you use the Print Screen key or the Snipping Tool utility, you can screenshot your Toshiba laptop with ease.
If you have other doubts about how to screenshot on Toshiba laptop, you can leave them in the comment zone.


User Comments :