Do you know how to check Wi-Fi signal strength on Windows 10 PC? If not, you can read this post from which you can get 5 methods to do that to obtain good network connection performance. By the way, MiniTool Partition Wizard can help you check your computer performance.
Seeing full bars of Wi-Fi signal is quite fabulous when we need to surf the Internet on a computer or other devices.
The quality of Wi-Fi will dedicate the overall performance of the connect. What’s more, learning about Wi-Fi signal strength on your device (like Windows 10 PC) can help you figure out that the slow connectivity to the network or internet may be a signal problem and not a problem with the Internet Service provider or wireless access point.
Considering the importance of checking Wi-Fi signal strength for network connection performance, you may want to know how to complete this check. I will show you 5 methods on how to do that on Windows 10 PC. Let’s see what they are.
Check Wi-Fi Signal Strength via Windows 10 Taskbar
The easiest way to check Wi-Fi signal strength is using Taskbar as you just need to click the network icon in Taskbar and then see the wireless icon next to the network (the higher the number of the bars means the stronger signal).
Check Wi-Fi Signal Strength via Windows 10 Settings
The second tool you can use to check Wi-Fi signal strength is Windows 10 Settings. How to use it? Please refer to the following tutorial:
Step 1: Hit the Windows icon key on the keyboard and then select the Settings icon.
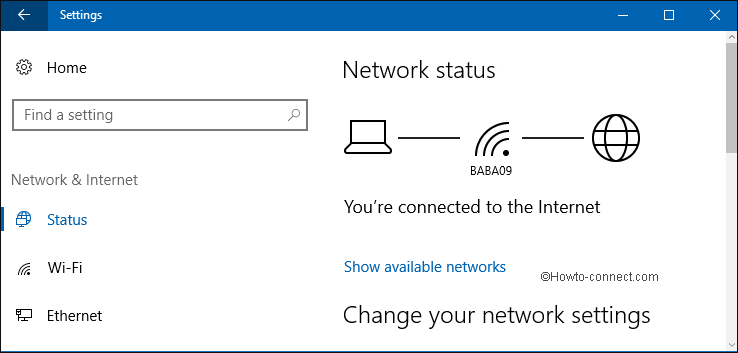
Step 2: Choose Network & Internet. After clicking, navigate to the Status option and you will see the current signal strength under the Network status section. Or you navigate to the Wi-Fi option and you will also see that under the Wi-Fi section.

Check Wi-Fi Signal Strength via Control Panel
Alternatively, you can also check the signal strength of wireless via Control Panel by finishing the following steps:
Step 1: Type Control Panel in the Cortana’s search bar and then select the most-matched result.
Step 2: In the Control Panel window, please select Network and Internet and Network and Sharing Center in order.
Step 3: You can see a wireless icon next to Connections under the View your active networks section and this icon indicate the signal quality. You can also click the connection name to check the signal quality as well as speed, SSID, and other information.
Check Wi-Fi Signal Strength via Command Prompt
Windows 10 Command Prompt can not only help you convert MBR to GPT during Windows installation, but also help you see the Wi-Fi signal strength intuitively.
Here is the tutorial:
Step 1: Press the Windows + R key on the keyboard simultaneously to call out the Run window.
Step 2: In the Run window, type cmd in the blank box and then click the OK button to open Command Prompt.
Step 3: In the Command Prompt window, please enter netsh wlan show interfaces and hit the Enter key to check Wi-Fi signal strength. When the result comes out, please find Signal and see the output number (if the number is equal or higher to 80, the signal strength is good).
Check Wi-Fi Signal Strength via Windows PowerShell
You can also try using Windows PowerShell to check Wi-Fi signal strength.
- Launch the Run window, type powershell in the blank box, and click OK.
- After getting the Windows PowerShell window, type (netsh wlan show interface) -Math ‘^s+Signal’ -Replace ‘^s+Signals+:s+’,” and then hit the Enter key to run this command.
- See the result. If the signal strength is 80 to 100 percent, the connection is reliable. If it is above 70 percent, you still can browse webs and manage emails. But it is lower than 60 percent, it means you should move your Windows 10 PC to your Wi-Fi adapter.


User Comments :