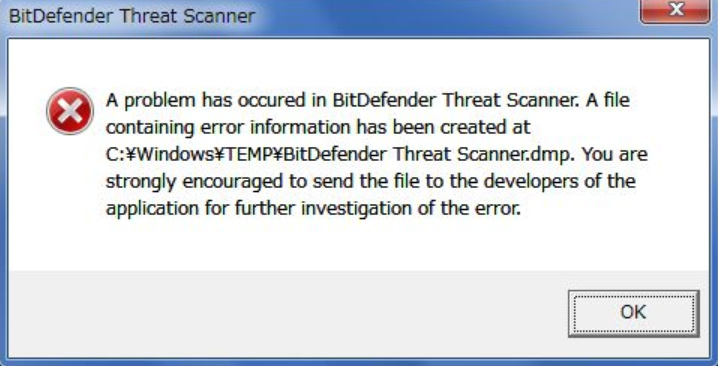
Bitdefender threat scanner is an error many users encounter when checking the Spybot folder. It is annoying that this error always reappears even if deleting the .dmp file from the C:\windows\TEMP directory. Fortunately, MiniTool Solution has explored the effective ways to get rid of the Bitdefender threat scanner error.
A Problem Has Occurred in Bitdefender Threat Scanner
Many users are looking for methods to get rid of the Bitdefender threat scanner error. Usually, they receive an error message saying “a problem has occurred in Bitdefender threat scanner. A file containing…”. Here is what a user on a forum elaborated about the Bitdefender threat scanner on shutdown.

I have a problem that is just an annoyance and not any kind of threat I don’t think. I keep getting an error message box that the Bitdefender threat scanner has a problem as the computer shuts down. I deleted the .dmp file from the C:windowsTEMP directory, but the file keeps getting rewritten apparently on boot up. I’ve tried some of the “fixes” found on the web, to no avail. I get the impression from what I’ve read that this may be related to having more than one virus programs or that many antivirus programs use this Bitdefender element. I have little expertise in this stuff.https://forums.malwarebytes.com/topic/214603-bitdefender-threat-scanner-dmp/
The corrupted file of Spybot is responsible for the Bitdefender threat scanner since one of its DLL files get corrupted.
Next, let’s focus on how to get rid of the Bitdefender threat scanner.
Solution 1. Run the Fixed Patch
The first method you can choose is to run the fixed patch. Microsoft has released a patch to fix this common problem. For that:
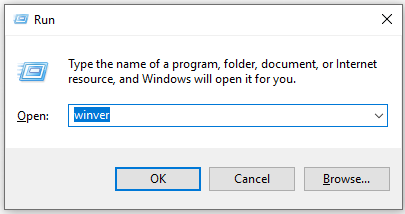
Step 1. Check the version of your OS. Press Win + R keys to open the Run box, and then type winver and hit Enter.

Step 2. Then download and run the fixed patch according to your operating system architecture. If you have 32 bit operating systems, you can run this patch. If you have 64 bit operating systems, you can run this patch.
Solution 2. Fix Corrupted Files with File Explorer
In addition, there is an alternative solution you can have a try.
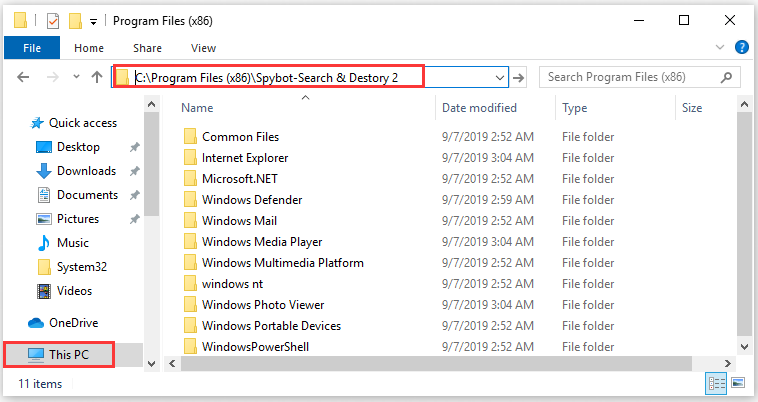
Step 1. Open your File Explorer. Then select the This PC (Windows 10) or My Computer (Windows 7).
Step 2. Type C:Program Files (x86)Spybot – Search & Destroy 2 in the address bar on the top.

Step 3. Navigate to the file named SDAV.dll. If you cannot find this file, you can visit here to download it.
Step 4. Right-click the DLL file and select Copy. Then go back to the Spybot – Search and Destroy 2 folder by repeating Step 2 and right-click this folder to select Paste.
Step 5. If this DLL file is already present, you need to check the size of the file by right-clicking it and selecting the Properties.
Step 6. Check if the size is not 32 KB, you can go here and download the 32KB DLL file.
Step 7. Then repeat Step 3 and Step 4 to replace the existed SDAV.dll file in the destination.
After fixing the corrupted files, you can see if the Bitdefender threat scanner still appears.
Solution 3. Reinstall the Bitdefender
Some users reported that they get rid of the Bitdefender threat scanner on shutdown simply by reinstalling this tool. You can follow the simple steps below.
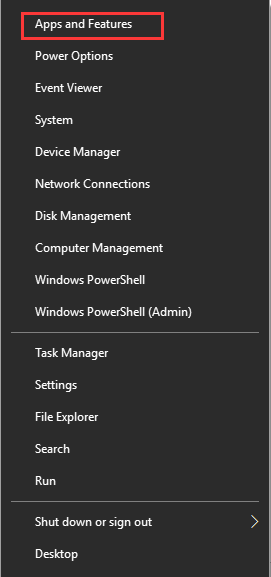
Step 1. Right-click the Start menu and select Apps & Features from the list of items.

Step 2. Go to the Bitdefender app on the right panel and double-click it to click on Uninstall. Then follow the prompts to uninstall the tool completely.
Step 3. Then re-download Bitdefender from the official website and install it.
After that, you can check if the error still persists.


User Comments :