Actually, it is very easy for you to upgrade your computer’s operating system from Windows 10 to Windows 11. But before you update your computer’s operating system to Windows 11, please make sure your computer meets all the system requirements of Windows 11.
You can use the PC Health Check app to check whether the basic configuration of your PC is compatible with the new system. If your PC meets the installation requirements, you just need to find the Windows Update on the Settings app to install it.
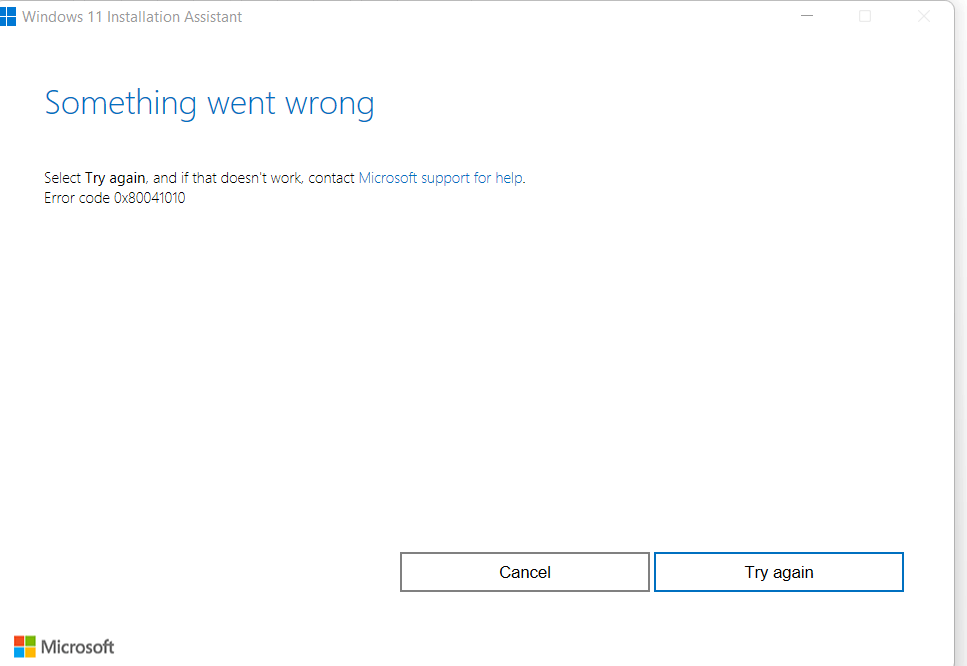
But sometimes, you may meet the error code 0x80041010 during the upgrade process.

If you want to fix the error 0x80041010, you can take the following measures.
Solution1. Run the Windows Update Troubleshooter
Troubleshooter is a tool on the Windows operating system, you can find it on the Troubleshoot page of the Settings app.
You can run it on your computer to detect and fix the common problems of your computer, such as Internet Connection issues, audio and printer issues, Windows Update issues, and so on.
So, you can use the Windows Update Troubleshooter to fix the error. Here are the steps:
- Click the Search icon on the taskbar and input “troubleshoot” on the search box.
- Then click Open on the right of this window to open the Troubleshoot window.
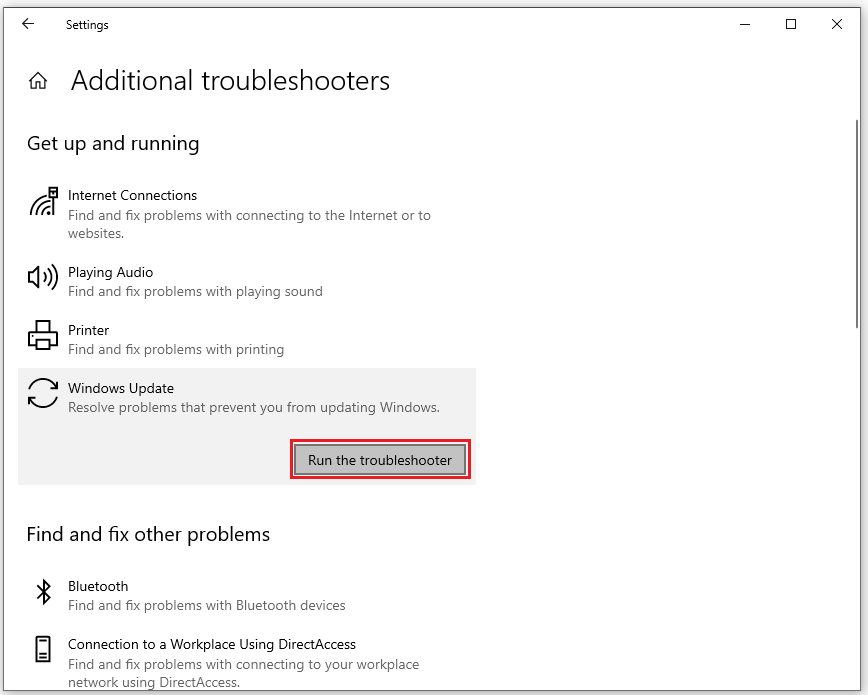
- Click Additional troubleshooters.
- Select the Windows Update and click Run the troubleshooter.
- After the troubleshooting process is completed, then you need to input “windows update” on the Search icon’s search box and navigate to the Windows Update window.
- Click the Check for updates.

If the error still exists, you need go to the Microsoft official website to download and execute the Windows 11 Media Creation Tool. Then you need to select Upgrade this PC and select Keep personal files and apps to fix this error.
Solution2. Repair Corrupted System Files
Sometimes, there are some corrupted system files on your computer and they will prevent your PC from downloading and installing Windows 11. You can run SFC and DISM to automatically replace the corrupted system files and download missing files.
Here’s the tutorial below:
- Press the Windows and R keys at the same time to open the Run.
- Input “cmd” on the Open: box and click OK to enter the Command Prompt window.
- Then input “sfc /scannow” and press Enter.
- If the SFC command detects errors but it can’t fix them, you can then use the DISM tool. Please input “dism /online /cleanup-image /restorehealth” and press Enter.
- Restart your computer and check if the error persists.
Solution3. Disconnect External Devices and Update Your Drivers
Sometimes, the External Devices will block the update process. So, you need to unplug them and restart your computer to try again. And the outdated drivers will also prevent you from system updates. You can check the by the following ways:
- Click the Search icon on the taskbar and input “device manager” on the search box.
- Then click Open on the right of the window.
- Then you need to check if there are any outdated drivers on this page. If there is an exclamation mark next to one of your drivers, you need to right-click the driver and click Update driver from the menu.
- Restart the computer and update the system again to see if the error still exists.
Solution4.Disable Your Antivirus and Firewall
If you are using third-party security software, you may also meet the error code 0x80041010 because the third-party security software may block the Windows Update files after mistakenly labeling them as suspicious software.
In this case, you can fix the error code 0x80041010 by temporarily disabling the third-party security software and trying to install Windows 11 again.
These are the four solutions for the error code 0x80041010. For any questions about the error code 0x80041010, leave comments below. We will get back to you as soon as possible.


![How to Fix Error 0x800701E3 on Windows 10/8.1/7 [5 Solutions]](https://images.minitool.com/partitionwizard.com/images/uploads/2019/09/error-0x800701e3-thumbnail.jpg)
User Comments :