If you are suffering from Windows PowerShell high CPU usage, pay attention to this post and apply the given methods to fix it. In addition to that, Partition Magic also shows the steps to use PowerShell Get CPU Usage of Process.
Windows PowerShell is a task automation and configuration management program. It consists of a command-line shell and the associated scripting language. It allows you to perform various tasks by running corresponding lines. However, sometimes you will receive the Windows PowerShell high CPU usage issue. If so, you can use the methods below to fix it.
MiniTool Partition Wizard FreeClick to Download100%Clean & Safe
Way 1: Update Windows to the Latest Version
Due to an outdated Windows system, you may experience Windows PowerShell high CPU usage. In this case, you can update Windows to the latest version to solve the problem. For instance, if you run Windows 10, update to KB5037788 – a security update released this month (May 2024).
The general Windows update steps are shown as follows.
Step 1: Hold the Windows and I keys to open the Settings app.
Step 2: In the Settings app, click Update & Security > Windows Update.
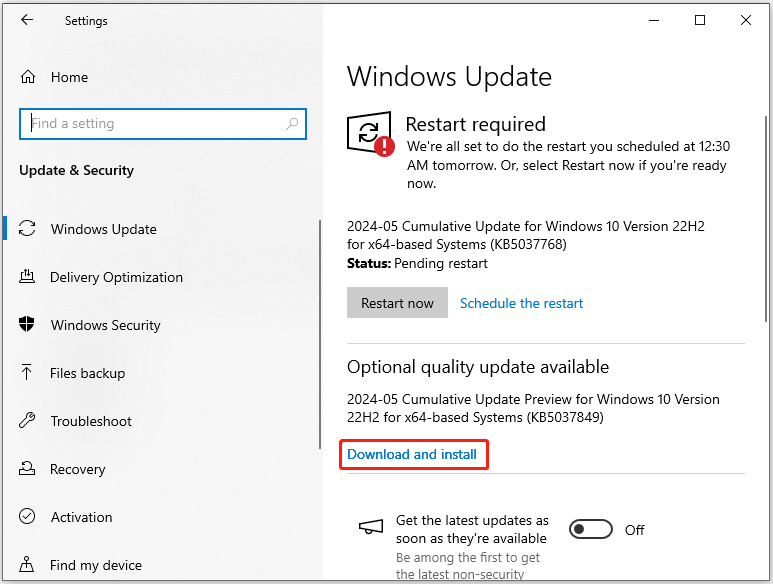
Step 3: Click the Check for updates button under the Windows Update section on the right side of the window.
If there are available updates, they will be listed after you click the Check for updates button.
Step 4: Click on the Download and install button to update the system.

Way 2: Run a Malware Scan
If PowerShell CPU spiking is caused by the interference of malware, simply run a system scan to check for malware.
Step 1: Open Settings and then click Update & Security > Windows Security > Virus & threat protection.
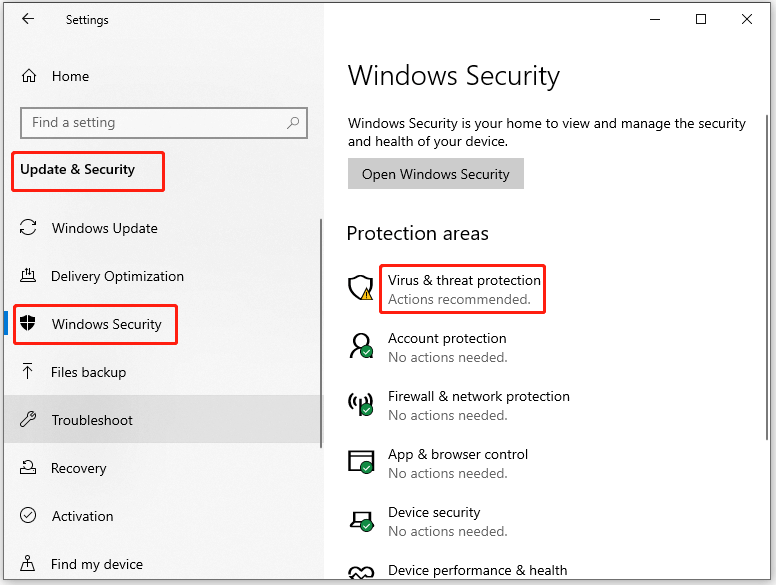
Step 2: In the next window, click Scan options.
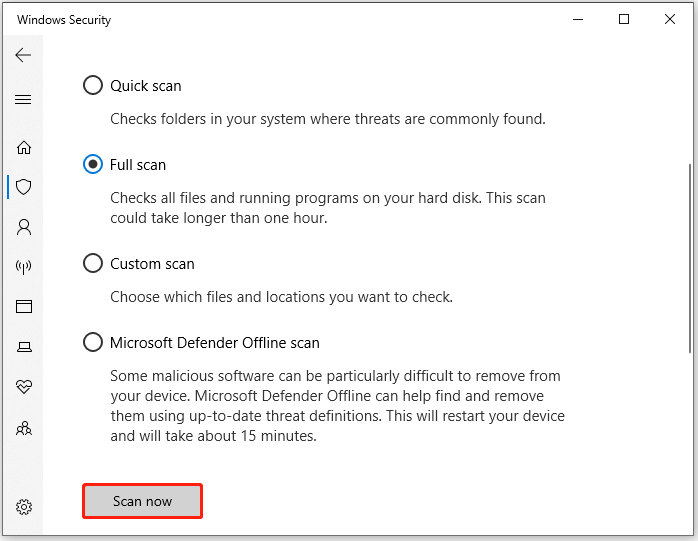
Step 3: From the given options, choose a scan method based on your needs. Then click Scan now to start the scanning process.

Way 3: Perform a Clean Boot
You can also perform a clean boot to fix high PowerShell CPU usage. This might be useful if the issue is caused by third-party programs installed on the computer.
Step 1: Right-click on the Windows icon at the desktop and then click Run in the opened menu.
Step 2: In the Run dialogue window, type msconfig and click OK to open System Configuration.
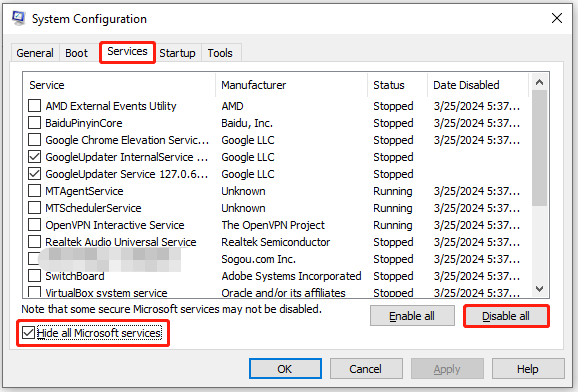
Step 3: Navigate to the Services tab, tick the Hide all Microsoft services option, and then click Disable all.
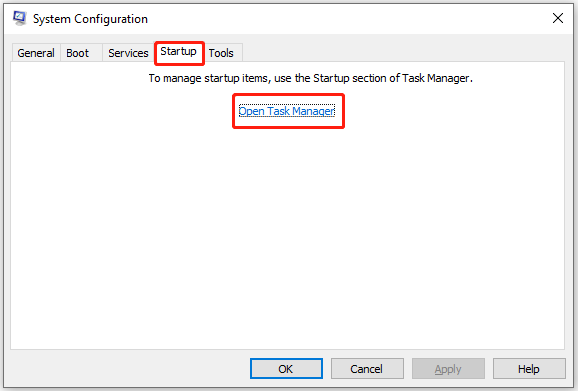
Step 4: Switch to the Startup tab and click the Open Task Manager link.
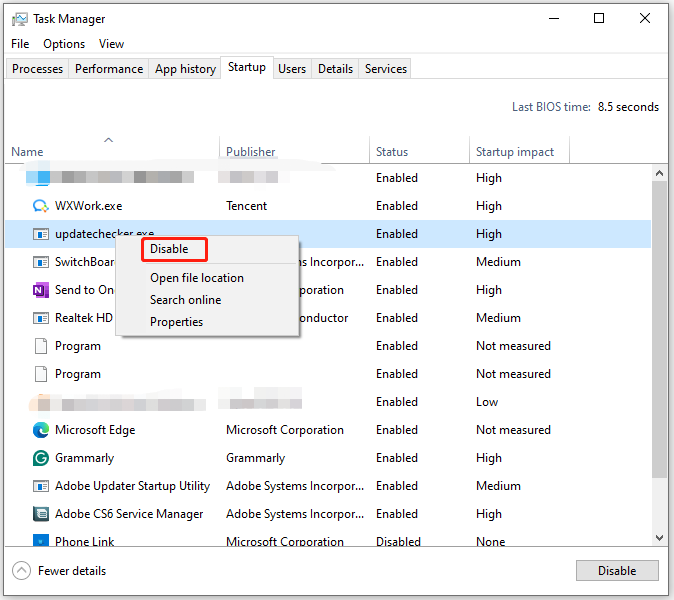
Step 5: Under the Startup tab of Task Manager, right-click on each enabled item and choose Disable. After disabling all enabled programs, close Task Manager.
Step 6: On the Startup tab of System Configuration, click the OK button.
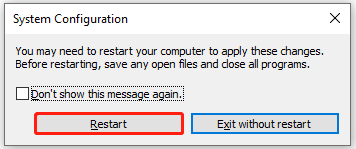
Step 7: In the prompted window, click Restart. Then your computer will be in a clean boot environment.
Step 8: Check if Windows PowerShell high CPU usage is fixed. If so, enable the disabled programs one by one until the high CPU usage issue appears again. Then uninstall the program.
Way 4: Repair Corrupt System Files
Corrupt system files are also responsible for PowerShell high CPU usage. So, you can scan and repair corrupt system files by running SFC or DISM scans on your computer.
Step 1: Run Command Prompt as administrator.
Step 2: In the Command Prompt window, type sfc /scannow and hit Enter.
Step 3: Wait for the finish of the process. However, if SFC prompts an error, execute the following command lines instead. After typing each command, press the Enter key.
DISM /Online /Cleanup-Image /CheckHealth
DISM /Online /Cleanup-Image /ScanHealth
DISM /Online /Cleanup-Image /RestoreHealth
Way 5: Repair Install the Windows System
If none of the above methods work, perform a repair install for your Windows system.
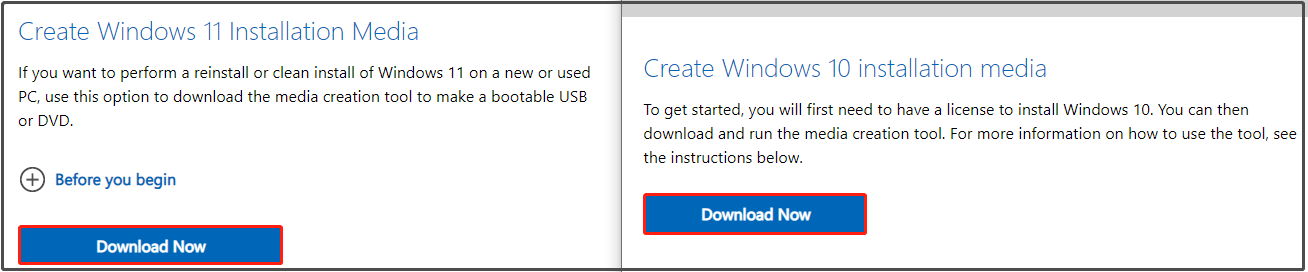
Step 1: Navigate to the Microsoft’s official website and download Windows 10/11 Installation media based on your situation.
Step 2: After the download process ends, double-click on the downloaded file and accept license terms in the pop-up window.
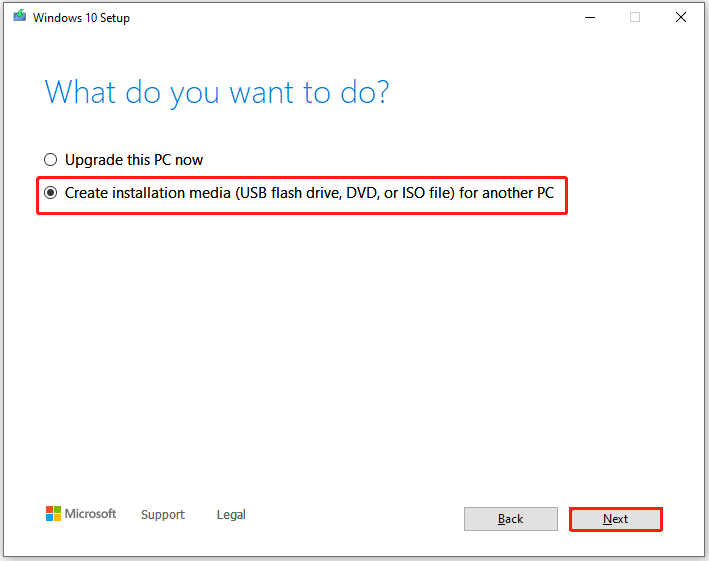
Step 3: Tick the option “Create installation media (USB flash drive, DVD, or ISO file) for another PC” and click Next.
Step 4: Follow the on-screen instructions to finish the process.
How to Use PowerShell Get CPU Usage of Process
PowerShell Get CPU Usage of Process is a command in PowerShell that allows you to supervise and analyze the CPU usage of a specific process on the PC. It is useful for users including system administrators, developers, and IT professionals. How to use PowerShell Get CPU Usage of Process to monitor your CPU usage?
Here’re the steps for you.
Step 1: Right-click the Windows icon to open the Start menu.
Step 2: Click Windows PowerShell from the menu.
Step 3: In PowerShell, type the following command and hit Enter. You should replace <process_name> with the name of the process you want to monitor.
Get-Process -Name <process_name> | Select-Object -Property ProcessName, CPU
Step 4: Then the process name and its CPU usage percentage will be displayed.
Conclusion
This post offers you 5 methods to fix Windows PowerShell high CPU usage. If you want to monitor the CPU usage of PowerShell, you can use PowerShell Get CPU Usage of Process with the steps offered in this tutorial.
User Comments :