Why Need to Make Windows 11 Local Backups
Making a Windows backup is an effective way to safeguard the computer. You can encounter various issues while using the computer, which make it unbootable. If you don’t make any backup, you will lose data and can’t boot the computer normally anymore.
Things are different if you have made a Windows backup. You can restore the computer with the backup image and get the data back. Based on your needs, you are able to make Windows 11 local or cloud backups. Windows 11 local backup means that you create a copy of files, folders, or the whole system (OS, applications, and settings) and store it on a local storage device like external hard drive, USB flash drive, internal drive, network-attached storage (NAS) device.
As for cloud backup, it stores data on remote servers over the Internet. Compared with cloud backups, Windows 11 local backups take some advantages.
- Data is self-managed: The most obvious advantage of Windows 11 local backup is a high degree of control over information, which keeps your data safe.
- Fast data access: Windows 11 local backup schemes don’t need an Internet dependency, so you can back up your data and access it quickly.
- Low cost: Free local backup software enables you to make Windows 11 local backups without any cost. You only need to buy a local hard drive to hold the content of Windows 11.
Here comes the question: how to back up Windows 11 locally? Well, this post collects 3 feasible methods for you.
#1: Back up Windows 11 Locally via Professional Backup Software
Using a piece of professional backup software is a simple and straightforward way to make Windows 11 local backups. As a backup expert, MiniTool ShadowMaker is highly recommended. It allows you to back up files, folders, systems, partitions, and disks with ease. It offers you three backup schemes: full backup, incremental backup, and differential backup.
More importantly, MiniTool ShadowMaker enables you to schedule automatic backups. You can back up items daily, weekly, monthly, or on the event. Get this software installed and then use it to back up Windows 11 locally.
MiniTool ShadowMaker TrialClick to Download100%Clean & Safe
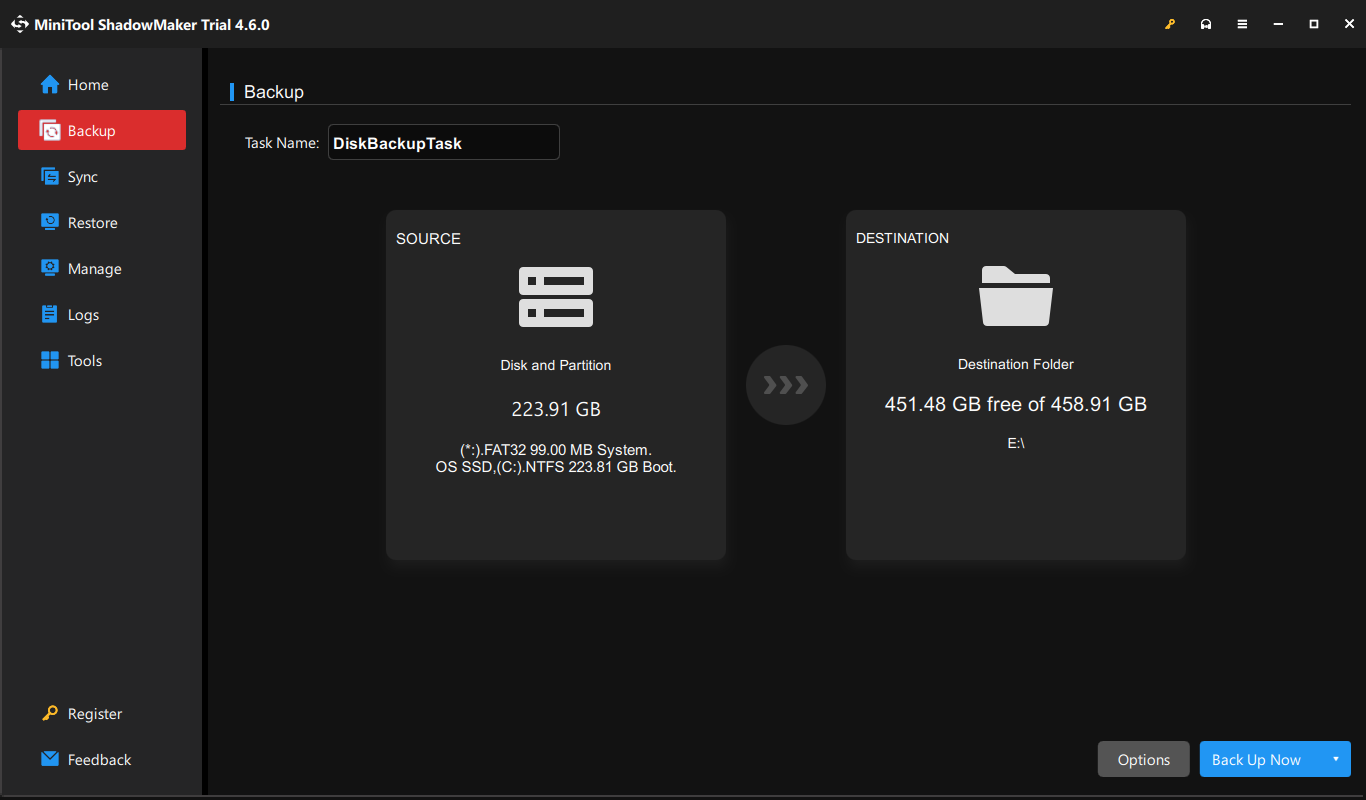
- After entering the main interface of the software, click on the Backup tab in the left panel.
- MiniTool ShadowMaker backs up the operating system by default. So, simply click on the Destination box and configure the location for the system.
- Click on the Back up Now button to execute the operation.
Alternatively, you can use MiniTool Partition Wizard to clone the system drive reaching the purpose of system backup. You need to use the Pro or above editions to clone the system disk. Besides, you have to clone the system drive to another disk on the PC.
MiniTool Partition Wizard DemoClick to Download100%Clean & Safe
#2: Back up Windows 11 Locally the Backup and Restore Feature
The built-in Backup and Restore (Windows 7) feature can help you make Windows 11 local backups too. If you don’t want to install third-party software, you can make use of this feature.
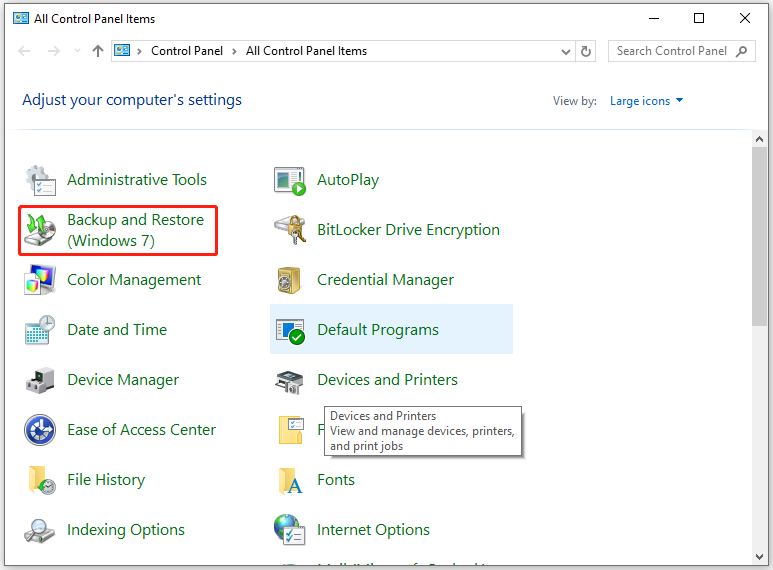
Step 1: Open the Run window, type control, and click OK. This will open Control Panel.
Step 2: In the Control Panel window, locate and click Backup and Restore (Windows 7).
Step 3: Click on the Set up backup button and then select the backup destination from the listed options. Then click Next.
Step 4: Tick the Let me choose option, choose your system drive in the pop-up window, and click the Next button to continue.
Step 5: Click on the Change schedule link to modify the backup schedule. Then set the backup frequency. If you don’t have specific needs, follow the default setting.
Step 6: Tap on the Save settings and run backup button to execute the operation.
#3: Back up Windows 11 Locally with File History
In addition to Backup and Restore (Windows 7), File History also enables you to back up Windows 11 locally. To be specific, it helps you back up files and folders on Windows 11. Follow the steps below to back up Windows 11 files and folders with File History.
Step 1: Open Control Panel and click on File History.
Step 2: Connect an external hard drive or a USB drive to the computer. Then select the connected drive as the destination for the saved file.
Step 3: Click on the Turn on button.
Pick a Way
How to make Windows 11 local backups? This post shows you 3 available methods. According to your preference, select a way to complete the operation.
About The Author

Position: Columnist
Having writing articles about computer tech for a long time, I am rather experienced especially on the aspect of computer optimization, PC enhancement, as well as tech terms explanation. The habit of looking through tech forums makes me a great computer issues collector. And then, many articles related to these issues are released, which benefit plenty of users. Professional, effective, and innovative are always the pursuit of an editing worker.
User Comments :