Raspberry Pi is a small single-board computer developed by the Raspberry Pi Foundation. It has no built-in storage or operating system, so an SD card is required to store the Raspberry Pi operating system, games, and photos.
Sometimes, you may want to transfer files to Raspberry Pi from your Windows PC. If you are wondering about it, then you are at the right place. This article will provide 2 effective ways to teach you how to transfer files from PC to Raspberry Pi.
How to Transfer Files from PC to Raspberry Pi
While working with Raspberry Pi, you may often come across situations where you need to transfer files like pictures, videos, or any other file type from your computer to your Raspberry Pi. In this part, we will provide a detailed tutorial to help you transfer files to Raspberry Pi.
Way 1. Transfer Files to Raspberry Pi via USB
You can transfer files from PC to Raspberry Pi via USB. The steps are as follows:
Step 1: Plug the USB storage device into the computer. Find the USB storage device in File Explorer and note its name so you can easily identify it later on the Raspberry Pi.
Step 2: Move the files you want to transfer to the Raspberry Pi to a folder on the USB storage device.
Step 3: Safely remove USB storage devices from your computer. Then, plug the USB storage device into one of the USB ports on the Raspberry Pi.
Step 4: Now to access the Raspberry Pi, open a terminal and log in using your username and password. You can establish a connection to the Raspberry Pi using the terminal provided in the graphical user interface (GUI) or by following the instructions in the HyperTerminal connection section.
Step 5: Navigate to /media/pi/ and enter your USB device name to go to the folder of the USB storage device. Use the following code:
cd /media/pi/PS_USB
Step 6: To view the files on the USB storage device, type ls in Terminal and press Enter.
Step 7: Copy the required files to your preferred folder. For example, if you need a picture of the PiStorms program and want to copy the “nano.jpg” file to the “PiStormsprograms” folder, use the following command:
cp nano.jpg /home/pi/PiStormsprograms/
After that, you can go to the folder where you copied the files to verify that the transfer was successful.
Way 2. Transfer Files to Raspberry Pi via MiniTool Partition Wizard
The first method of transferring files to the Raspberry Pi requires using the command line, which can be a bit complicated. So, you can use free file transfer software to do that.
Being a hard drive clone software, MiniTool Partition Wizard can help you do that with ease. In addition to copying disk, you can also create/delete/move/resize/extend partitions, convert MBR to GPT, check file system, and execute other operations related to disks and partitions with this program.
MiniTool Partition Wizard FreeClick to Download100%Clean & Safe
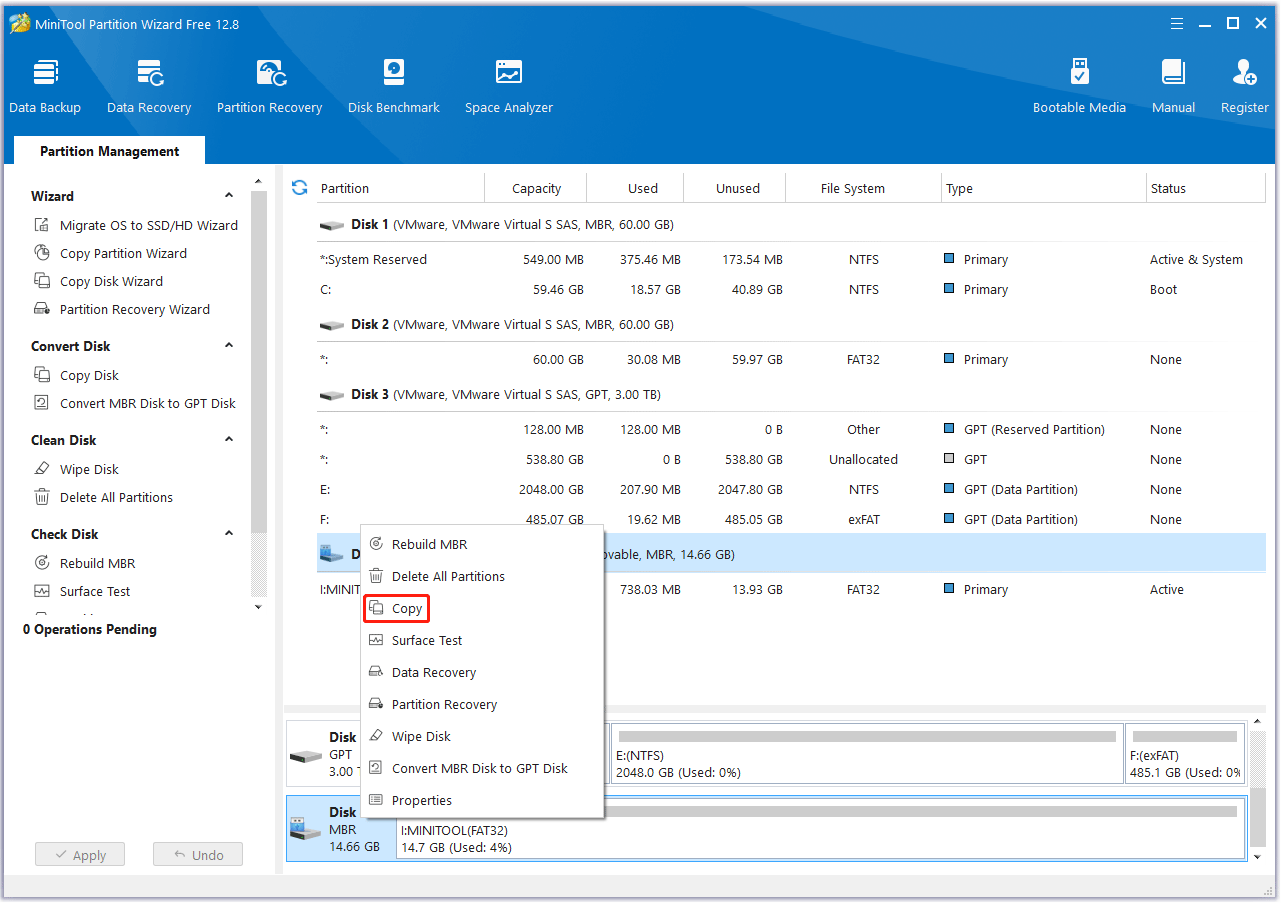
Step 1: Connect the Raspberry Pi SD card to your computer and make sure it is recognized. Launch MiniTool Partition Wizard to its main interface. Right-click on the disk that contains files, and then select Copy from the left action panel.

Step 2: In the new pop-up window, select the SD card and click on the Next button. Then click Yes to continue.
Step 3: Choose a copy method and click Next.
Step 4: Click Finish to go back to the main interface. Finally, click on the Apply button to complete the changes.
Bottom Line
This post introduces 2 ways to teach you how to transfer files from PC to Raspberry Pi. If you have other solutions to this problem, please share them with us in the following comment zone.

![[Full Guide] WD External Hard Drive Won’t Format](https://images.minitool.com/partitionwizard.com/images/uploads/2023/11/wd-external-hard-drive-wont-format-thumbnail.png)
![[Quick Fix] 16GB Flash Drive Only Shows 200MB](https://images.minitool.com/partitionwizard.com/images/uploads/2023/11/16gb-flash-drive-only-shows-200mb-thumbnail.png)

User Comments :