A lot of people are confused about the difference between Tiny 11 b1 and b2. If you are also trying to figure it out, this post from MiniTool Partition Wizard is worth reading. It focuses on Tiny 11 b1 vs b2 and provides a full Tiny 11 b1 download/install guide.
Microsoft has released the latest version of Windows 11 for users. However, it comes with high system requirements, like 64GB storage space, 4GB RAM, enabled TPM, etc. If you are using an old or low-end computer, then Tiny 11 is a better choice. There are different versions of Tiny 11, including Tiny 11 22H2, Tiny11 for Arm64, Tiny 11 b1, Tiny 11 b2, and more.
A great many users are unclear about the differences between these Tiny 11 versions. For example, many users from the Reddit forum discussed what’s the difference between Tiny 11 b1 vs b2. Let’s keep reading to learn more details.
The difference between Tiny 11 b1 vs b2 editions? I want to install Tiny 11 on my computer but I don’t know which one is better. Anyone give me advice?https://www.reddit.com/r/Tiny11/comments/118u057/the_difference_between_b1_b2_editions/
Tiny 11 B1 vs B2
What’s the difference between Tiny 11 b2 vs b1? According to a survey, both versions of Tiny 11 are stripped-down Windows 11 operating systems released by NTDEV. However, the Tiny 11 b1 ISO comes with system requirements intact, while the Tiny 11 b2 ISO comes with no system requirements. Besides, the Tiny 11 b2 file (about 3.6 GB) is larger than the Tiny 11 b1 (about 3 GB).
Where to Get Tiny 11 B1 or B2
Now, you should have an overall understanding of the Tiny 11 b2 vs b1. Where and how to get Tiny 11 b1 downloaded and installed on your low-end PC? Find the full guide from the following context.
Before You Download Tiny 11 B1/B2
As you know, the process of Tiny 11 B1 or B2 installation will wipe your system disk, which will delete all contents on your original Windows OS. To avoid data loss, we highly recommend you back up or recover all important data before proceeding.
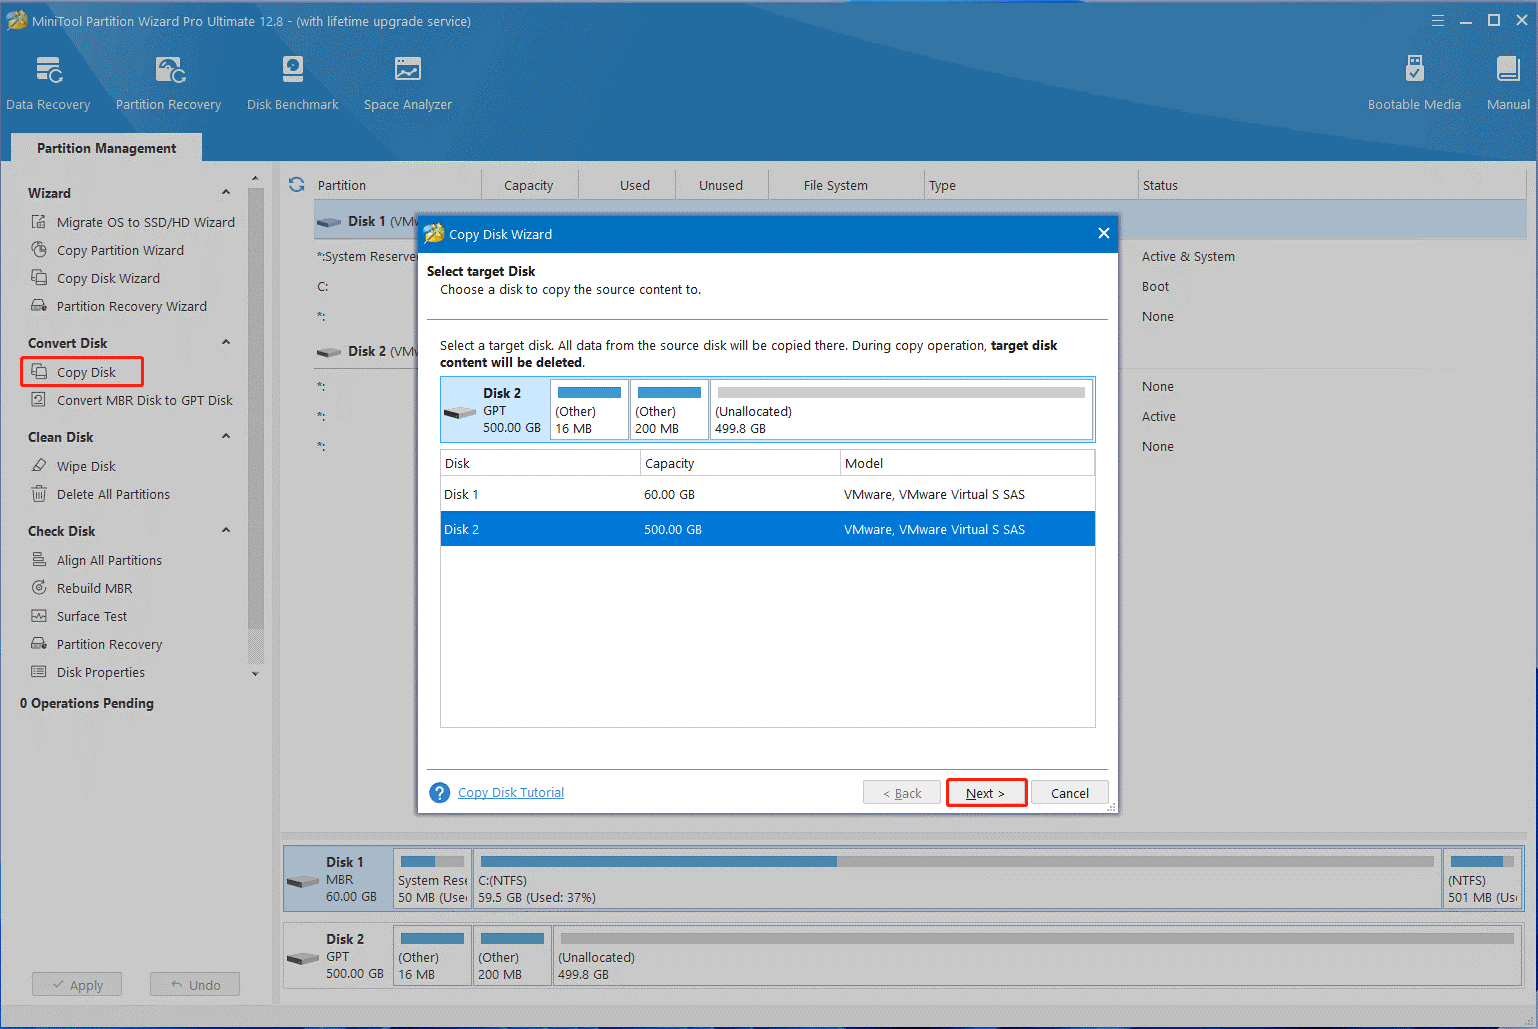
Here MiniTool Partition Wizard is a trust-worthy Windows backup utility that can help you migrate Windows OS to SSD, clone hard drive, and copy partitions. Moreover, you can try recovering important data first using the MiniTool software.
MiniTool Partition Wizard DemoClick to Download100%Clean & Safe
Once done, you can download Tiny 11 b1 and install it on the computer without any concerns.
Tiny 11 B1/B2 Download & Install on Your PC
Where to get the Tiny 11 b1 free download package and install it on PCs? All things you need to do is download the Tiny 11 b1 ISO file and create a USB installation drive using Rufus. Here are the detailed steps.
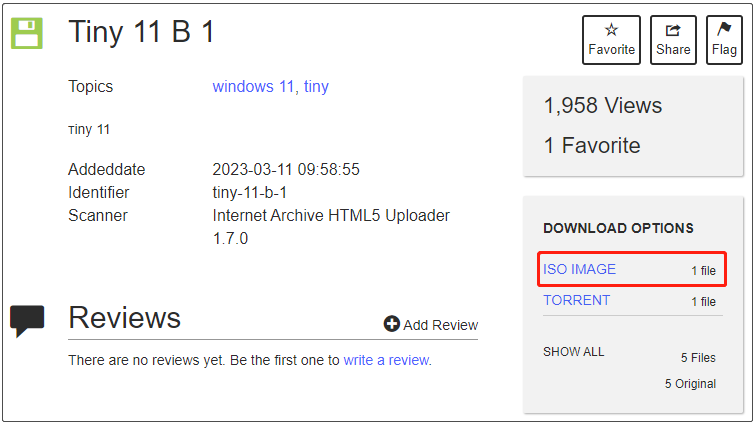
Step 1. Open your default browser and visit the website from the NTDEV Internet Archive: “https://archive.org/details/tiny-11-b-1”.
Step 2. Click on the ISO IMAGE blue hyperlink under the DOWNLOAD OPTIONS section. Then it will automatically download Tiny 11 b1 ISO.
Step 3. Wait for the Tiny 11 b1 download process to complete. After that, you need to create the Tiny 11 b1 installation USB drive using Rufus.
Step 4. Get Rufus on your PC and insert a USB flash drive into the PC properly.
Step 5. Launch Rufus and select the tiny11 bi.iso file from the Boot selection. Then configure other options like GPT partition scheme, target system, file system, cluster size, volume label, etc. Once confirmed, click on START to start creating the Tiny 11 b1 installation USB drive.

Step 6. Reboot your computer and press F2 or Delete key during the startup screen to enter BIOS. Then set the USB drive as the first boot order so that your PC can boot from the drive.
Step 7. When your PC boots from the USB, the Windows Setup screen should appear, and you can configure the language, keyboard, time, etc. You need to follow the on-screen instructions to complete the Tiny11 b1 installation.
Have you other opinions about the Tiny 11 b1 vs b2? Please share them with us in the following comment area. Besides, you can refer to the above full guide of Tiny 11 b1 free download and installation.
About The Author

Position: Columnist
Ariel has been working as a highly professional computer-relevant technology editor at MiniTool for many years. She has a strong passion for researching all knowledge related to the computer's disk, partition, and Windows OS. Up till now, she has finished thousands of articles covering a broad range of topics and helped lots of users fix various problems. She focuses on the fields of disk management, OS backup, and PDF editing and provides her readers with insightful and informative content.
User Comments :