What to do if “this update can’t be downloaded and installed because it’s not yet ready for your device” message keeps popping up? In this post, Partition Magic collects several troubleshooting methods for the issue.
When you receive the “Windows 11 24h2 update failed” issue, check if there’s enough disk space on the disk. If not, increase disk space by extending the partition or freeing up space using MiniTool Partition Wizard. It’s also helpful if you want to upgrade to a larger hard drive without data loss because it can clone the hard disk.
MiniTool Partition Wizard FreeClick to Download100%Clean & Safe
Solution 1: Run Windows Update Troubleshooter
You should run Windows Update troubleshooter once you receive the “this update can’t be downloaded and installed because it’s not yet ready” error. This built-in utility can help you troubleshoot various issues related to Windows update.
Step 1: Open Settings by holding the Windows and I keys.
Step 2: Click System > Troubleshoot > Other troubleshooters.
Step 3: Under Most frequent, click Windows Update and hit the Run button.
Step 4: Then Windows Update troubleshooter will scan your computer and give you feedback once the process ends.
Step 5: Restart the computer, open Settings, and hit the Check for updates button to see if the update can be downloaded and installed successfully.
Solution 2: Check the Status of Secure Boot
Windows 11 requires Secure Boot and TPM 2.0. So, you should enable them before installing the system. Otherwise, you may receive the error message “this update can’t be downloaded and installed because it’s not yet ready for your device”
When you encounter this error, check the status of Secure Boot. If it is disabled, you should enable it manually.
Step 1: Type system information in the search box and then click Open under the searched System Information app.
Step 2: Tap on System Summary in the left panel of the System Information window. Then scroll down the Item list to find Secure Boot State. If its value is Off, it means that Secure Boot is disabled.
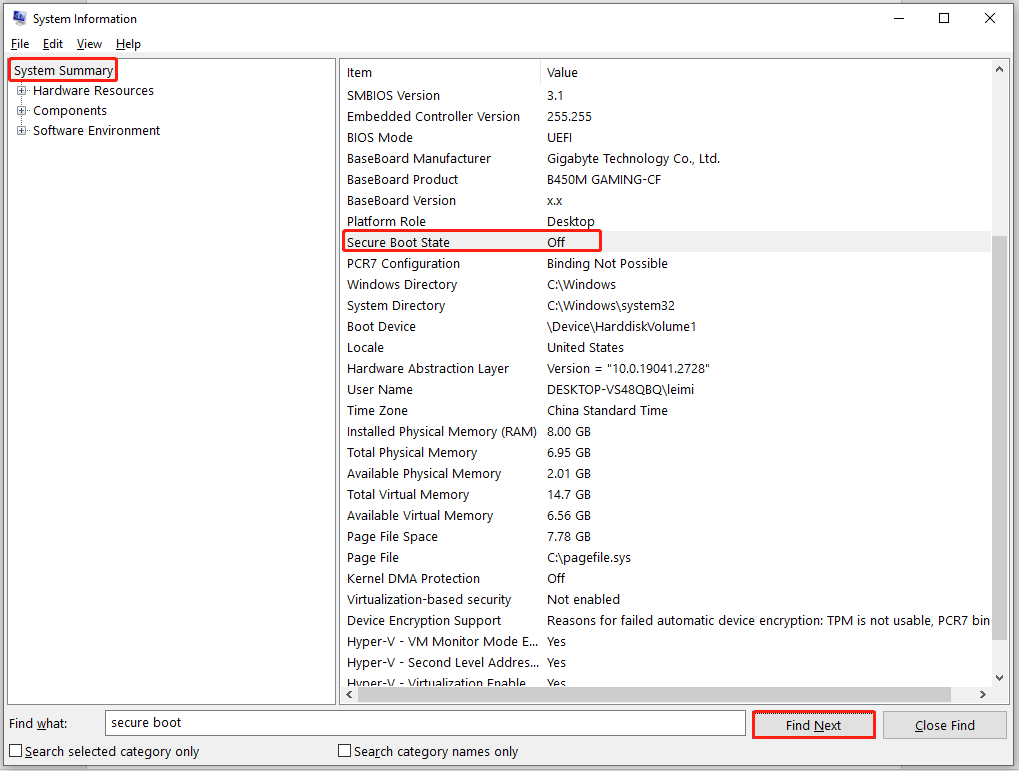
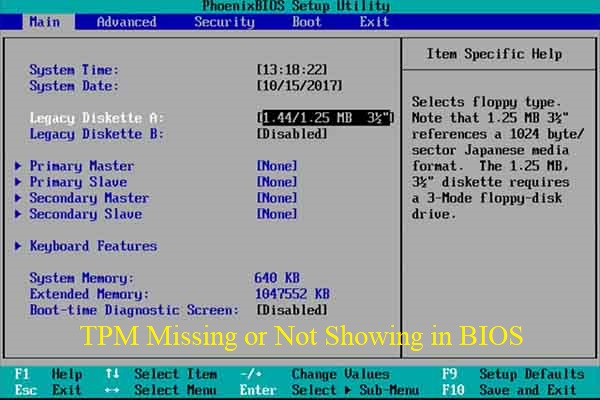
If Secure Boot is disabled, enable it in BIOS by following these instructions.
- Restart the computer and repeatedly press the BIOS key while the PC loads to enter BIOS or UEFI setup.
- Navigate to Secure Boot > choose the Enabled option.
- Press F10 > Enter key to save changes and exit BIOS.
Solution 3: Find Compatibility Holds
Compatibility holds are implemented to maintain system stability and avoid potential conflicts and issues, such as hardware incompatibilities and outdate drivers. They often are located on devices with known issues that stop an update from installing smoothly.
Step 1: Open Settings and go to Windows Update > Update history.
Step 2: View details about the updates that have been installed or failed and then note them down.
Step 3: Navigate to the Release Health Dashboard to find detailed information about known issues, including compatibility holds. Search for any holds related to your device model or the update you are attempting to install. If you see a compatibility hold is in place, wait for Microsoft to troubleshoot the problem. It can take you several weeks or months for the hold to be resolved.
Step 4: On the manufacturer’s support page, check the computer’s compatibility with the latest Windows version. Alternatively, you can utilize the Windows Health Check app to know the compatibility.
Solution 4: Run SFC or DISM Scans
Corrupted system image files are also responsible for “Windows 11 24h2 update failed” issue. Hence, it is recommended to run SFC or DISM scans when the error occurs. Both SFC and DISM help you scan and fix corrupt system image files.
Step 1: Type cmd in the search box and then click Run as administrator under Command Prompt.
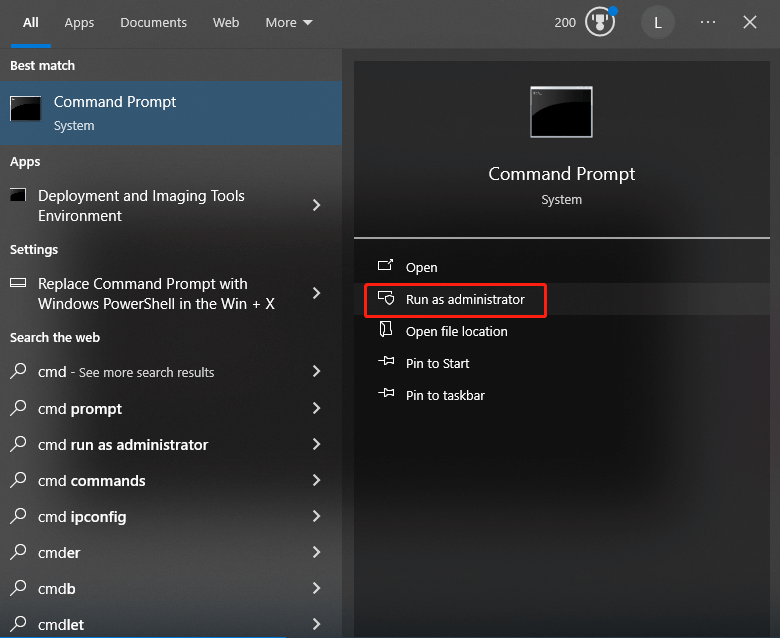
Step 2: In the User Account Control window, click Yes to allow the operation.
Step 3: Type sfc /scannow and hit Enter. If you are prompted to restart the computer, do as follows and run SFC again.
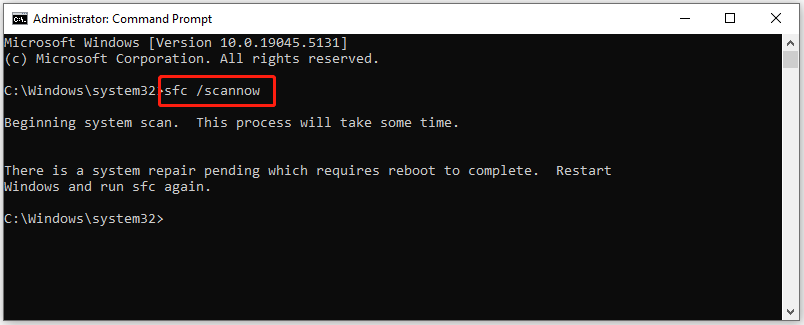
Step 4: After the scan ends, try installing updates again to check if “this update can’t be downloaded and installed because it’s not yet ready” issue disappears.
Step 5: If not, run Command Prompt as administrator again and execute this command: DISM.exe /Online /Cleanup-image /Restorehealth
Solution 5: Use Media Creation Tool
Media Creation Tool, released by Microsoft, enables you to download ISO files, create an installation USB drive, and upgrade the computer. You can use this tool to upgrade your system or install updates. Download Media Creation Tool from the official website and run it to upgrade your PC.
The End
Is the error message “this update can’t be downloaded and installed because it’s not yet ready for your device” keeps appearing? If so, try the methods offered in this post to fix it.

User Comments :