As Windows 7 Service Pack 1 is already available for download, you may want to slipstream SP1 into Windows 7 Installer DVD. How to do that? Well, there are multiple ways to slipstream Windows 7 SP1 into installation DVD ISO.
Way 1: Slipstream Windows 7 SP1 into Installation DVD ISO via RT Seven Lite Tool
Step 1: Download Windows 7 Service Pack 1 (SP1) from the official website of Microsoft. Depending on your OS, choose the 32 or 64-bit version.
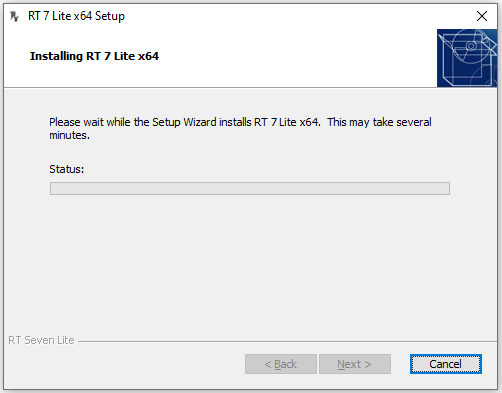
Step 2: Download the RT Seven Lite tool from its official website, and then install and run it on your computer.
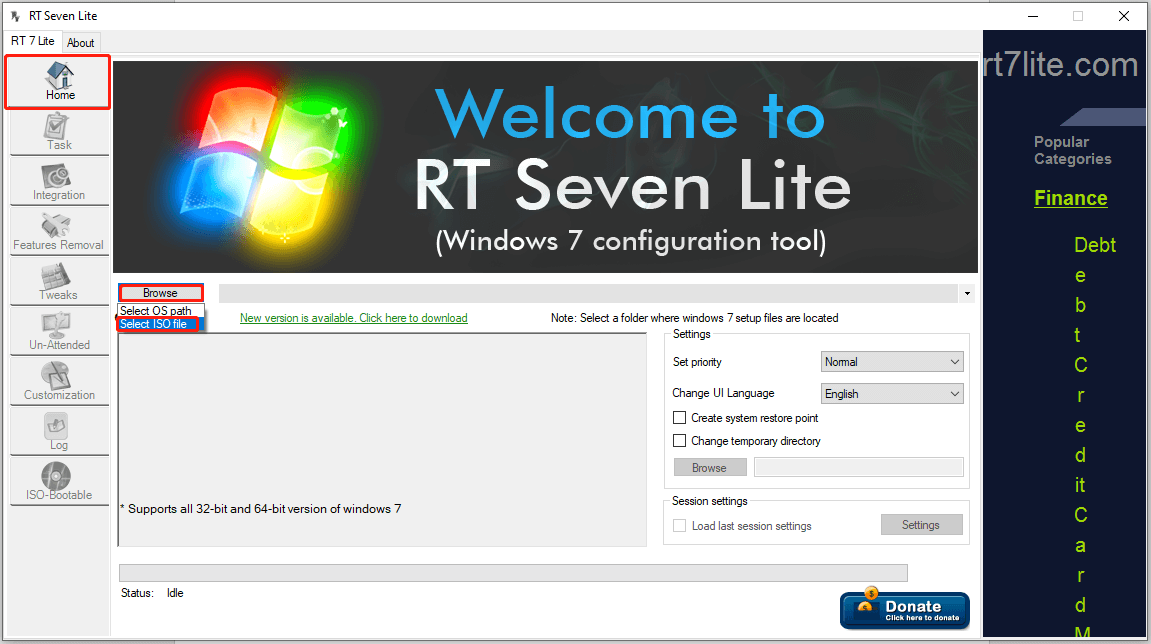
Step 3: Under the Home tab, click the Browse button to expand option. Then click Select OS path or Select ISO.
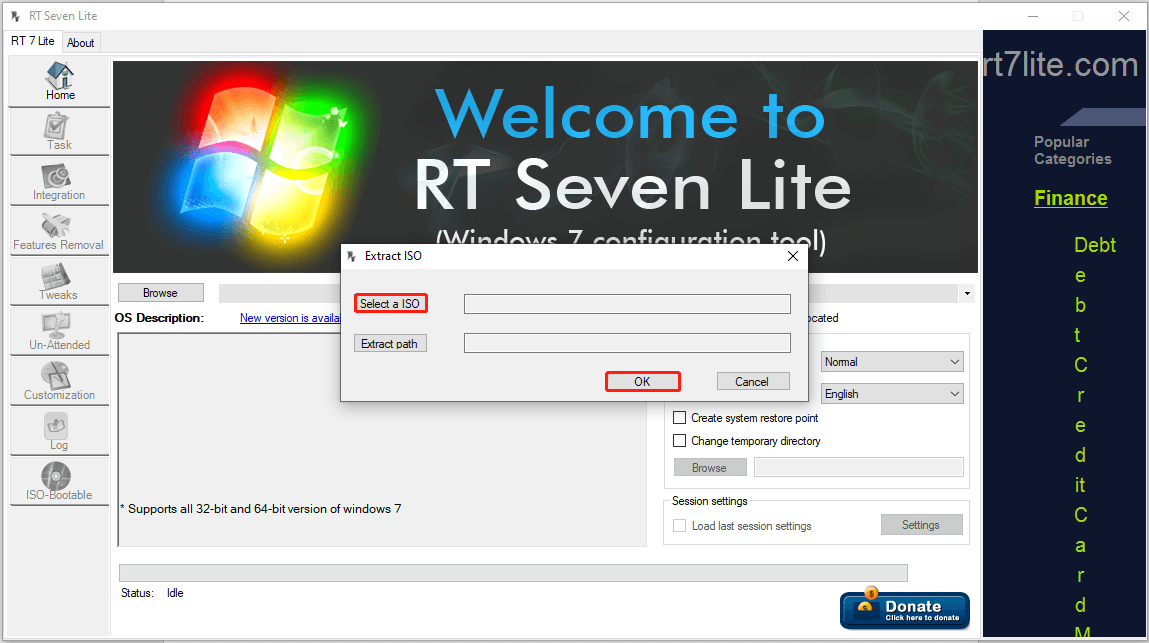
Step 4: If you select the ISO option, you need to specify a location to extract the ISO file. To do that, click Select a ISO and then find the downloaded ISO file of your Windows 7 SP1 in the pop-up window. After you click Extract path and configure the path, click OK to confirm the operation.
Then you will see the extracting image message. This process may take you some time, so you just need to wait for the finish of the extraction.
Step 5: Once the process ends, you will be asked to choose your Windows 7 edition. Do what you are prompted with and check the option “Slipstream Service Pack”. Then click OK to save the changes. When this step completes, it means that you have slipstreamed Windows 7 SP1 successfully. To create a bootable Windows 7 SP1 ISO file, please continue following the steps below.
Step 6: After the Slipstream RT Service Pack dialog box opens, click the Browse button to navigate to the SP1 file and then select it.
Step 7: Tap on the Start button to begin the integration process.
Step 8: Wait patiently until the Proceed button appears. Click on that button to start loading the image and other items. Once done, switch to the Task tab of the RT Seven Lite tool and click the ISO Bootable option.
Step 9: Navigate to the ISO-Bootable tab and select Create Image.
Step 10: After you tap on the Make ISO button, choose a location to save the ISO.
Further reading:
USB bootable software like Rufus and Windows USB/DVD Download Tool enables you to make a bootable USB drive from ISO. Then you can install Windows from that USB drive. However, you need to set up Windows step by step by using this method. To get a new Windows system without installing it, migrate it from another running computer by using MiniTool Partition Wizard. Once the migration process ends, you can directly use the system.
MiniTool Partition Wizard DemoClick to Download100%Clean & Safe
Also read: How to Integrate Security Updates into Windows Image? [Solved]
Way 2: Slipstream Windows 7 SP1 into Installation DVD ISO via Command Prompt
Step 1: Extract the content of the Windows 7 SP1 ISO file into an empty folder on the PC.
Step 2: Run Command Prompt as administrator and then retrieve the name of the system by running the command below.
Dism /Get-WIMInfo /WimFile:C:\Users\admin\Downloads\Win7files\sources\install.wim
Step 3: Insidethe Win7files folder, create a folder called offlineImage.
Step 4: Mount the offline Windows image by typing the command below and hitting Enter. You should replace “Windows 7 ULTIMATE” with the name of your system’s edition.
Dism /Mount-WIM /WimFile:C:\Users\admin\Downloads\Win7files\sources\install.wim /Name:”Windows 7 ULTIMATE” /MountDir:C:\Users\admin\Downloads\Win7files\offlineImage
Step 5: Execute the following command to incorporate Windows 7 to the 64-bit version of the installation media.
Dism /Image:C:\Users\admin\Downloads\Win7files\offlineImage /Add-Package /PackagePath:C:\Users\admin\Downloads\Windows6.1-KB3020369-x64.msu
Step 6: Unmount the Windows image and commit the changes by running the command: Dism /Unmount-WIM /MountDir:C:\Users\admin\Downloads\Win7files\offlineImage /Commit
Step 7: Delete the offlineImage folder you created before.
Step 8: Now, the Windows 7 Convenience Rollup and update have been integrated into the install.wim image.
This post has told you how to slipstream Windows 7 SP1 into installation DVD ISO in 2 methods. Pick a method from them to slipstream SP1 into Windows 7 Installer DVD now!
About The Author

Position: Columnist
Having writing articles about computer tech for a long time, I am rather experienced especially on the aspect of computer optimization, PC enhancement, as well as tech terms explanation. The habit of looking through tech forums makes me a great computer issues collector. And then, many articles related to these issues are released, which benefit plenty of users. Professional, effective, and innovative are always the pursuit of an editing worker.
User Comments :