If you replace your hard drive with SSD, you may need to move Windows Boot Manager to SSD. Do you know how to do this? In this post, Partition Magic introduces how to move Windows Boot Manager to SSD or another drive in detail. You can take it as a reference.
Windows Boot Manager, also called BOOTMGR, is a Microsoft bootloader that is loaded from the volume boot code of your computer’s hard drive and sets up the boot environment. In some cases, you may need to move Windows boot manager to SSD/another drive to ensure your computer can boot properly.
Here’s a true user report from the Microsoft forum.
I had Windows 10 Pro installed on a 256 GB NVMe SSD. I decided to try out Windows 11 Pro and installed it onto a new 500 GB NVMe SSD in a dual-boot configuration. I've since decided that I like Win 11 better and deleted the Windows 10 Pro volume. I've tried to replace the 256 GB SSD with a faster 2 TB PCIe Gen4 SSD, only to discover that the boot manager is on it and the system won't boot without it installed. How do I move the boot manager to the drive with Win 11 installed? https://answers.microsoft.com/
How to move Windows boot manager to SSD or another drive easily? Below, this post summarizes two feasible ways for you.
Way 1: Move Windows Boot Manager to SSD via Command Prompt
The BCDBoot tool in Command Prompt can help you move Windows boot manager to SSD with ease. The following content shows you how to move Windows boot manager to another drive in this way.
Step 1: Right-click the Start icon and select Run from the context menu.
Step 2: Type cmd in the Run dialog box and press Ctrl + Shift + Enter to open Command Prompt as an administrator.
Step 3: In the elevated Command Prompt, type the following commands and press Enter after each.
- diskpart
- list disk
- select disk N (Replace N with the number of the disk you want to move Windows boot manager to)
- list partition
- select partition X (X represents the number of the partition to shrink)
- shrink desired=500
- create partition efi
- format fs=fat32 quick
- assign letter=F (Replace F with any available drive letter)
- exit
- bcdboot C:\Windows /s F:
Step 4: After that, execute the bootsect /nt60 F: /mbr command to initialize empty disks with the correct MBR boot code.
Step 5: Power off your computer. Then disconnect the old system disk and then restart your PC from the new SSD to see if it works.
Way 2: Move Windows Boot Manager to SSD via MiniTool Partition Wizard
MiniTool Partition Wizard is a comprehensive partition manager that allows you to create/format/resize/delete partitions, wipe/clone a hard drive, migrate Windows to SSD/HDD, fix MBR, check hard drive health, recover data from hard drive, and more.
If you are not familiar with command lines, we highly recommend you turn to MiniTool Partition Wizard to move Windows boot manager to another drive. It enables you to finish the operation with a few clicks. Download and install MiniTool Partition Wizard on your PC. Then follow the given steps.
MiniTool Partition Wizard DemoClick to Download100%Clean & Safe
Step 1: Launch MiniTool Partition Wizard to its main interface.
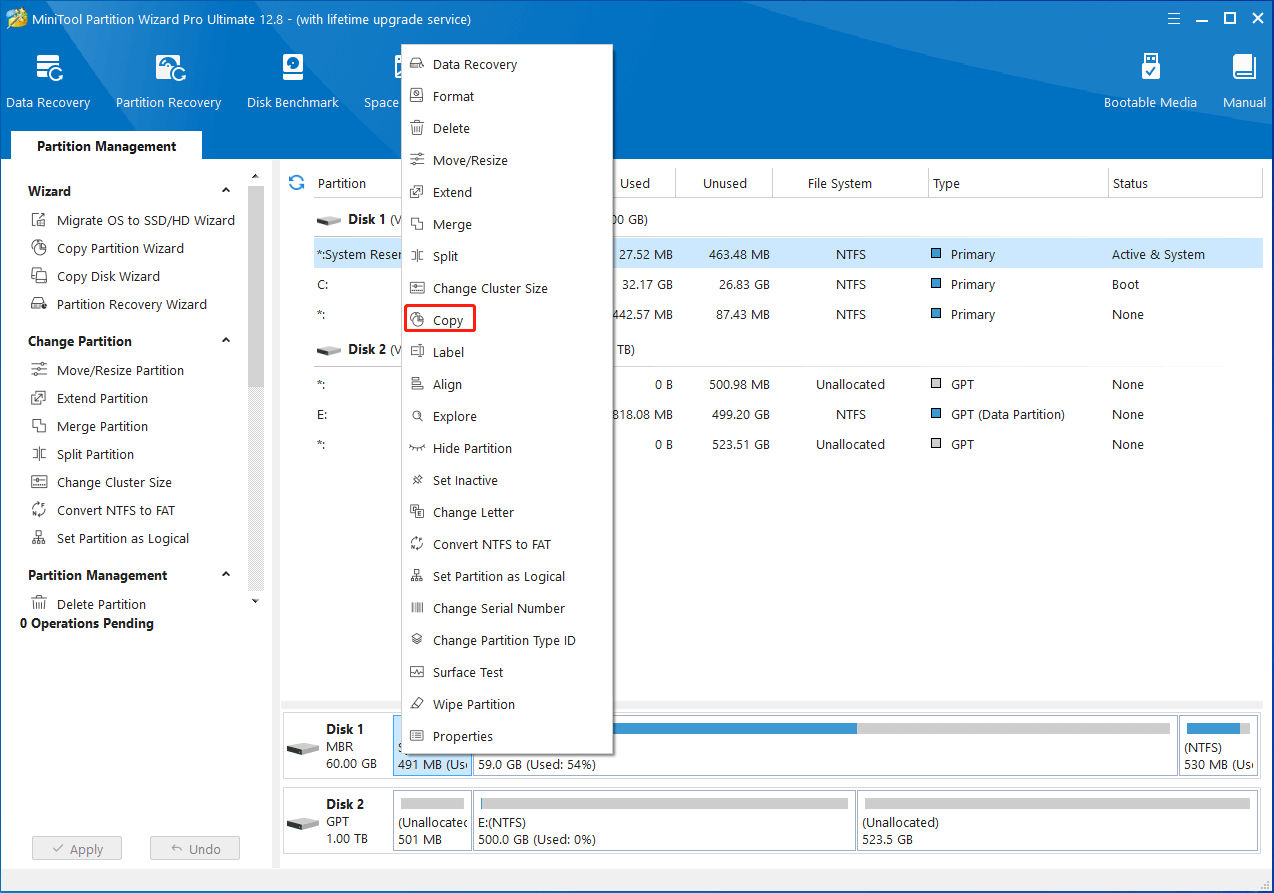
Step 2: Right-click the target partition on the old hard disk and select Copy.

Step 3: In the pop-up window, select the unallocated space on the SSD and click Next.
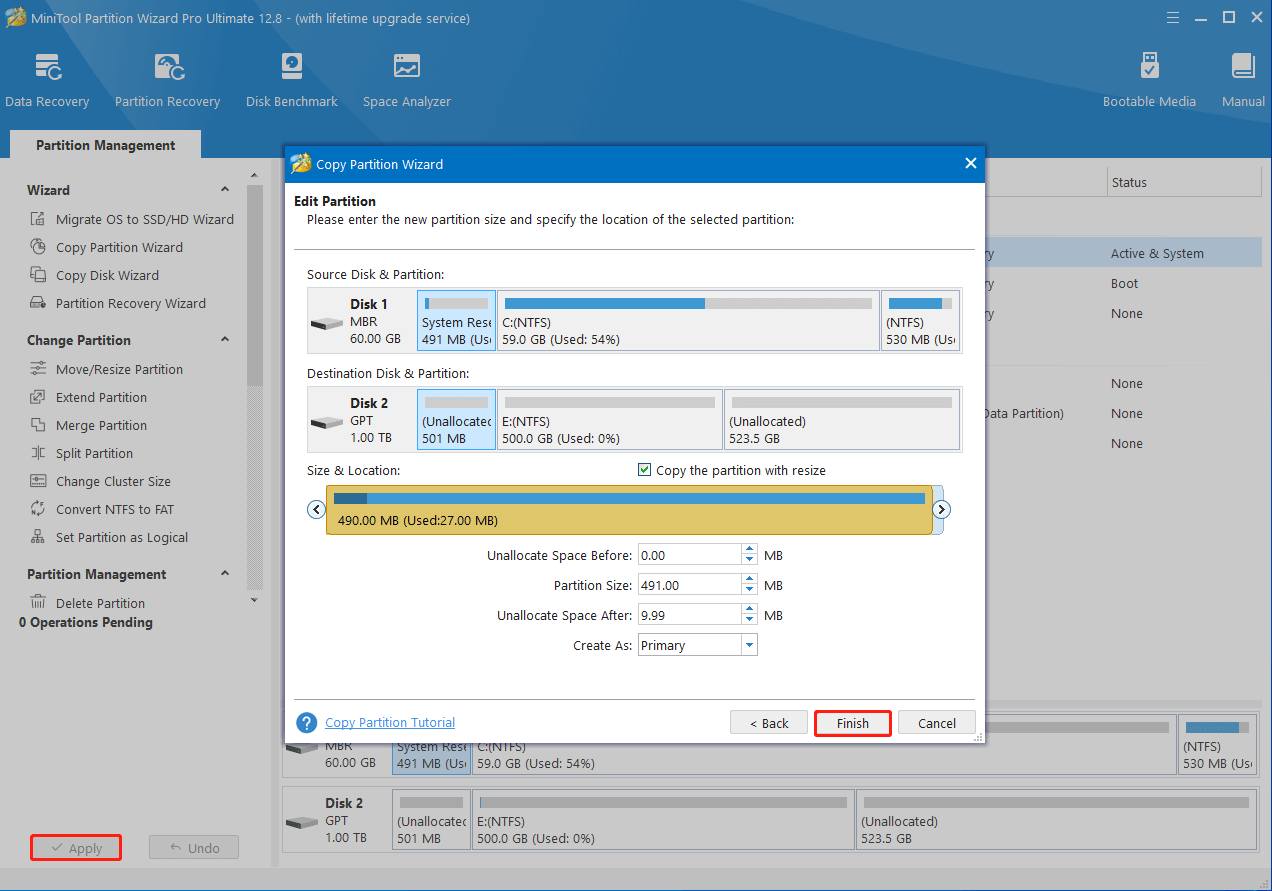
Step 4: In the next window, decide the partition size, partition location, or partition type.
Step 5: At last, click Finish > Apply to save the change.

Bottom Line
This post shows you the detailed steps to move Windows boot manager to SSD. If you wonder how to move Windows boot manager to another drive, you can refer to this post.


User Comments :