What to do if you constantly receive an incorrect CPU temperature reading? Well, Partition Magic collects some fixes based on the possible causes of the issue in this post. You can pick a method and follow the given instructions to finish the operation.
You can see many forums discussing the incorrect CPU temperature reading. It means a lot of users might be troubled by this issue. If you are bothered by it too, this post is worth reading. It collects the possible causes of the weird CPU temperature reporting and offers you some available fixes for it.
MiniTool Partition Wizard DemoClick to Download100%Clean & Safe
Causes of Incorrect CPU Temperature Readings
Multiple factors can lead to incorrect CPU temperature readings. In this section, some common reasons for weird CPU temperature reporting are collected. You can take them as a reference while fixing the issue.
- Damaged CPU Sensors: Temperature sensors on CPUs or thermistors can become unpredictable or stuck at a specific value once they are damaged, triggering incorrect CPU temperature readings.
- Thermal transfer: Thermal paste transfers heat from the CPU core to the heatsink to avoid overheating. Nevertheless, if not applied properly or the CPU is seated improperly, air gaps can obstruct heat transfer and result in wrong CPU temperature readings.
- Improper CPU overclocking: Overclocking may damage the temperature sensor of the CPU, causing inconsistent readings and improper recording of CPU temperature.
- Faulty software used for checking temperature: Bugs in CPU temperature monitoring software can lead to incorrect temperature readings and even wrong diagnoses of system issues.
Based on the above causes, this post offers you some troubleshooting methods for the issue.
Fix 1: Reduce or Modify CPU Voltage
If the CPU is recording abnormally high temperatures even after lowering the voltage, it means that the sensors are damaged. Hence, though voltage adjustments are not the resolution to the issue, they can identify the actual problem quickly.
Here are the steps to reduce or modify CPU voltage.
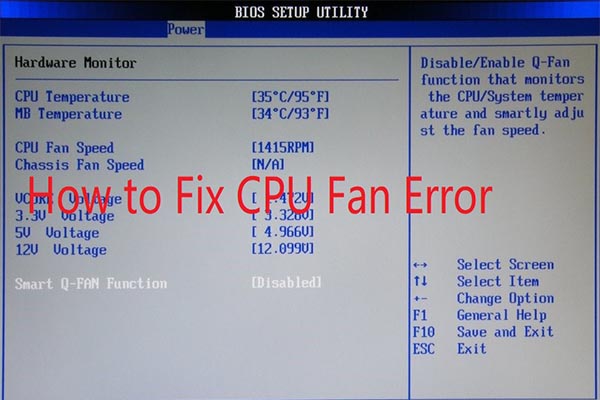
Step 1: Restart the computer and keep pressing the Del or F2 key after the PC loads up to enter BIOS setup.
Step 2: Find the CPU Voltage option. This option may vary depending on the manufacturer.
Step 3: Check the motherboard manual or the BIOS manufacturer’s website for the permissible voltage reduction limit.
Fix 2: Check CPU Sensors
CPU temperature sensors can monitor, record, and offer real-time data on the CPU temperature level. To ensure that the sensors record the right temperature, they should be in good working condition. Each CPU sensor generally has its physical location and record its readings.
Therefore, if any air loop exists around the sensors, the readings might be incorrect under its impact. To be specific, in most cases, the CPU0 sensor continuously records higher temperatures than the CPU1. You can remove sensors to check if they are broken or damaged. You should be cautious in that process.
Further reading:
If necessary, you can reset the CPU temperature sensor with the steps below.
Step 1: Disconnect the power connection and open the PC case.
Step 2: Locate the sensor and remove it from its socket carefully. Then use a soft brush to clean it.
Step 3: Once cleaned, place it back into its socket.
Fix 3: Check the Heatsink and Reapply the Thermal Compound
Reapplying the thermal compound helps transmit heat from the CPU core to the heatsink properly. Likewise, reattaching the heatsink (a metal component that physically touches the CPU and dissipates heat away from it) ensures that the temperatures are maintained within the allowed threshold, reducing the chances of wrong CPU temperature readings.
Are you looking for solutions to incorrect CPU temperature reading? If so, read this post now! It summarizes the potential reasons for the issue and provides some fixes.


User Comments :