If you have a write protected USB drive, it means that the drive is read-only and you cannot do any changes to it. For instance, you are unable to edit, copy, alter, or remove the files stored on the write protected USB, add new files, format the drive, etc.
Write protection is a great technology to protect files on the USB drive from being overwritten, deleted accidentally, or attacked by viruses. However, what if you want to format write protected USB Windows 10? Below this post provides a guide on how to format a write protected USB. You can take a look.
How to Format a Write Protected USB Drive in Windows 10?
How to format a write protected USB drive in Windows 10? In this section, I summarize some useful methods to help you do that.
Method 1: Use MiniTool Partition Wizard
You cannot format write protected USB drives with any Windows built-in utilities like Disk Management, File Explorer, or diskpart. Thankfully, some third-party disk partition software allows you to perform such a formatting operation. Here, we’d like to recommend MiniTool Partition Wizard to you.
It’s a professional and safe partition manager that offers a wide range of features related to disk/partition management. With this program, you can create/format/resize/delete partitions, copy/wipe disks, convert disks between MBR and GPT, etc.
To learn how to format write protected USB Windows 10 with this write protected USB formatter, you can follow the steps below.
Step 1: Download and install MiniTool Partition Wizard on your Windows 10. Then launch this write protected USB format tool to enter its main interface.
MiniTool Partition Wizard FreeClick to Download100%Clean & Safe
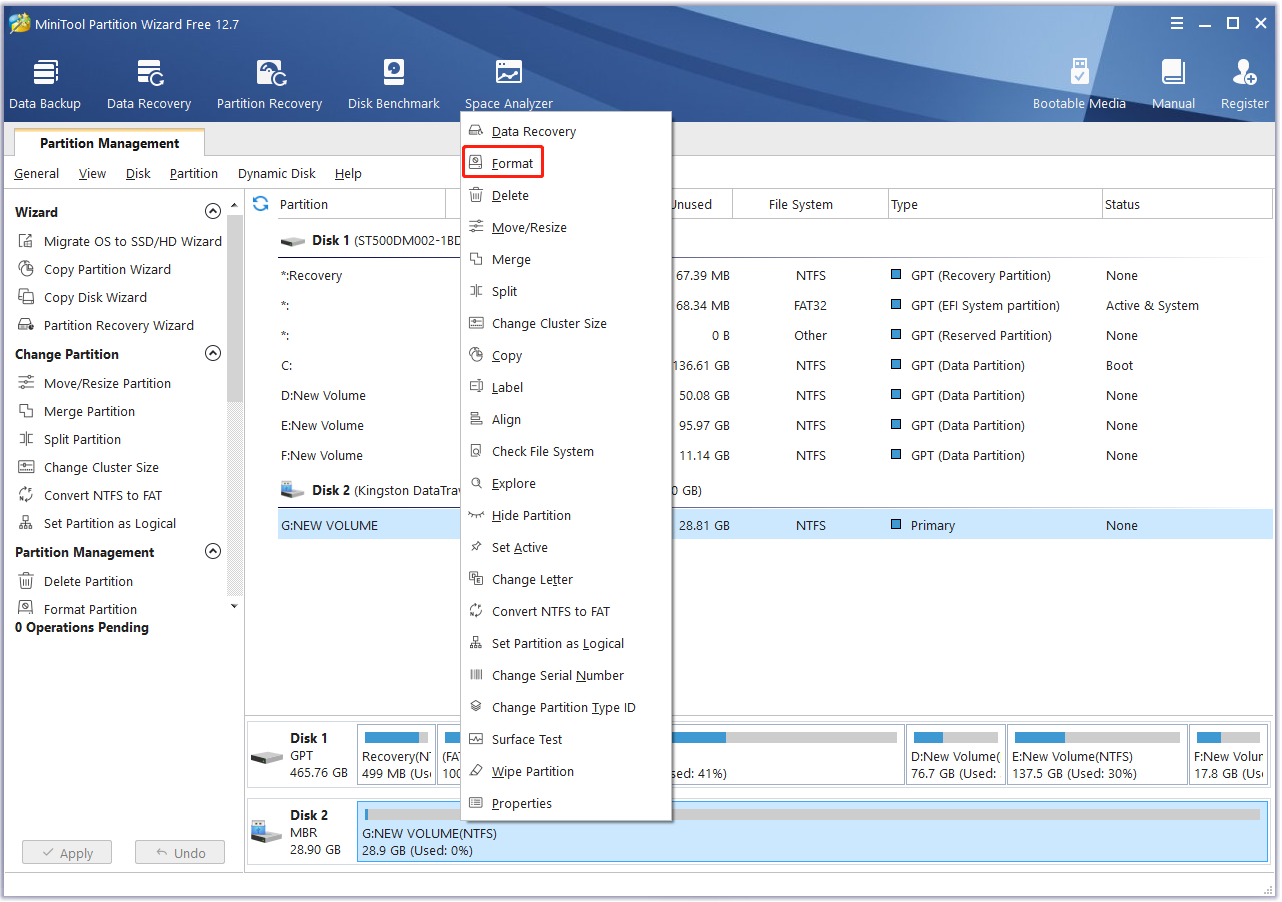
Step 2: Right-click the partition on the target USB and select Format.
Step 3: In the pop-up window, select a desired file system and then click OK.
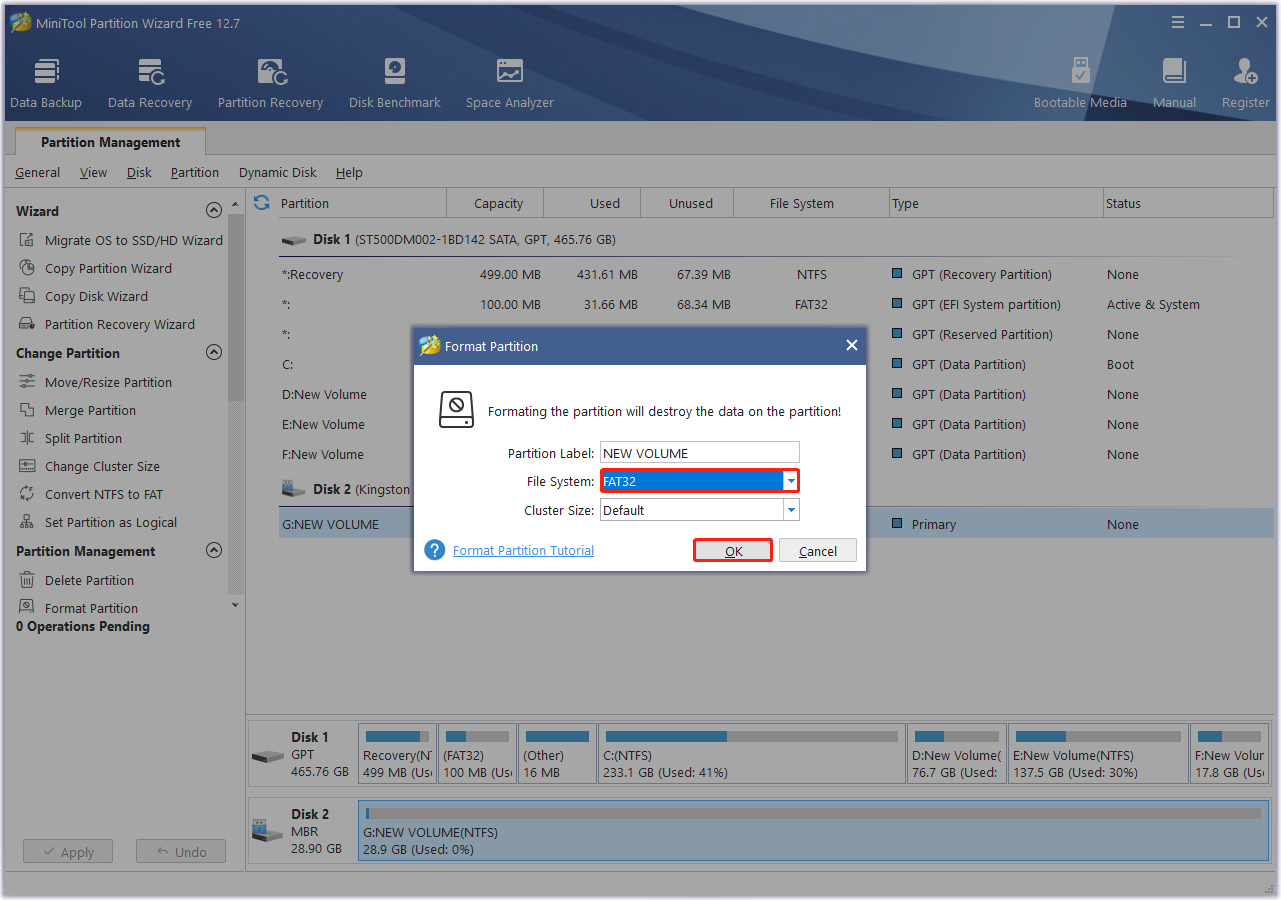
Step 4: After that, click Apply to execute the operation. If prompted, click Yes to confirm the operation.
Method 2: Remove the Write Protected on USB
If you don’t want to install any extra write protected USB formatter on your PC to format write protected USB drives, you can try to remove the write protection first and then perform a format with Windows-embedded tools. Here’s a detailed guide on how to disable write protection.
Step 1: Press Windows + R to open the Run dialog.
Step 2: Type diskpart in the text box and then press Enter.
Step 3: In the opened diskpart.exe window, type the following commands one by one and press Enter after each.
- list disk
- select disk N (N represents the number of the write protected USB drive)
- attributes disk clear readonly

After removing write protection, you can format the specific USB drive by following this guide: How to Format USB Drive with Three Free USB Formatters Windows 10.
How to Format a USB Drive Write Protected by Rufus?
In addition to enabling write protection in USB manually, the USB drive may report write protected error in some cases. For instance, some people report receiving a “Rufus error media is write protected” error when they attempt to format a USB drive that previously contained Rufus Windows installation media.
In addition to the above situation, the “Rufus error media is write protected” error can also occur in these situations:
- The process of making a USB bootable via the Rufus tool was interrupted.
- The USB drive is physically broken down.
Have you also come across the same error? If so, you don’t need to worry as well. The above 2 methods can also help you fix the error and format the USB drive. Note that the only thing you can do is replace the drive when the USB drive is physically broken.
In Conclusion
This post summarizes two effective ways how to format write protected USB. You can pick one according to your preference. For any problems with this topic, you can leave a message in our comment part below.
About The Author

Position: Columnist
Charlotte is a columnist who loves to help others solve errors in computer use. She is good at data recovery and disk & partition management, which includes copying partitions, formatting partitions, etc. Her articles are simple and easy to understand, so even people who know little about computers can understand. In her spare time, she likes reading books, listening to music, playing badminton, etc.
User Comments :