Failed to Install/Start Monitoring Driver
Recently, some Windows users reported problems when performing an in-place upgrade to Windows 11 and found an error in the log report: Failed to install/start monitoring driver, error 0x800710D2.
W11 In-Place Upgrade fails at 0% with Error SP SETUPMON: Failed to install/start monitoring driver. Error: 0x800710D2.https://answers.microsoft.com/en-us/windows/forum/all/w11-in-place-upgrade-fails-at-0-with-error-sp/21ed3ccb-0da1-4e19-9754-df45ca003a88
The monitor driver is a critical component in the upgrade process, and a failure may prevent the entire installation process from continuing. This error may be caused by the following reasons.
- System file corruption may cause error 0x800710D2.
- Some hardware drivers may be incompatible with the installer, causing the display driver to fail to start.
- Some files or paths in the user folder are invalid, causing the installer to fail during initialization.
- Security software may interfere with the installation process even if you have disabled real-time protection.
How to fix failed to install/start monitoring driver? Now, follow the solutions below to get rid of this issue, and then you should be able to complete the Windows 11 in-place upgrade successfully.

Fix 1. Run SFC and DISM
You can try running SFC and DISM to fix the system file problem. If you have tried it before, I still recommend running them a few times because there is still a chance that some system files have not been repaired, causing resource loading failure during installation.
Step 1: Press the Win + R key to open the Run dialog. Type cmd in the text box and then press Ctrl + Shift + Enter to open Command Prompt as an administrator.
Step 2: In the Command Prompt window, type sfc /scannow and then press Enter.
Step 3: Once the process ends, restart your PC and open the elevated Command Prompt again.
Step 4: After that, type the following commands and press Enter.
- Dism /Online /Cleanup-Image /CheckHealth
- Dism /Online /Cleanup-Image /ScanHealth
- Dism /Online /Cleanup-Image /RestoreHealth
Fix 2. Update Drivers
You can try to update or manually reinstall drivers, especially BIOS, graphics, and chipset drivers.
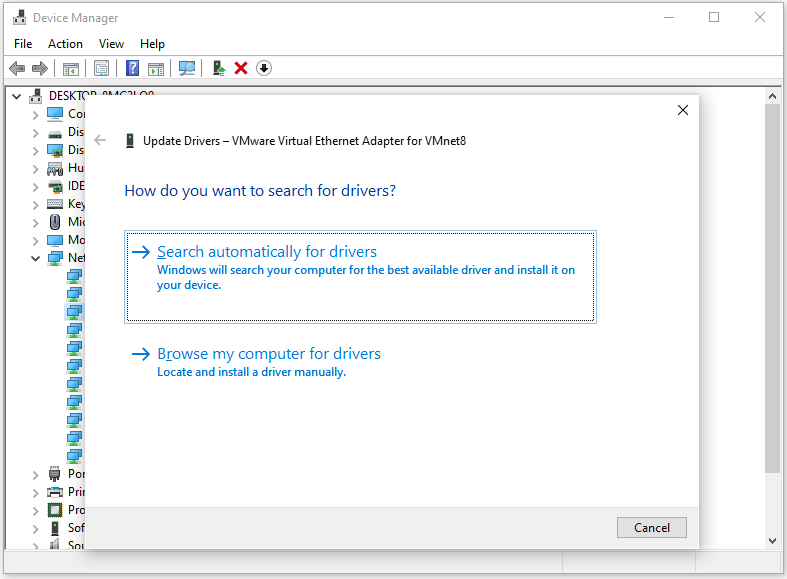
- Right-click on the Start menu and select Device Manager.
- In the Device Manager window, right-click the driver and select Update driver from the drop-down menu.
- In the new window, click on Search automatically for drivers. Then, follow the on-screen instructions, and the drive should be updated to the latest version.
You can download drivers for the corresponding model from the manufacturer’s website. Please try the latest version of the driver first.
Fix 3. Create a New Local Administrator Account
The problem may be caused by a damaged or missing user account profile that is currently in use. You can try to create a new local administrator account and log in, and then try to upgrade to see if the problem persists.
Step 1: Open the Command Prompt as administrator again.
Step 2: Enter the following commands
- net user USERNAME PASSWORD /add
- net localgroup administrators USERNAME /add
Also, you need to check the C:\Users\miw\Pictures folder to make sure there are no damaged or invalid files in it.
It is also possible that the folder originally located in this path has been moved to another location, which may also cause this problem to occur. For the C:\Users\miw\Pictures path in the log, try renaming the folder or moving/deleting the files in it to see if this can solve the problem.
Fix 4. Clean Install Windows
If the above methods do not work, you can clean install Windows 11 as a last resort. With a clean install, you can ensure that all services and features are up and running in a consistent state, eliminating potential problems.
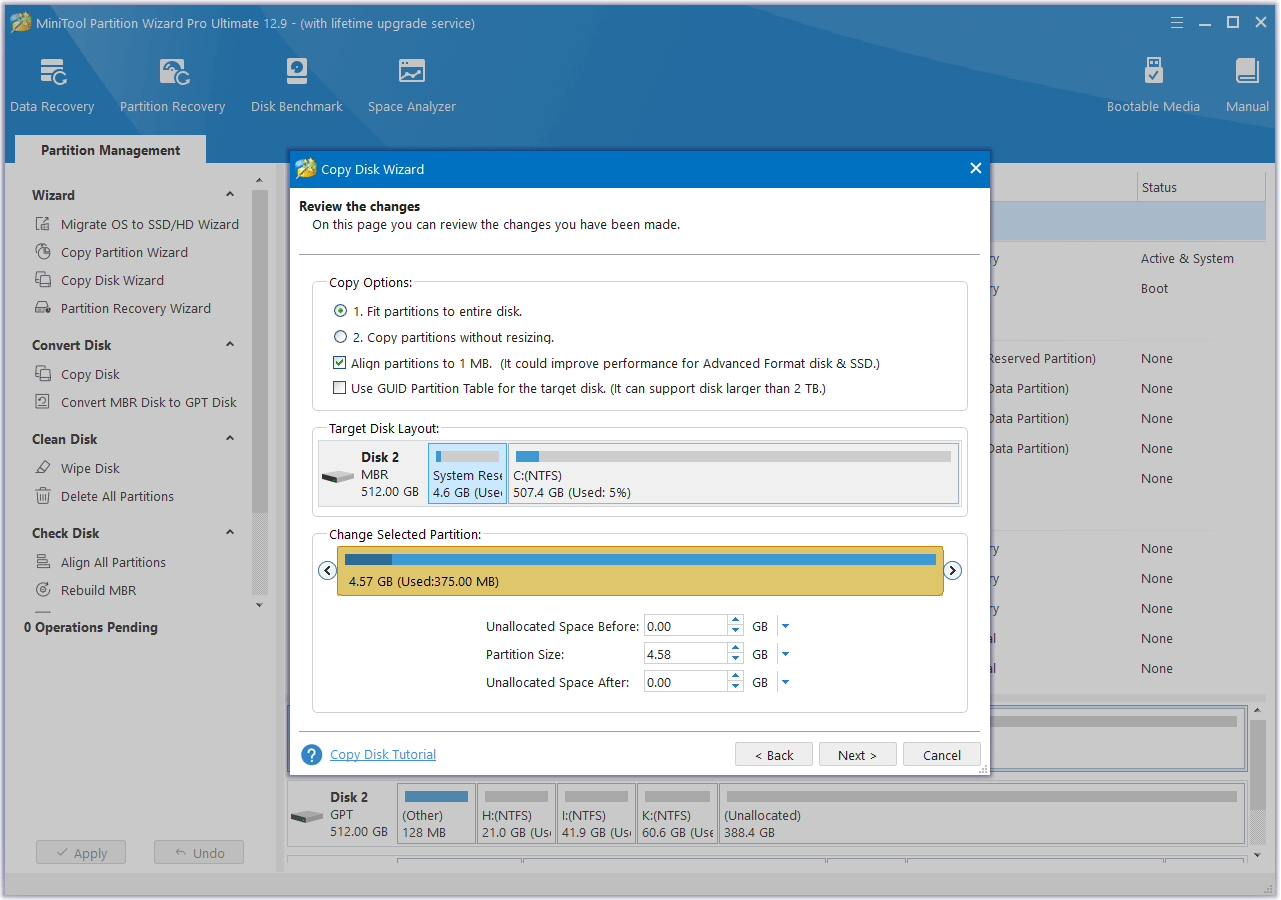
Before doing this, make sure to back up all important data to avoid data loss. The fastest way to back up all important files is to copy the disk. MiniTool Partition Wizard’s Copy Disk feature can help you do it easily. The detailed steps are as follows:
MiniTool Partition Wizard DemoClick to Download100%Clean & Safe
- Launch MiniTool Partition Wizard to enter its main interface.
- Right-click the original disk to copy and select Copy.
- Choose a target disk where the copy will be stored and click Next to continue. Then click Yes to continue.
- Choose a copy method and click Next.
- Click Finish > Apply to execute all changes.
Bottom Line
If you encounter the “failed to install/start monitoring driver” issue when performing an in-place upgrade to Windows 11, you can try these methods.
About The Author

Position: Columnist
Vega joined MiniTool as an editor after graduation. She enjoys helping people with computer problems, including disk management, data recovery, and more. She is constantly expanding her knowledge in related fields. And she will continue to bring more easy-to-understand professional articles to help people solve various problems on the PC. In her daily life, Vega enjoys hanging out with friends, shopping online and listening to music. She is someone who knows how to enjoy life.
User Comments :