Why can’t get F12 boot menu to work? How to solve the F12 boot menu not working Windows 11 issue? In this post, Partition Magic shows you all the answers. Besides, it provides you a way to access boot menu without pressing F12.
F12 Boot Menu Not Working Windows 11
Pressing the F12 key while the PC loads up enables you to access the Toshiba boot menu, Dell boot menu, and Lenovo boot menu. Then you can decide where your computer boots from. For instance, you can make your computer boot from a USB or an external hard drive.
MiniTool Partition Wizard DemoClick to Download100%Clean & Safe
However, sometimes you will experience the “F12 boot menu not working Windows 11” issue. Why can’t get F12 boot menu to work? If the F keys are set to multimedia, this can cause “F12 not working to get to boot menu”. Sometimes, F12 boot menu is not working because systems go through the boot process so fast that they can’t register the F12 key press.
Based on the above possible reasons, this post collects some fixes for the “F12 boot menu not working Windows 11” issue.
Fix 1: Keep Pressing the F12 Key
The first solution to F12 boot menu not working Windows 11 is to keep pressing the F12 key after you restart the computer. Here are the instructions.
- Shut down your computer by holding the Power button.
- Press the Power button to reboot the computer.
- Keep pressing the F12 key as soon as you press the Power button.
Then your computer may enter the boot menu as usual. If this method can’t get F12 boot menu to work, try the rest methods offered in the post.
Fix 2: Check If F Keys Are Set
The F keys can be set for multimedia controls or the functions in the BIOS. However, doing this may lead to F12 not working to get to boot menu. When F12 boot menu is not working, enable the F12 Boot Menu and change the Function key behavior in BIOS with the steps below.
Step 1: Keep pressing the Shift key while rebooting the computer. This will bring you to the Windows recovery.
Step 2: Tap on Troubleshoot > Advanced options > UEFI Firmware Settings > Restart.
Step 3: Then your computer will restart and boot into the BIOS. Navigate to the Main tab.
Step 4: Enable the F12 Boot Menu and change the Function key behavior to Function Key.
Step 5: Press F10 > Enter key to save changes and exit BIOS.
Fix 3: Press Fn + F12
The Fn keys trigger additional functions from the F12 key. Try pressing the Fn + F12 key to trigger an alternate action (like opening the boot menu) if the function keys are configured to perform media functions by default. Restart your computer and keep pressing the Fn + F12 key to access the boot menu.
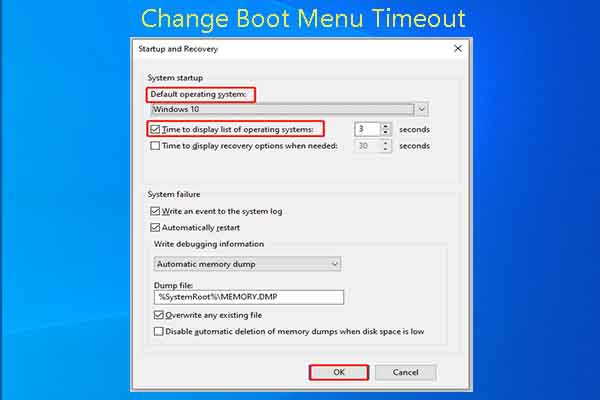
To make the boot menu always appear without pressing F12, please refer to the instructions below.
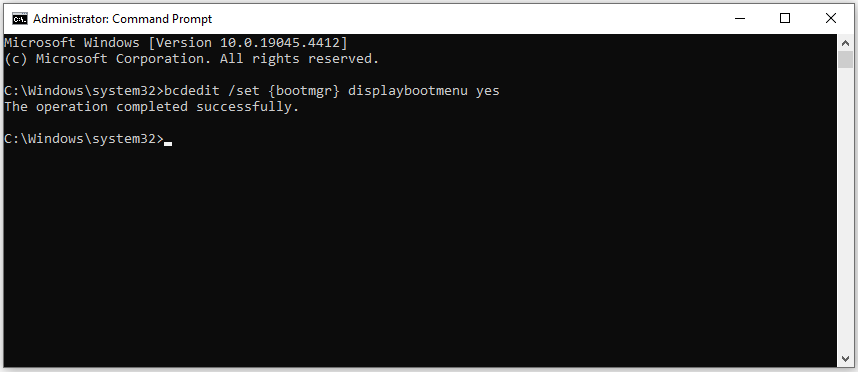
- Type cmd in the search box and then click Run as administrator under the displayed Command Prompt.
- In the Command Prompt window, type bcdedit /set {bootmgr} displaybootmenu yes and hit Enter.

You can also enter boot menu without pressing the F12 key via BIOS. Boot the computer into recovery environment and then click Troubleshoot > Advanced options > UEFI Firmware Settings > Restart. Navigate to the boot menu after your PC enters the BIOS.
Conclusion
This post collects 3 ways to fix the “F12 boot menu not working Windows 11” issue. When the F12 boot menu is not working, apply these methods to solve the problem.

![Shut Down or Restart Your PC Without Updating Windows [5 Ways]](https://images.minitool.com/partitionwizard.com/images/uploads/2023/07/shut-down-restart-pc-without-updating-windows-thumbnail.jpg)


User Comments :