DHCP (Dynamic Host Configuration Protocol) is a network management protocol used for assigning dynamic IP addresses to devices on a network. However, sometimes it prompts you DHCP access denied error.
DHCP access denied error can happen to any Windows-based PC (like Windows 7/8/10) with compromised permissions on the DHCP client service or any other required service. It usually comes along with the error message “Could not start the DHCP Client service on Local Computer. Error 5: Access is denied”.
When DHCP Client Service access denied error occurs, your network connection (Wi-Fi or LAN) won’t work. To be specific, a red X will appear on the network icon and a yellow exclamation mark will also show on the network icon. In a word, you can’t access the local network or the Internet. This is confusing.
MiniTool Partition Wizard FreeClick to Download100%Clean & Safe
Fortunately, you can work it out by taking some measures. Here, this post collects several methods for you.
Fix 1: Restart DHCP Service
When the DHCP client error 5 occurs, restart your DHCP service. This may work for the issue.
Step 1: Press Windows and R keys to open the Run dialog window.
Step 2: Input services.msc and press Enter key on the keyboard.
Step 3: Locate DHCP Client and check if it is running. Then click Stop > Start. Alternatively, click the Restart button.
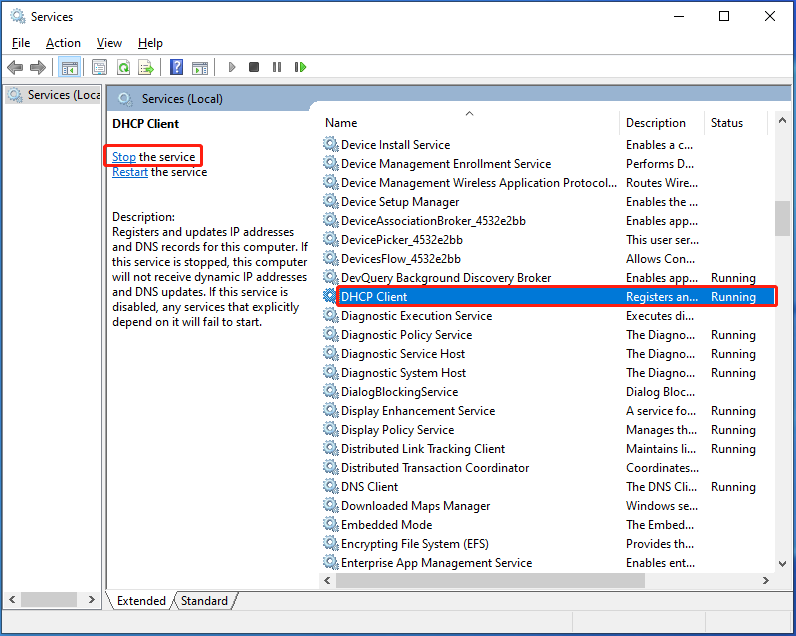
Step 4: Right-click DHCP Client and choose Properties. Check if the startup type is set to Automatic. If not, set the startup type manually and save changes.
Step 5: Check if DHCP Client Service access denied error is solved.
Fix 2: Check Permissions for DHCP
You should give full control permissions to NETWORKSERVICE and NT SERVICE\DHCP objetcs
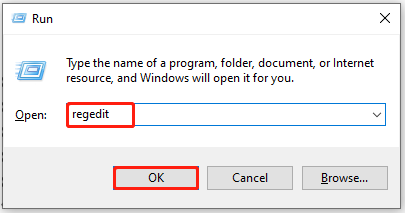
Step 1: Open the Run window on your PC.
Step 2: Type regedit in the Run window and click OK.
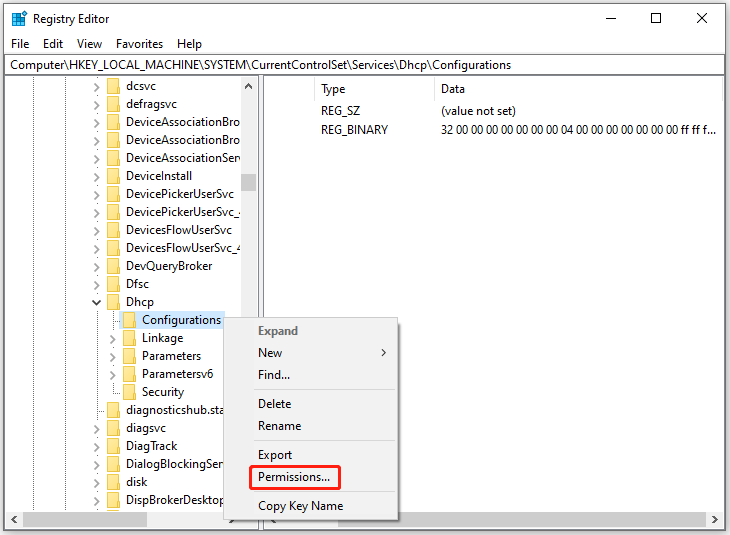
Step 3: Navigate to the Configurations key by following the path below.
HKEY_LOCAL_MACHINE\SYSTEM\CurrentControlSet\Services\Dhcp\Configurations
Step 4: Right-click on the Configurations key and choose Permissions.
Step 5: Under Group or user names, choose your account. Then check the Full Control and Read boxes under Allow.
Step 6: Tap on Apply > OK to execute the operation.

Step 7: Right-click the Dhcp key and hit Permissions. Then click the Advanced button in the pop-up window.
Step 8: Under the Name column, hit MpsSvc and click Edit.
Step 9: Make sure the Query value, Create value, Enumerate Subkeys, Notify, Read Control boxes are ticked. After that, click OK > Apply.
Fix 3: Scan the PC for Viruses or Malware
Viruses or malware can let the PC work improperly, leading to DHCP client error 5. So, it’s vital to scan the computer for viruses or malware when the error occur. You can do that using Windows built-in utility or third-party antivirus software.
Here, I show you how to perform a virus & threat protection via Windows Security.
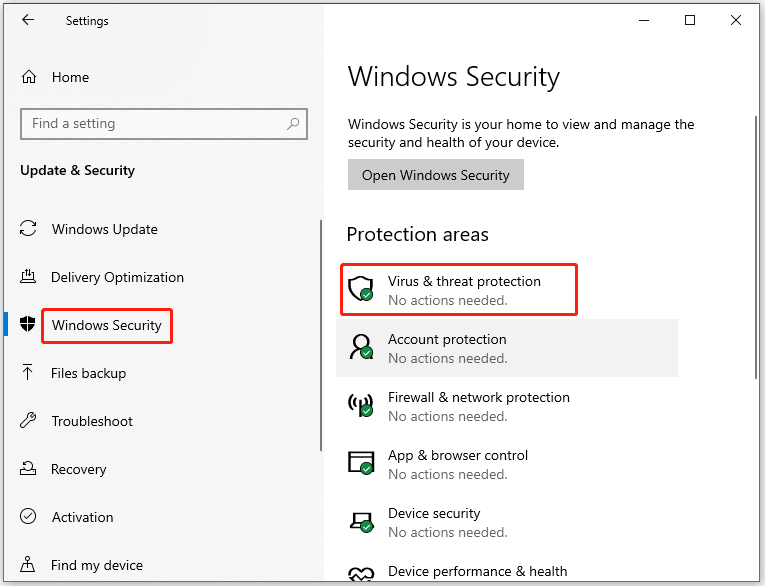
Step 1: Open Settings by pressing Windows and I keys.
Step 2: In the Settings app, click Update & Security > Windows Security > Virus & threat protection.
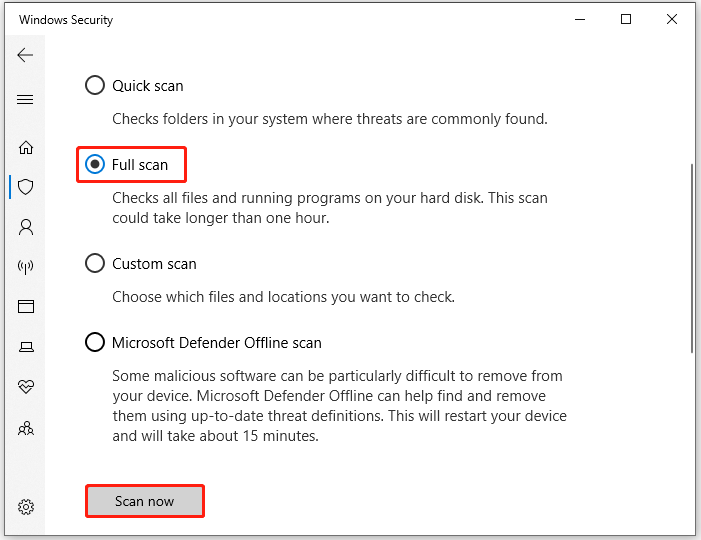
Step 3: In the next window, click Scan options to continue.
Step 4: From the offered options, choose a scan method. Then click Scan now to start the process.
Fix 4: Reset Winsock Catalog
Step 1: Type cmd in the search box and click Run as administrator under the displayed Command Prompt app.
Step 2: In the elevated User Account Control window, click Yes to allow the operation.
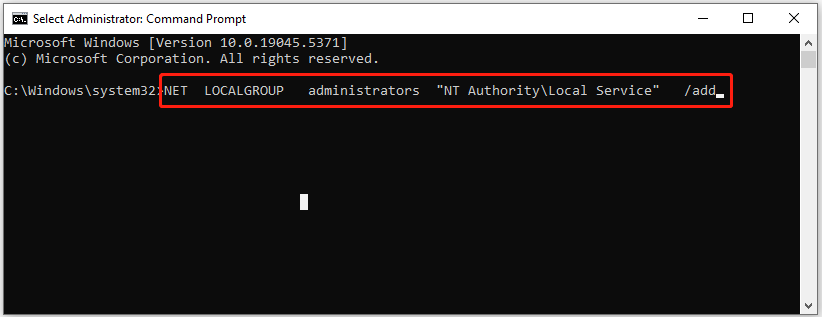
Step 3: Execute the command below to add the NT Authority\Local Service to Administrators group.
NET LOCALGROUP administrators “NT Authority\Local Service” /add
Step 4: Type netsh winsock reset catalog and hit Enter to reset Winsock Catalog to a clean state.
Step 5: Close Command Prompt and restart the computer.
Conclusion
Are you suffering from DHCP Client Service access denied error? If so, read this post now! It collects 4 fixes for the DHCP client error 5.
About The Author

Position: Columnist
Having writing articles about computer tech for a long time, I am rather experienced especially on the aspect of computer optimization, PC enhancement, as well as tech terms explanation. The habit of looking through tech forums makes me a great computer issues collector. And then, many articles related to these issues are released, which benefit plenty of users. Professional, effective, and innovative are always the pursuit of an editing worker.
User Comments :