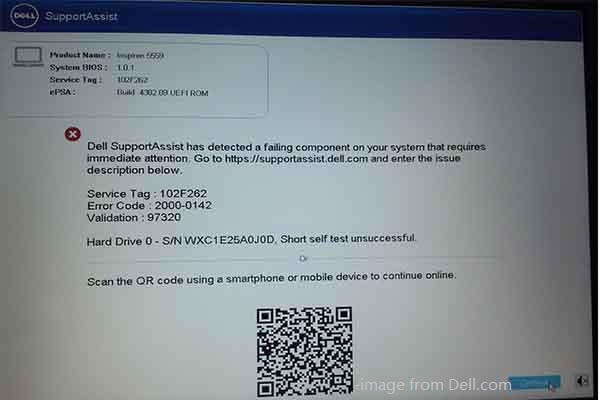
Dell SupportAssist is a built-in utility on Dell computers. It helps you remove viruses, detect issues, optimizes settings, and informs you when updates are needed. However, it can prompt various issues, such as, Dell SupportAssist high memory usage, Dell SupportAssist has detected a failing component, Dell SupportAssist not working, Dell SupportAssist installation failed, etc.
MiniTool Partition Wizard FreeClick to Download100%Clean & Safe
In this post, I will show you solutions for Dell SupportAssist high memory usage.
Solution 1: Disable the Dell SupportAssist Service
If Dell SupportAssist high memory usage happens, disable the Dell SupportAssist service. This might solve the problem.
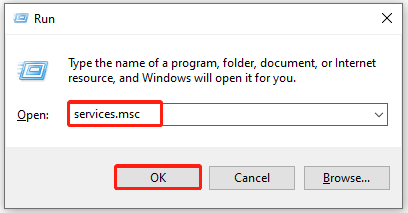
Step 1: Open the Run window by pressing Windows and R keys.
Step 2: In the Run window, type services.msc and click OK. This will open the Services window.
Step 3: Scroll down the list to locate Dell SupportAssist. Right-click the Dell SupportAssist service and click Properties.
Step 4: From the Startup type drop-down menu, choose Disabled. Click on the Stop button under Service status.
Step 5: Tap on Apply > OK to save changes.
Step 6: Restart the computer and check if the Dell SupportAssist high memory usage issue disappears.

Solution 2: Remove Dell SupportAssist from Startup Apps
To troubleshoot Dell SupportAssist high memory usage, you can also stop Dell SupportAssist from loading by disabling it from startup. Here’s how to do that.
Step 1: Right-click the Windows icon on the desktop to open the Start menu. Then click Task Manager on the opened menu.
Step 2: Navigate to the Startup tab.
Step 3: Right-click Dell SupportAssist and click Disable.
Step 4: Restart the computer to let changes take effect.
Solution 3: Disable Automatic System Scans
What to do if SupportAssist takes up enormous amount of RAM? An available way is to disable automatic systems scans on Dell SupportAssist because the issue can be triggered by frequently hardware scans and check for software updates. You can have a try!
Step 1: Run Dell SupportAssist to enter its main interface.
Step 2: Head to the Settings tab and click Scans and optimizations.
Step 3: Uncheck the checkboxes in front of Check for software updates, Scan hardware for issues, and Test system performance options.
Step 4: Restart the computer.
Solution 4: Update Dell SupportAssist to the Latest Update
New updates usually contain bug patches to known issues in the previous versions. So, when Dell SupportAssist high memory usage takes place, try updating the SupportAssist to the latest version. Here’s the SupportAssist update guide for business PCs. You can refer to it.
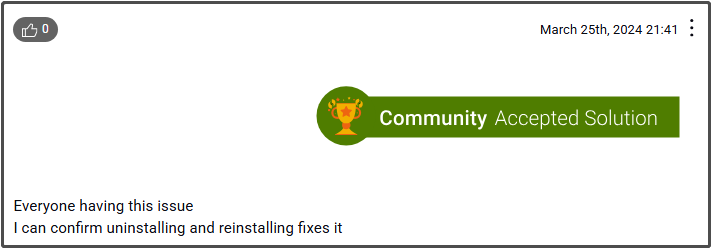
Solution 5: Uninstall and Reinstall Dell SupportAssist
According to user reports, uninstalling and reinstalling SupportAssist can fix high memory usage due to Dell SupportAssist. It is worth having a try!
Here’s a step-by-step guide for you.
Step 1: Open the Run window, type appwiz.cpl, and click OK.
Step 2: Find and right-click Dell SupportAssist and then click Uninstall.
Step 3: Confirm the uninstallation and wait until the process ends.
Step 4: Navigate to the official website of Dell and click on Download SupportAssist link.

Step 5: Run the downloaded setup file and follow on-screen instructions to complete the installation process.
Solution 6: Update Windows
When SupportAssist takes up enormous amount of RAM, it’s also recommended to update Windows. Installing a Windows update can solve many common issues related to the system. In this scenario, it may work for Dell SupportAssist high memory usage.
Step 1: Open the Start menu and click Settings.
Step 2: In the Settings window, click on Update & Security.
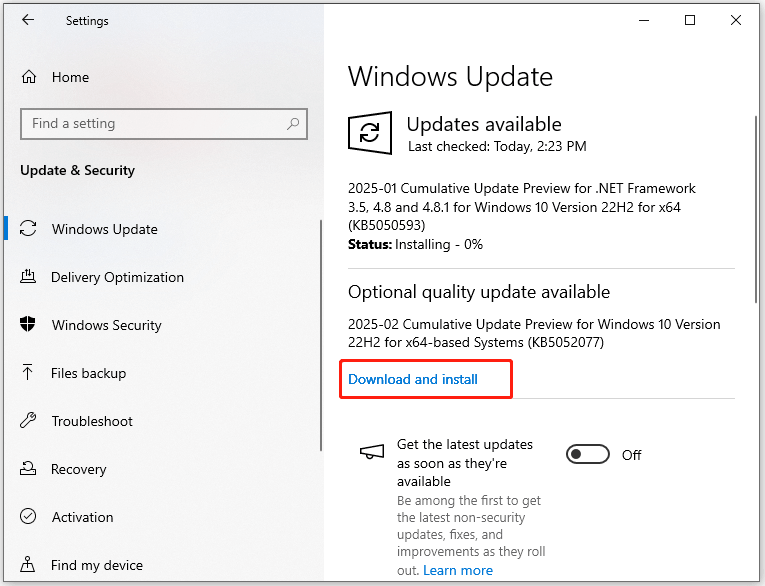
Step 3: Click Check for updates under the Windows Update section. If there are available updates, they will be listed after a while.
Step 4: Click the Download and install button next to the listed update.
Step 5: Follow the on-screen instructions to finish the process.
Bottom Line
How to get rid of high memory usage due to SupportAssistAgent.exe? This post provides you with 6 solutions. You can apply them when you encounter the issue.
About The Author

Position: Columnist
Having writing articles about computer tech for a long time, I am rather experienced especially on the aspect of computer optimization, PC enhancement, as well as tech terms explanation. The habit of looking through tech forums makes me a great computer issues collector. And then, many articles related to these issues are released, which benefit plenty of users. Professional, effective, and innovative are always the pursuit of an editing worker.
User Comments :