CPU Fan Speed Error Detected
Twice in the past week, I have turned on my PC and I get a message that says: CPU fan speed error detected. Ensure that the CPU fan is properly installed on the CPU_FAN header or adjust/disable the fan speed low limit option in the UEFI BIOS…https://forums.tomshardware.com/threads/cpu-fan-speed-error-detected.3770268/
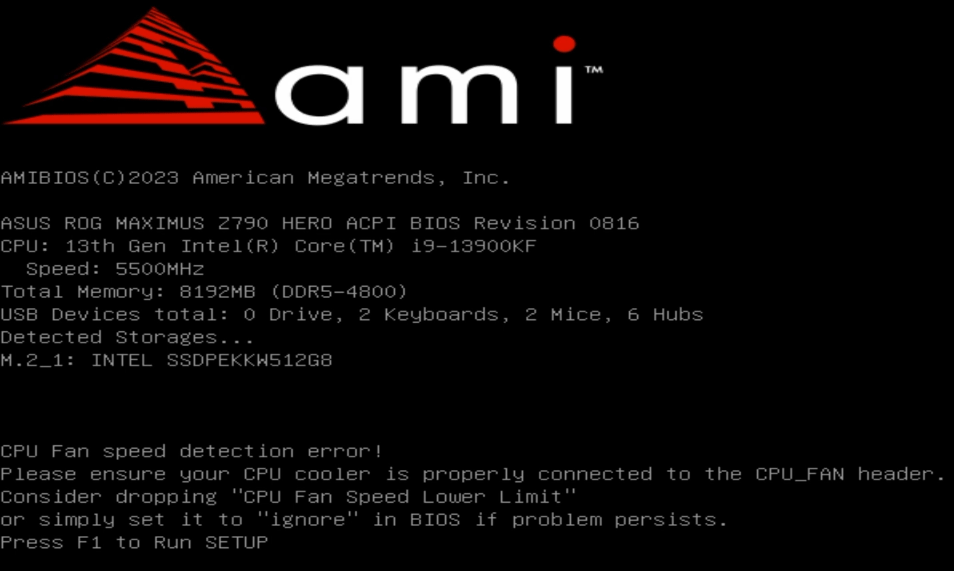
Some people report that they have received the “CPU fan speed detection error” or “CPU fan speed error detected” message when booting the PC. In addition, this issue usually occurs on ASUS motherboards.
Why Does the CPU Fan Speed Detection Error ASUS Occur?
As its name implies, the reason for the CPU fan speed error detected issue is that the motherboard (CPU_FAN) cannot detect the fan speed.
All ASUS motherboards are equipped with fan headers for users to connect fans.
- CPU_FAN: This header is designed to preferentially connect to the fan of a CPU radiator or the cooling fan of an all-in-one water cooling radiator.
- CPU_OPT: If the CPU cooler or all-in-one water cooling radiator has an additional fan, connect it to the CPU_OPT.
- CHA_FAN: This header is designed to connect to the chassis cooling fan.
- AIO_PUMP: This header is designed to connect to the water pump of an integrated water cooling radiator.
- W_PUMP+: This header is designed to connect to the water pump of a split-type water cooling radiator.
The CPU itself generally generates serious heat during work, so it must be used with a radiator. Based on this, the motherboard has made special processing for this fan connector. That is, during the POST (Power On Self Test), the motherboard BIOS will detect the fan speed connected to CPU_FAN to determine whether a CPU radiator is installed.
If the fan speed is not detected, or the detected fan speed is too low, the CPU fan speed error will pop up when turning on the computer.
How to Remove the CPU Fan Speed Detection Error
To get rid of the CPU fan speed error detected issue, you can try the following methods.
Way 1. Check Hardware
First, check if the fan is connected to the CPU_FAN and if the fan is running normally.
Second, check if the fan is connected to the CPU_FAN correctly. Many times, it’s inserted incorrectly and only on 3 pins, not all 4.
Third, check if the fan wire is damaged. Sometimes, the fan is still spinning but the cable connecting the on-board ASUS antenna is damaged. Then, the motherboard also cannot detect the fan speed.
Fourth, check if you are using a software-controlled liquid cooler that uses its own internal controller to manage fan speeds instead of the motherboard. This is very prevalent with NZXT or Corsair brand coolers. In this case, you can plug the extra fan speed cable of the cooler into the CPU_FAN header to make the motherboard happy.
Way 2. Change the BIOS Settings
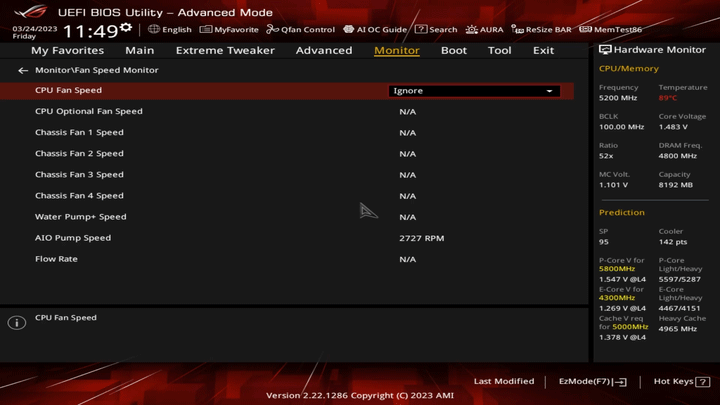
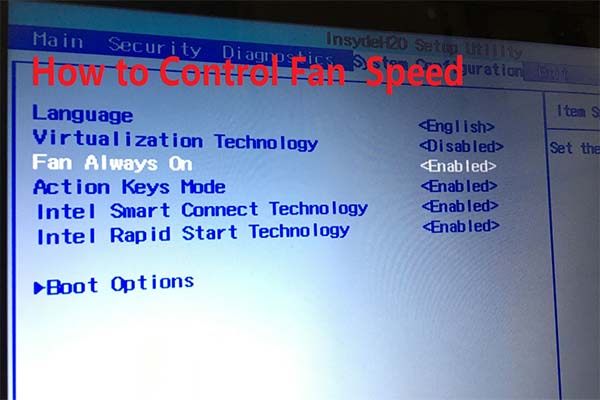
If you check your CPU temps and everything looks fine, and you don’t want to deal with rewiring anything, there is usually a BIOS setting to ignore this error. Here is the guide:
- When you see the CPU fan speed error detected, press F1 to enter BIOS.
- Go to Advanced Mode > Monitor.
- Either go to Fan Speed Monitor > CPU Fan Speed to set it Ignore, or go to Q-Fan Configuration > CPU Fan Speed Low Limit to set it Ignore.
- Save and exit the BIOS.
Bottom Line
MiniTool Partition Wizard is a functional tool. It can convert MBR to GPT without data loss, migrate OS, clone hard drive, recover partitions, recover data from hard drive, etc. If you have this need, download it to have a try.
MiniTool Partition Wizard DemoClick to Download100%Clean & Safe

User Comments :