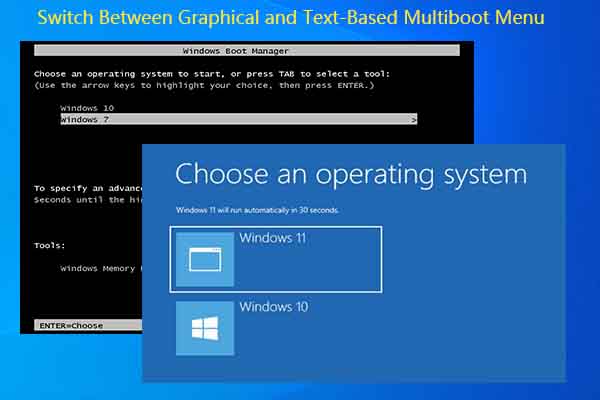
If you have a dual-boot computer, you may find that you are required to choose a system to boot every time you turn on the device. It would be hard to make a choice if the wait time is short. In this case, you can increase the wait time manually. Here, MiniTool Partition Wizard offers you 4 effective methods to change boot menu timeout.
The boot menu time-out decides how long the boot menu is shown before the default boot entry is loaded. It is calibrated in seconds. If you want to have additional time to choose the OS that loads on your PC, just extend the time-out value. To let the default OS start faster, shorten the time-out value.
Here comes the question: how to change boot menu timeout. If you have the same doubt, pay attention to this post. It provides you with 4 methods.
Method 1: Change Boot Menu Timeout via Settings
It is very easy to change boot menu time-out via Settings. The following steps show you how to do that.
Step 1: Open Settings by pressing Windows and I keys.
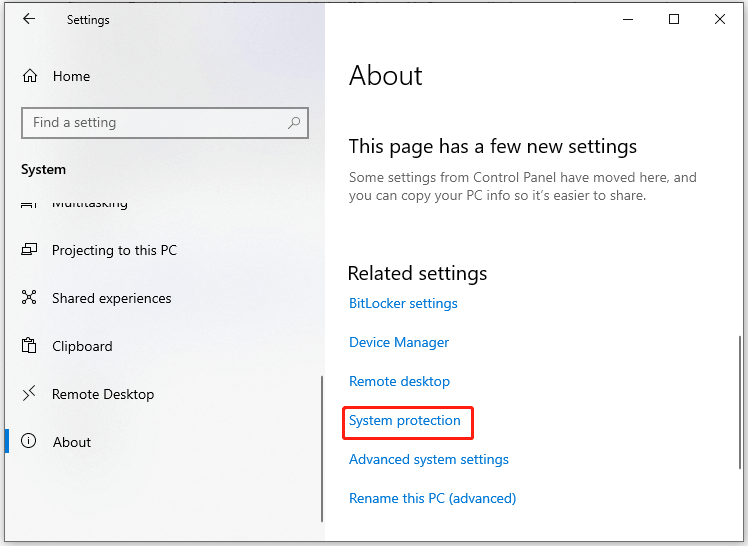
Step 2: In the Settings app, click System > About.
Step 3: Under the Related Settings section, click System protection.
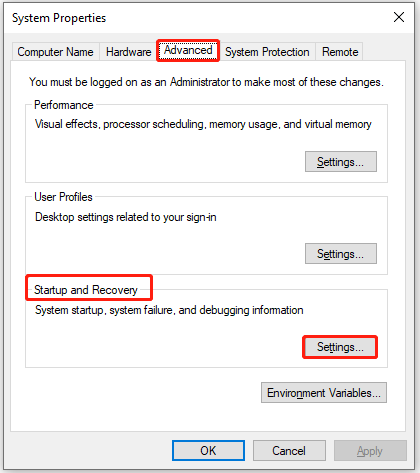
Step 4: Navigate to the Advanced tab and then click Settings under Startup and Recovery section.
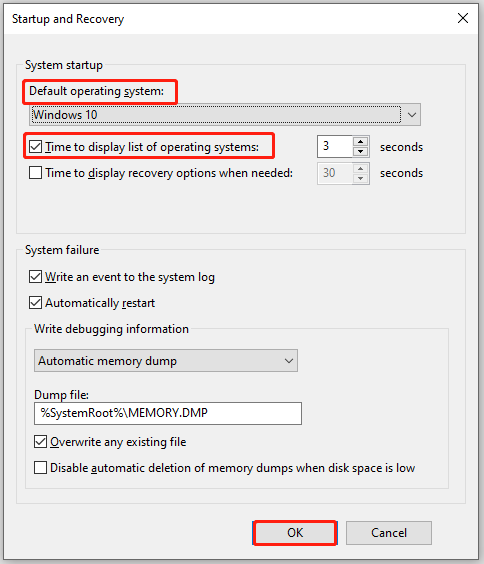
Step 5: Choose your default OS from the drop-down menu.
Step 6: Check the Time to display list of operating systems option and configure the timeout value manually. The value ranges from 0 to 999 seconds.
Step 7: Click OK to save changes.
Method 2: Change Boot Menu Timeout via Command Prompt
If you are an advanced Windows user, it is also available to change boot menu time-out by using Command Prompt. For that, simply follow these steps.
Step 1: Type cmd in the search box and then click Run as administrator under the Command Prompt app.
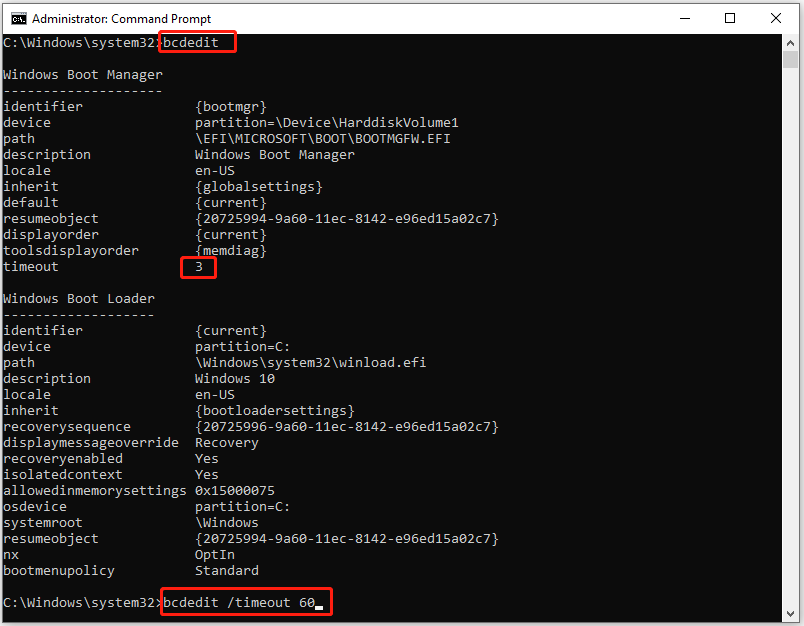
Step 2: In the pop-up Command Prompt window, type bcdeit and hit Enter. Then it will show you the current time that the boot menu appears.
Step 3: Type bcdedit /timeout N and press Enter.
Method 3: Change Boot Menu Timeout via System Configuration
System Configuration is a built-in utility in Windows system, allowing you to control your system’s startup programs and services. Here, you can also use it to modify boot menu timeout. To do that, simply follow these steps.
Step 1: Open System Configuration from the Run window.
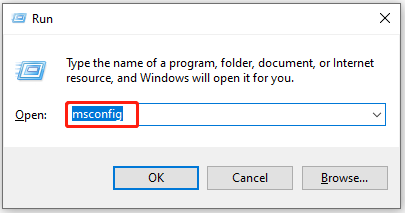
- Open the Run window by pressing Windows + R keys.
- Type msconfig in the Run window and hit Enter.
Step 2: After heading to the Boot tab, enter a value between 3 and 999 in the Timeout field. Check the Make all boot settings permanent option.
Step 3: Click Apply to execute the operation.
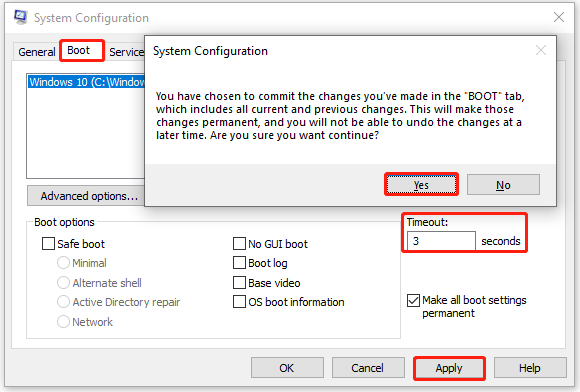
Step 4: Press OK to continue. Then you will be asked to restart your computer. You can restart the device immediately or exit without restart.
Method 4: Change Boot Menu Timeout via Boot Options
Boot Manager, also known as Boot Loader, is responsible for launching the system when you turn on the computer. To be specific, it enables you to choose a specific system and modify boot menu time-out. Here’s the tutorial for you.
Step 1: Click on the Windows icon > Power icon > Restart option.
Step 2: After the boot menu appears, click Change defaults or choose other options.
Step 3: Click on the Change the timer option.
Step 4: Choose a desired timeout from the listed options (5 seconds, 5 minutes, and 30 minutes).
Step 5: Then press the back arrow button and choose an operating system to load.
How to change boot menu timeout? This post lists 4 methods for you. Simply pick one from them based on your preference to finish the operation.
Further reading: If you want to manage hard drive efficiently, try using MiniTool Partition Wizard. As a comprehensive partition manager, it helps you manage hard drives with ease. For instance, you can use it to create/format/extend/shrink/merge/split/copy/delete/recover partitions, wipe disks, test hard drive speeds, etc.
MiniTool Partition Wizard FreeClick to Download100%Clean & Safe
User Comments :