Some people report that they encounter the “black screen during installation of Creators Update” issue on their PC. This issue bothers them a lot. Have you also encountered the same issue? If so, continue reading to get some effective solutions.
MiniTool Partition Wizard FreeClick to Download100%Clean & Safe
Method 1. Temporarily Disable Antivirus and Firewall
Sometimes, the antivirus or firewall of your PC may falsely regard updates as viruses and prevent them from installing normally. In this case, you can try temporarily disabling antivirus and firewall if you make sure there is no risk to your PC. Here’s the way:
Step 1. Press the Win + S keys simultaneously to open the Search window, type “control panel” and press Enter.
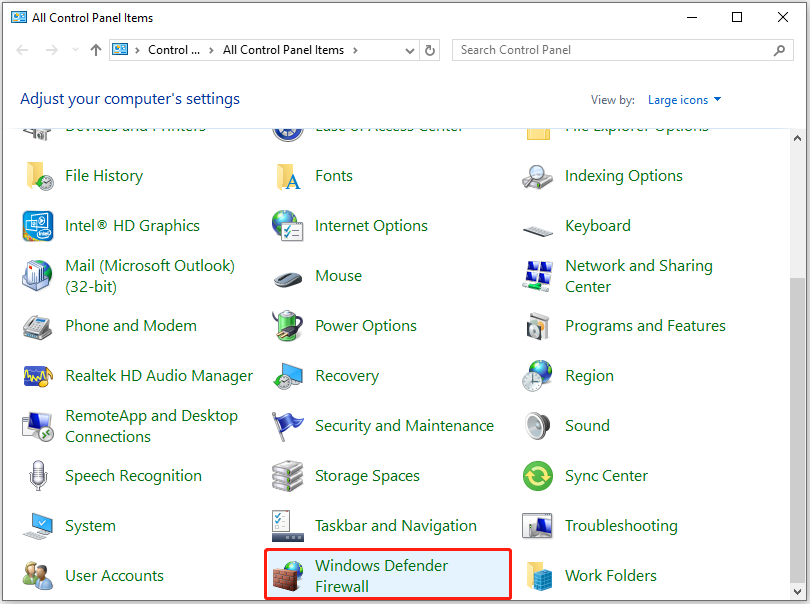
Step 2. In the Control Panel window, set View by as Large icons, and then select Windows Defender Firewall from the feature list.
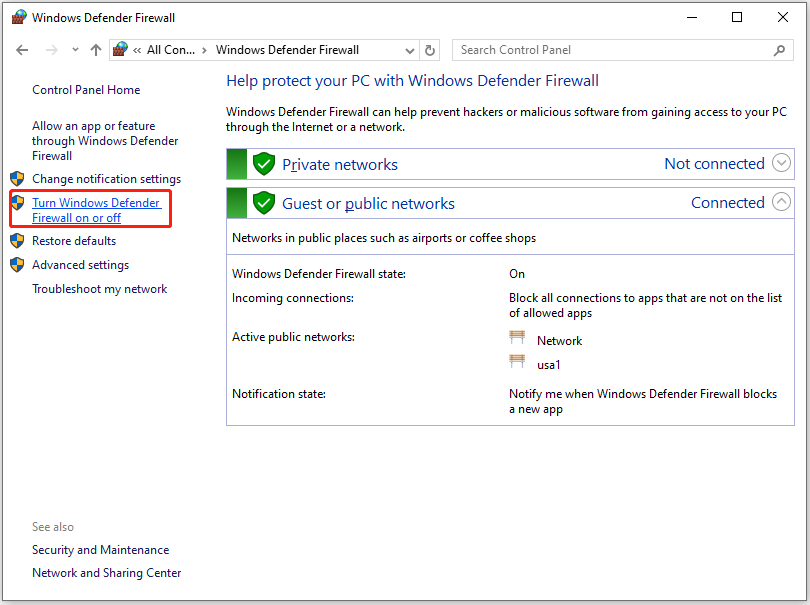
Step 3. In the next screen, select the Turn Windows Firewall on or off link from the left panel.
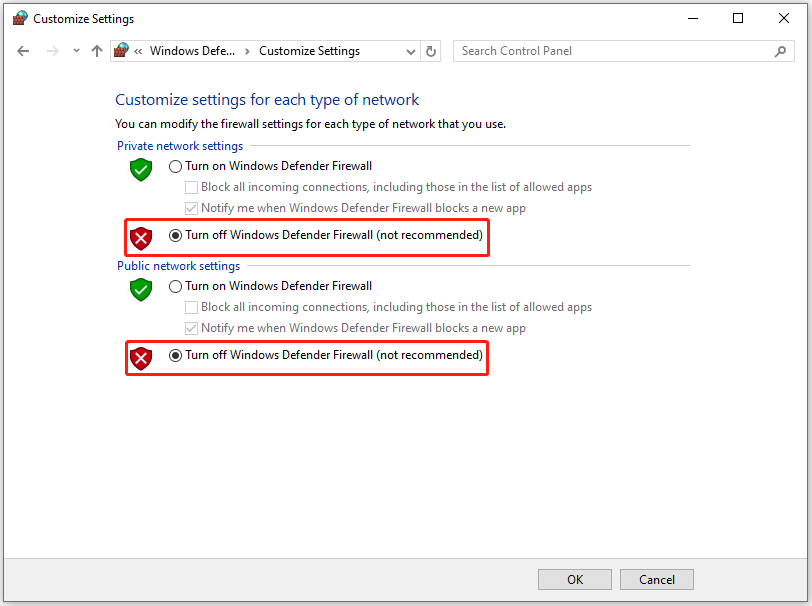
Step 4. Next, select the Turn off windows firewall (not recommended) in both private and public network options.
Step 5. Once done, reboot your PC and check if the issue has been resolved.
Method 2. Update Drivers
Outdated or corrupted drivers can also cause the “Windows 10 black screen after Fall Creators Update” issue. Therefore, you can try updating drivers to fix the issue. Follow these steps to do that:
Step 1. Press the Win + X keys simultaneously to open the Quick Link menu, and then select Device Manager from the menu.
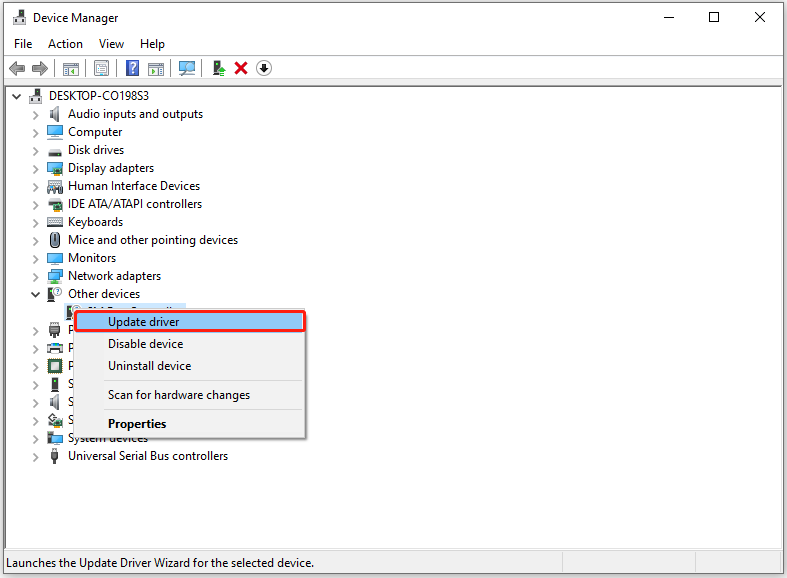
Step 2. In the Device Manager window, check if there is any exclamation mark.
Step 3. Then, right-click the outdated driver and select Update driver.
Step 4. In the pop-up window, select Search automatically for updated driver software.

Step 5. Follow the on-screen instructions to complete the process. Once done, try to install the creator update and see if the black screen appears or not.
Method 3. Uninstall Apps or Programs
If too much unnecessary software is installed on your PC, you may also encounter the “black screen during installation of Creators Update” issue. In this case, you can try uninstalling the programs to fix the issue. To do that, you can do as follows:
- Press the Win + I keys simultaneously to open the Settings window.
- Go to Apps > Apps & features.
- Choose the apps that you want to uninstall.
- Then, click Uninstall.
- Click Yes in the confirmation window.
Method 4. Use DISM
Corrupted system files can also lead to the “Windows 10 black screen after Fall Creators Update” issue. In this situation, you can try running DISM to fix the issue. Here’s the way:
Stepp 1. Open the Search window, type “cmd” and then select Run as administrator under Command Prompt.
Step 2. In the elevated Command Prompt window, type and execute the following commands to perform the DISM scan:
Tip: Don’t forget to press Enter after each command.
- DISM.exe /Online /Cleanup-image /Scanhealth
- DISM.exe /Online /Cleanup-image /Checkhealth
- DISM.exe /Online /Cleanup-image /Restorehealth
Method 5. Turn off Fast Startup
Some people report that they fix the Windows 10 Creators Update black screen issue successfully by turning off fast startup. You can also have a try. Here’s the way:
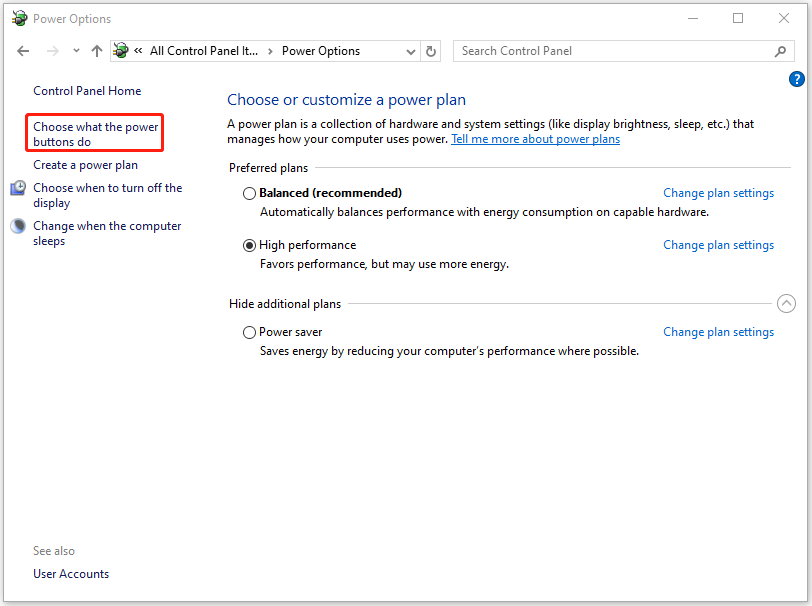
Step 1. Open the Control Panel window, set View by as Large icons, and then select Power Options from the feature list.
Step 2. Then, select the Choose what the power button do link from the left panel.
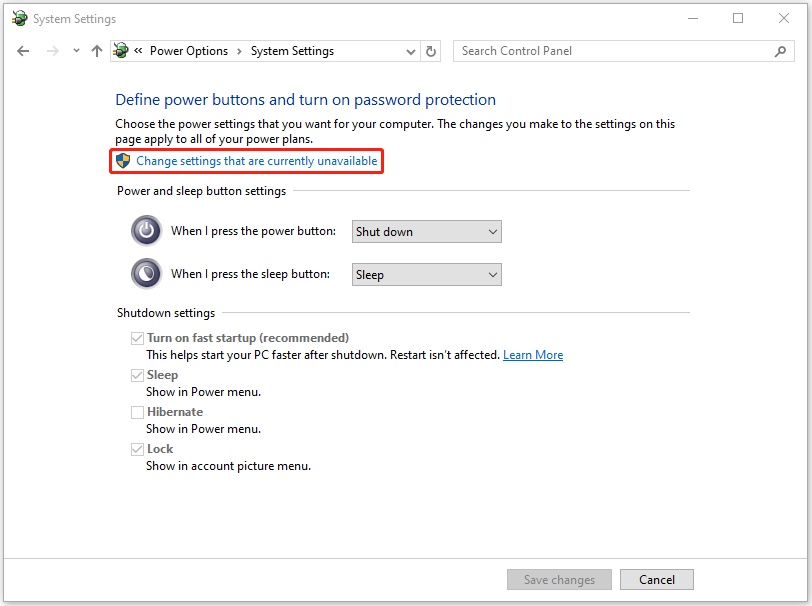
Step 3. In the next screen, click Change settings that are currently unavailable.
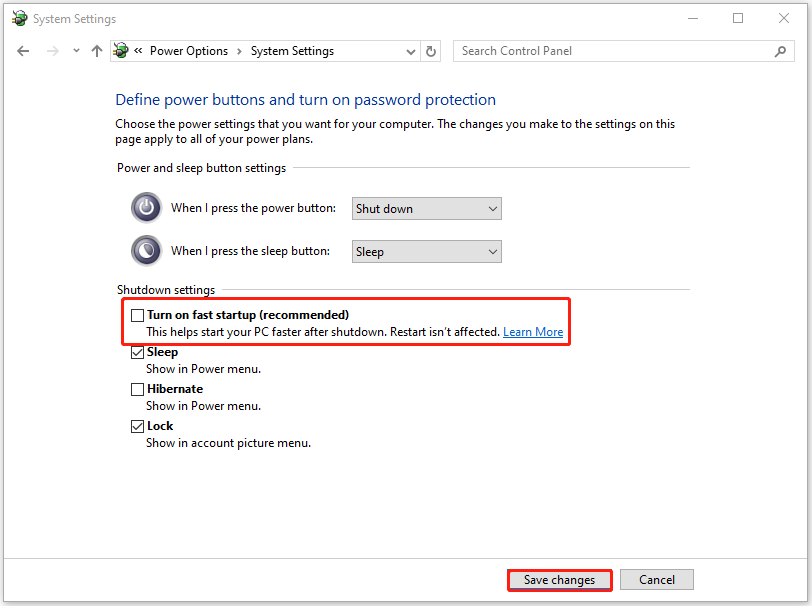
Step 4. Next, uncheck the box of Turn on fast startup (recommended) and then click Save changes to confirm.
Method 6. Use Bootable USB Media to Install Creators Update
If none of the above ways can help you fix the “black screen during installation of Creators Update” issue, you can try using a bootable USB media to install Creator Update. If you don’t know how to do that, you can refer to this post: A Complete Guide to Use Windows 10 Media Creation Tool.
In Conclusion
This post provides several effective methods to solve the “black screen during installation of Creators Update” issue. You can try these methods if you come across the same issue.
About The Author

Position: Columnist
Charlotte is a columnist who loves to help others solve errors in computer use. She is good at data recovery and disk & partition management, which includes copying partitions, formatting partitions, etc. Her articles are simple and easy to understand, so even people who know little about computers can understand. In her spare time, she likes reading books, listening to music, playing badminton, etc.
User Comments :