As we know, the Windows Start menu is the primary location in Windows to locate your installed programs and find any files or folders. In this post, you can customize your Windows 10 Start menu according to your preference, like changing the Strat menu size, pinning app to this menu, and so on.
Customize Windows 10 Start Menu
It could be said that the Windows 10 Start menu is a combination of old and new. That’s because Microsoft took some Windows 7 elements and blended them with Windows 8 elements to enrich the Windows 10 Start menu.
How to use this mixture? The following content shows you some tips and tricks to give you even more customization options.
Trick 1: Make Some Easy Customization
Actually, you can do a bunch of easy operations to the Windows 10 Start menu. Let’s see what they are.
1. Change the Start menu size
This operation is easy enough. You just need to move your mouse to the top edge of the Start menu, and drag it up or down to change its height. The width is determined by how many columns you have.
2. Enable full screen mode
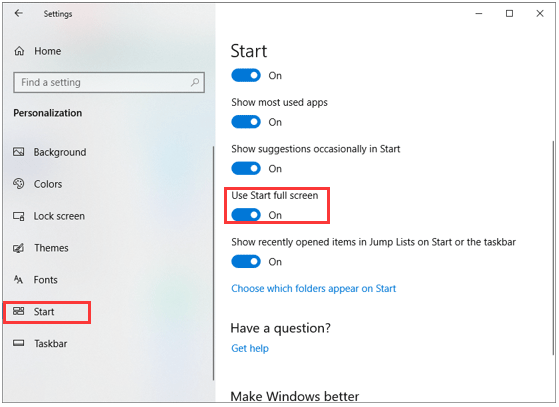
To enable full screen mode, you need to do the following steps:
Step 1: Click the Start icon, select Settings, and select the Personalization section.
Step 2: Click the Start option in the left margin. After clicking, you can see a variety of minor customization options. Find the Start full screen mode and enable it in this menu.
3. Pin apps to the Start menu
There are two methods to pin apps to the Start menu.
Method 1: Find the app in the All Apps List menu, right-click the app, and click the Pin to start option.
Method 2: You also can drag and drop apps from the All Apps List straight to the Start menu to create a new tile on the Start menu.
Absolutely, if you want to reverse this prose, just right-click any tile and select the Unpin from start option.
4. Enable and disable live tiles
A tile, live tile, and a user tile are all new feature introduced with Windows 8 and displayed on the Windows 8 Start screen. User tiles features two different sizes, colors, and include a custom image.
Live tiles are designed for displaying updated information such as weather information, stocks, or other types of notification information.
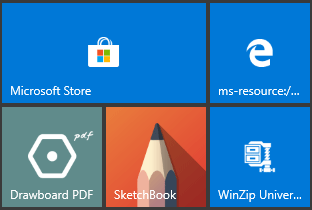
To enable and disable live tiles, you simply right-click any tile on the Start menu, select the More option, and select either Turn Live Tile on or Turn Live Tile off.
But please note that apps that don’t have live tiles do not have this option.
5. Change accent color
Choosing your preferred color and setting it to your tiles may bring you a good mood. How to do that? Here is the simple tutorial.
Step 1: Click the Start icon, select the Settings icon, and choose the Personalization option.
Step 2: Click the Color option in the left panel. Select your favorite color from the right window. Then you can click the Start icon again, and you can see the color of tiles has been changed automatically.
Trick 2: Customize the Left Margin Icons with Folders
The left margin of the Windows 10 Start menu has a few icons that you can use to do various things. Locating things like the Settings, your account page, the power menu, and other things in the margin makes you access them fast and convenient enough.
To customize the left margin icons with folders, you need to get to the Start menu > click the Settings icon > choose Personalization > click the Start option > click the Choose which files appear on Start option.
Please note that you can choose various folders, the file browser, and other personal folders.

User Comments :