The updated Windows 10 enables users to install a list of unlimited applications more quickly and securely. But many users also reported that they encountered “the installation package could not be opened” error when installing an app. In today’s article, MiniTool will explore some best troubleshooting methods to fix this problem.
Common Causes for the Installation Package Could Not Be Opened
In order to solve “the installation package could not be opened” problem smoothly, we have gathered and analyzed lots of reports from major forums. According to the investigation, this installation package could not be opened error often occurs for these causes below:
- Stopped Windows Installer Service: It is the most common cause for this problem. If the Windows Installer service is being stopped, the installation package could not be opened.
- Lack of Sufficient Permissions: Due to the specific permissions of some installation packages, the insufficient permissions may trigger this installation package could not be opened error. For instance, some apps require administrative privileges to install.
- Third-Party Antivirus Tool Prevent the App from Installing: Antivirus tool is important to protect your computer from unsafe files. But it also prevents certain files from running, which is responsible for this particular error.
Now, the problem is how to fix the installation package could not be opened. Let’s move on to the following part.
How to Fix This Installation Package Could Not Be Opened Error
There are 3 troubleshooting methods that can help you solve the installation package could not be opened in Windows 10 problem.
Method 1. Start the Windows Installer Service
It is very easy to operate, just 2 simple steps.
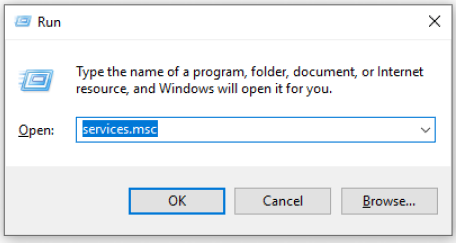
Step 1. Press Win + R keys to open the Run box. Then type “services.msc” in the box and hit Enter.
Step 2. Inside the Services window, navigate to the Windows Installer services and right-click it to select Start.
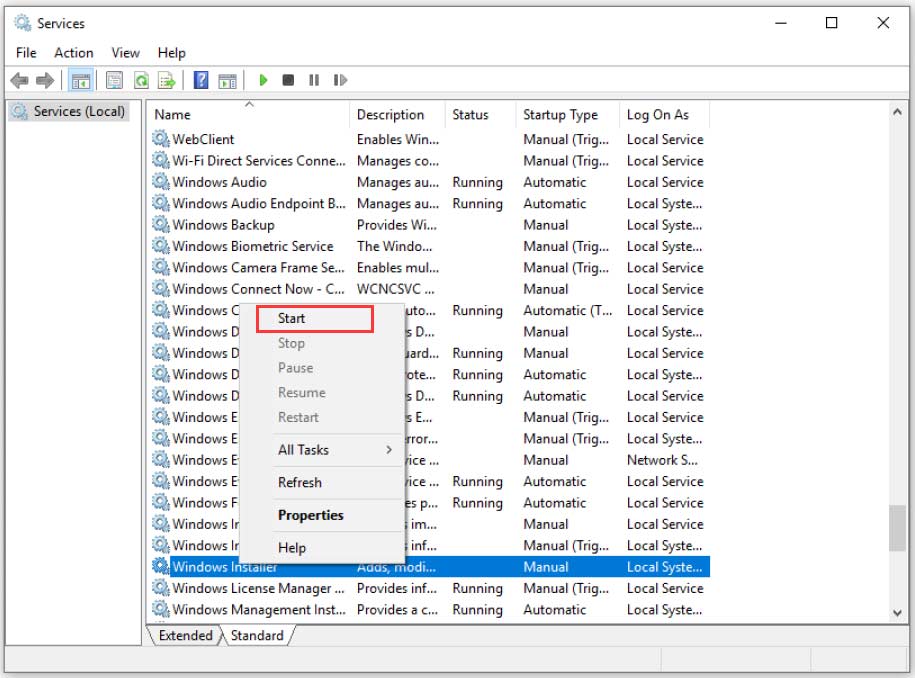
After that, you can refresh your computer and check if “the installation package could not be opened” error is resolved or not.
Method 2. Provide Sufficient Permissions for the Installation
If the first method fails to solve your problem. You may consider providing sufficient permissions to install the app.
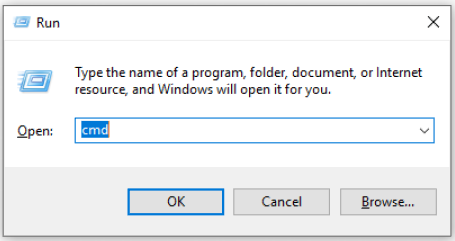
Step 1. Press Win + R keys to open the Run box. Then type cmd in the box and press Ctrl + Shift + Enter keys to open up an elevated prompt that grants you an administrator privilege to run.
Step 2. Type the following command and press Enter to apply it:
net user administrator /active: yes(Note: the net user administrator refers to your account name.)
Step 3. Log out of your account and select the Administrator account.
Then you can try to re-install the app and check if this error is fixed.
Method 3. Disable Your Antivirus Tool Temporarily
Many users reported that they fixed this installation package could not be opened error simply by disabling the antivirus tool. Windows Defender is a built-in antivirus tool in Windows 10, so it is safe even if you disable the third-party antivirus tool in your PC.
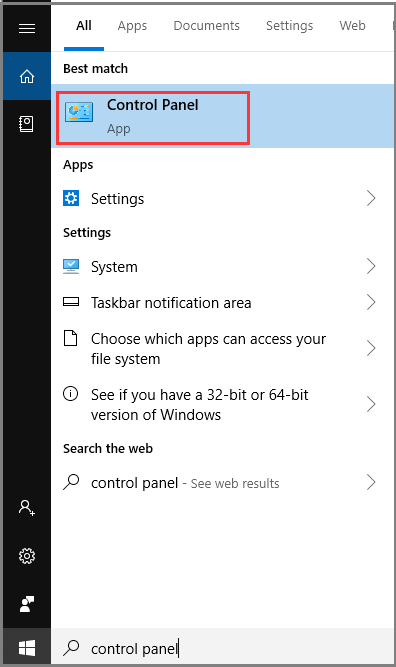
Step 1. Type control panel in the search bar. Select Control Panel under the best match.
Step 2. In all control panel items, select the View by Category at the top, then right-click on Uninstall a Program under the Programs section.
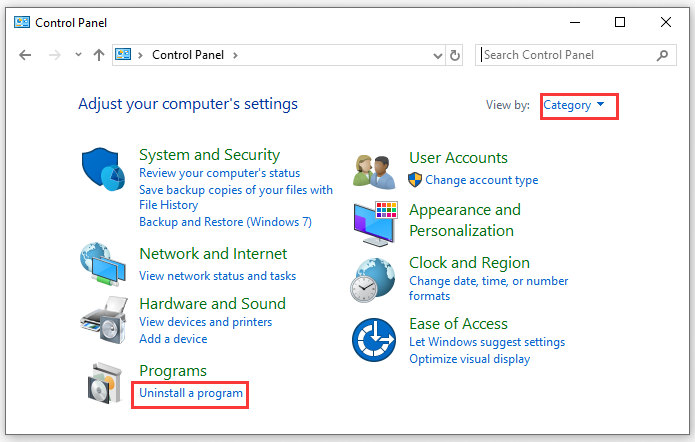
Step 3. In the list of all installed programs on your PC, find the third-party antivirus tool and right-click it to select Uninstall. Then a pop-up window will ask you whether to uninstall this tool, just click Yes.
Then you can try to re-install the app and check if the issue is resolved. If you still need this third-party antivirus tool, you can reinstall it after installing the problem is fixed.
Method 4. Alter the File System Key with Registry Editor.
If all the above methods fail to troubleshoot the error, you might try to solve this problem by changing your registry. But bear in mind taht altering registry may bring potential risks that can lead to system inability, so we recommend you to be cautious and back up your system in advance.
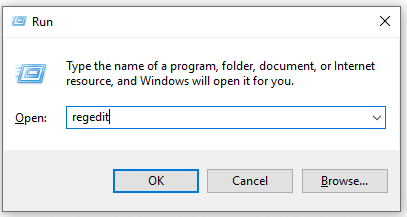
Step 1. Press Win + R keys to open the Run box. Then type “regedit” in the box and hit Enter.
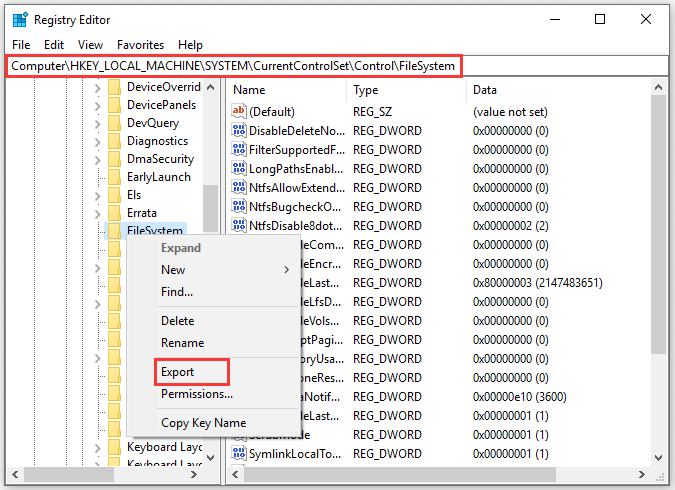
Step 2. Inside the Registry Editor window, navigate to the following path in the left panel: HKEY_LOCAL_MACHINESYSTEMCurrentControlSetControlFileSystem. Then right-click FileSystem key and select Export from the menu.
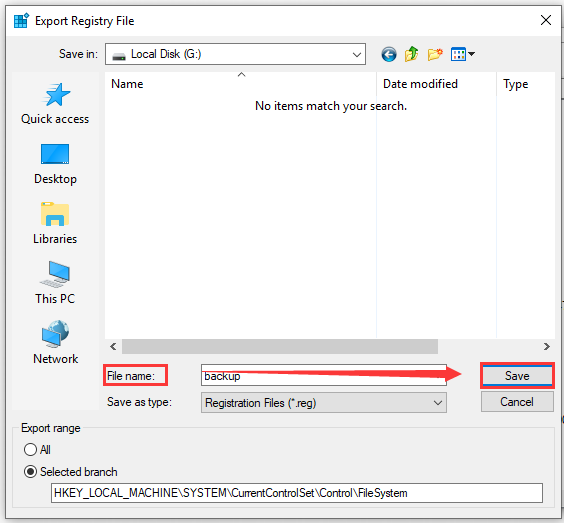
Step 3. Type the desired Filename in the box. Then choose the save location and click on Save button. You can use this file to restore your registry in case anything goes wrong.
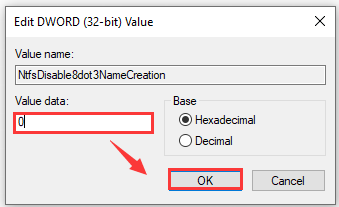
Step 4. Navigate to NtfsDisable8dot3NameCreation DWORD in the right pane and double-click to open it. Check if its Value data is set to 0. If not, set Value data to 0 and click OK to save changes.
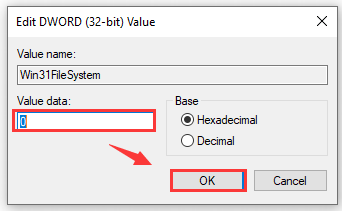
Step 5. Navigate to Win31FileSystem DWORD and check its Data value is set to 0. If not, change it to 0 and click OK.
After making these changes, exit the Registry Editor and start the installation again to check if the installation package could not be opened problem still persists.

User Comments :