It is an annoying problem when you suffer spilled water on laptop. What should you do to save your laptop from water damaged? Don’t be panic. MiniTool will walk you through detailed steps to fix the spilled water on laptop issue.
Are you panic for the spilled coffee on laptop accidentally? It seems like the end of the world when water spilling on laptop. But it is very likely that you can prevent the laptop from water damaged if you act quickly. Most people may know they must turn off the laptop immediately after the spill, but you may ignore some important steps to protect the laptop.
How to Fix Water Damaged Laptop
The following information provides you with effective steps to deal with spilled water on keyboard by yourself. But bear in mind you should ask for professional help if you are not sure how to fix spilled water on laptop issue.
Step 1. Turn off your laptop and remove any source of electricity immediately.
- Make sure your hands and the power button are dry firstly and then hold down the power button to turn off the laptop entirely.
- Disconnect any power source by simply removing the charger cable from the laptop.
Step 2. Prevent your laptop from any residual liquid.
This step will reduce the risk of any electrical shock and minimize the exposure to more liquid water.
Step 3. Disconnect any external hardware. These devices include the items below:
- USB storage devices including flash drive, AC adapter, charger, etc.
- Memory cards.
- Controllers such as the mouse.
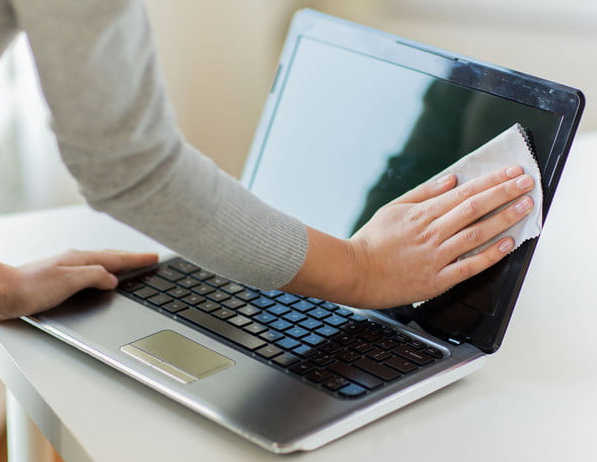
Step 4. Wipe up any obvious water using a dry towel.
You should wipe up include the fronts and backs of the laptop’s housing, the keyboard, and the screen. In this process, please make sure your laptop is partially facing down to avoid any excess liquid to drain.

Step 5. Place your laptop on a dry and flat surface.
It would be better to open your laptop as wide as possible and put it face-down on a dry towel. In order to speed up the process of drying the water, you can angle a fan at the liquid to evaporate the water faster.
Step 6. Remove the internal hardware carefully.
Ground yourself before removing the internals. To avoid any static electricity damage, it is highly recommended that you wear an anti-static wristband to perform the operations. This is because static electricity will easily damage the circuitry. Here you need to remove the internal hardware below:
- Remove RAM. If you are unclear about this process, you can refer to it in this tutorial.
- Remove the hard drive and other detachable internal components. You can find the manuals for your specific laptop online.
Step 7. Dry out the wet internal components and remove any dry residue.
You’d better use a microfiber or lint-free rag to do this gently. If there is excess spilled water on laptop’s internal, you’d better drain it. In addition, you should wipe up any other non-liquid reside using a soft brush or compressed air.
Step 8. Leave your laptop dry itself.
It is suggested that you leave it alone in a dry and warm place for at least one day. For instance, you can place it in a dehumidifier to speed up the drying process if possible.
Bottom Line
Although the spilled water on laptop has been dried out, some people reported that their laptop fails to boot up or they encounter some other issues such as data loss, and the distortion in the sound or display.
If you’re also troubled by the unbootable issue, you can use a bootable media creation tool to boot your computer and then check if there are any problems or damages. When necessary, you should look for a professional repair service to fix water damaged laptop.


User Comments :